
DIY Clay Keychain Ideas: 6 Cute Designs to Try

Want to create something small, stylish, and completely unique? These DIY Clay Keychain ideas will inspire you to turn simple clay into adorable handmade accessories that are easy to make and fun to customize.
I still remember making my first handmade keychain and wanting something more personal than a store-bought design. That’s when I discovered the charm of a DIY Clay Keychain.
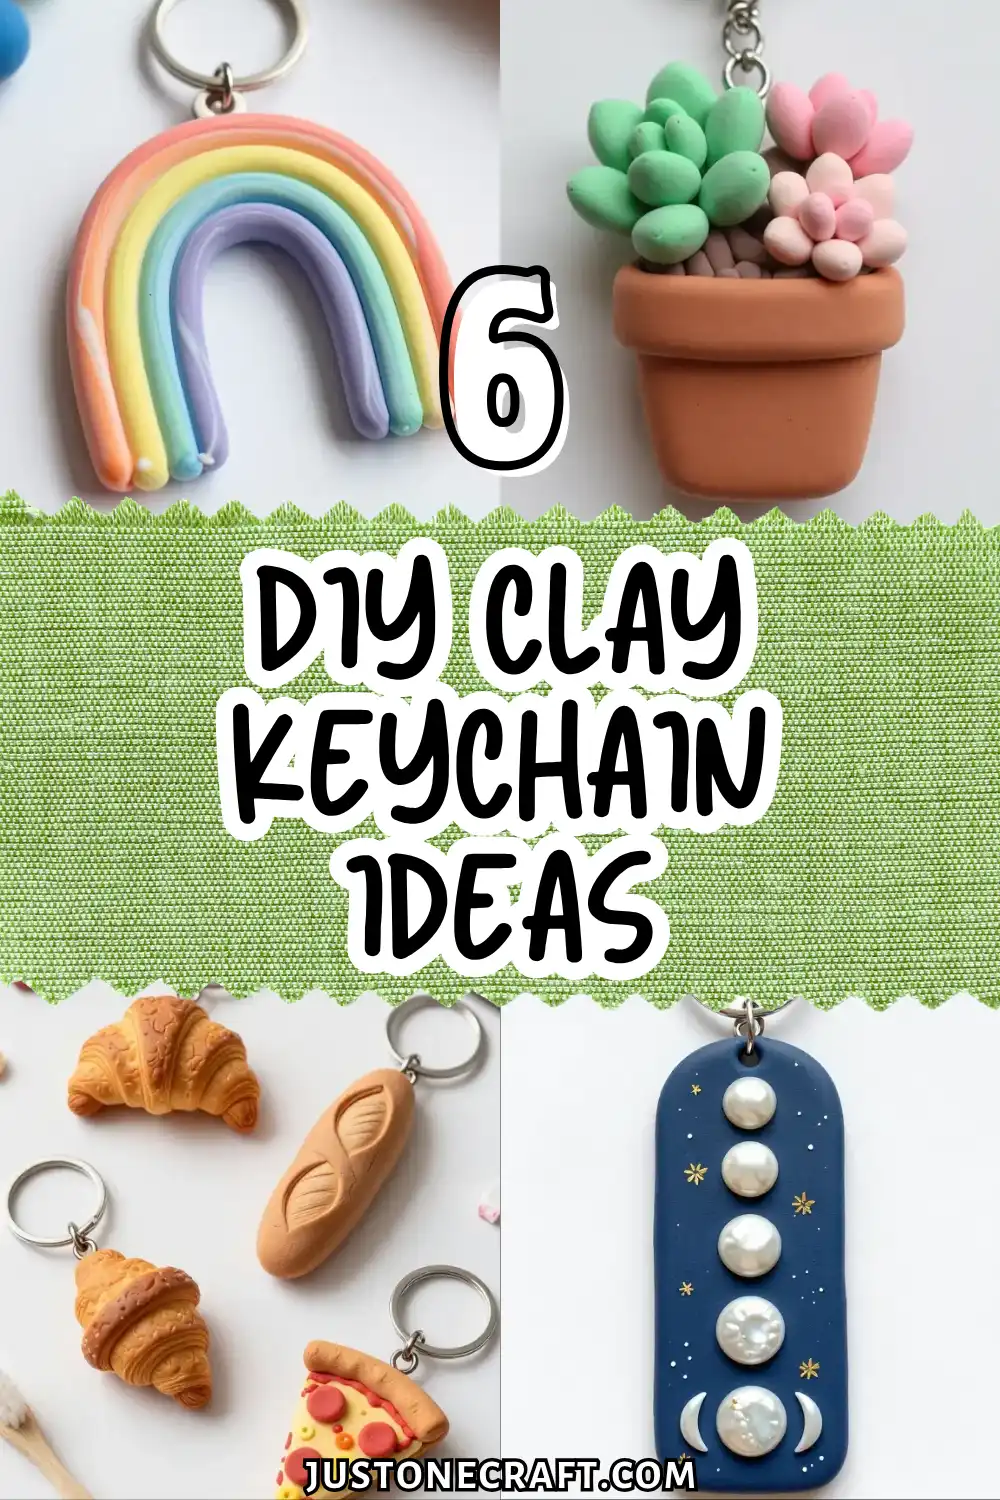
At first, I worried clay crafting would be difficult, but with a few simple supplies and some creativity, I learned that even imperfect designs can become something special.
The best part is that clay keychains are easy to customize, fun to make, and perfect for creating cute accessories, thoughtful gifts, or tiny pieces of handmade art.
Marbled Rainbow Arch Keychain
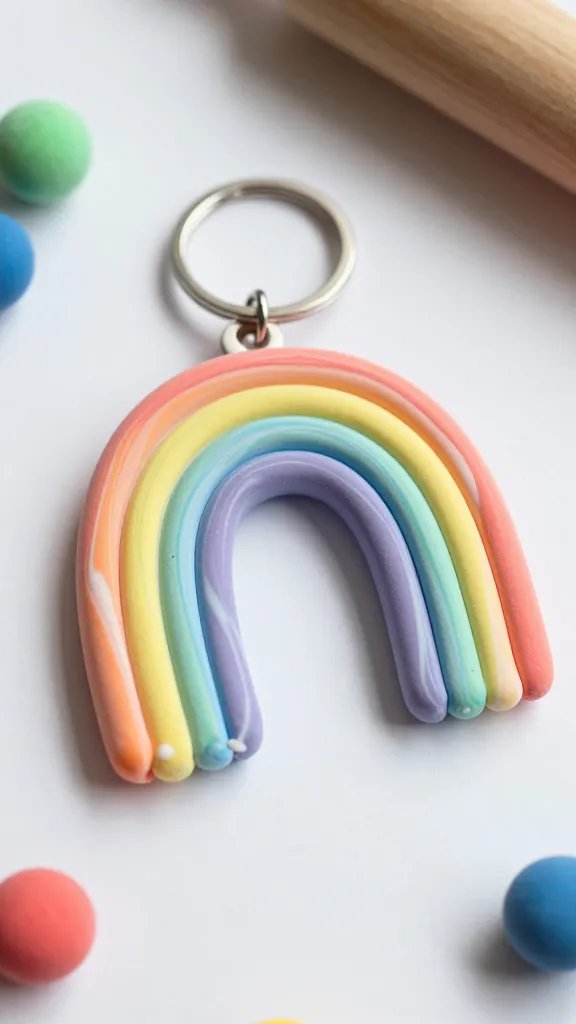
This trendy little rainbow brings instant good vibes to any set of keys. The marbled effect gives it that high-end, artisan look without requiring any actual artistic skills—seriously, the clay does most of the work for you.
Materials Needed
- Polymer clay in rainbow colors (red, orange, yellow, green, blue, purple)
- White polymer clay
- Rolling pin or acrylic roller
- Clay blade or knife
- Keyring hardware
- Small straw or skewer for making holes
How to Make It
Start by rolling out thin snakes of each rainbow color, then twist them together with a snake of white clay to create that gorgeous marbled effect.
Roll everything smooth, then shape into a chunky arch. Poke a hole at the top, bake according to your clay package directions, and attach your keyring once it cools.
The marbled pattern makes every single one unique, so if you’re making these as gifts, no two friends will have identical keychains. Style tip: keep the arch nice and thick for that modern, substantial look that’s all over Pinterest right now.
Mini Succulent Garden Keychain
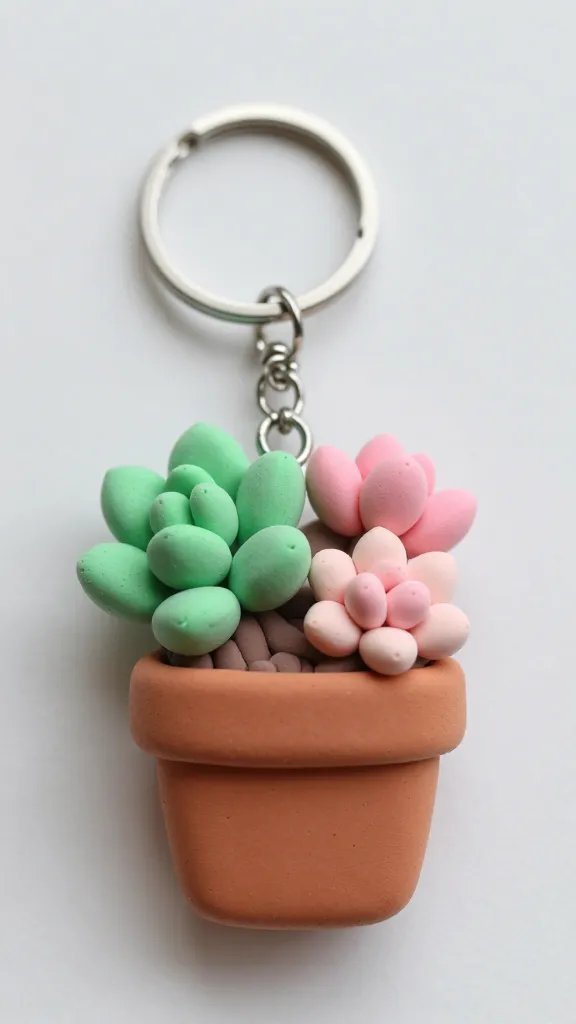
Why carry around boring keys when you could have a tiny plant garden dangling from them? This adorable succulent keychain looks incredibly detailed but comes together faster than you’d think.
Materials Needed
- Polymer clay in terracotta, various greens, and pink
- Small circular cookie cutter or bottle cap
- Toothpick for detailing
- Keyring hardware
- Clear glaze (optional)
How to Make It
Create a tiny terracotta-colored pot as your base, then sculpt 2-3 mini succulents using different shades of green clay.
Use a toothpick to add realistic texture to the leaves—little lines and indents make all the difference. Arrange your succulents in the pot, add a hole for the keyring, and bake.
You can make different succulent varieties like echeveria rosettes, spiky aloe shapes, or trailing string-of-pearls.
A tiny dot of pink clay on the tips of the leaves adds that sun-stressed succulent look that plant lovers will totally appreciate. Trust me, your plant-obsessed friends will flip over these.
Celestial Moon Phase Keychain
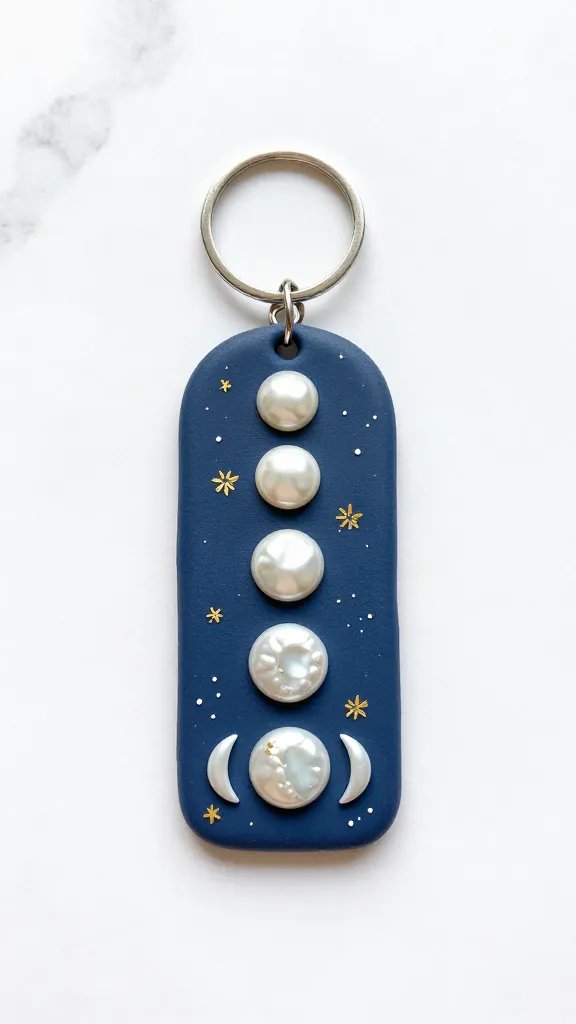
This witchy, celestial keychain captures all the moon phases in one elegant design. It’s perfect for astronomy lovers, astrology enthusiasts, or anyone who just loves the mysterious nighttime aesthetic.
Materials Needed
- Black or navy polymer clay
- White or pearl polymer clay
- Rectangle clay cutter or knife
- Round cutters in graduated sizes (or use straws/pen caps)
- Gold leaf or gold acrylic paint
- Keyring hardware
How to Make It
Roll out a dark blue or black rectangle as your base. Using white clay and various round cutters, create the different moon phases—new moon, waxing crescent, first quarter, full moon, and waning phases.
Arrange them in order across your rectangle and gently press them into the dark background.
Once baked and cooled, add tiny touches of gold paint or carefully applied gold leaf around the edges for that magical, cosmic vibe.
This keychain works beautifully as a longer, bookmark-style charm and looks absolutely stunning on a simple black keyring.
Miniature Food Keychain Collection
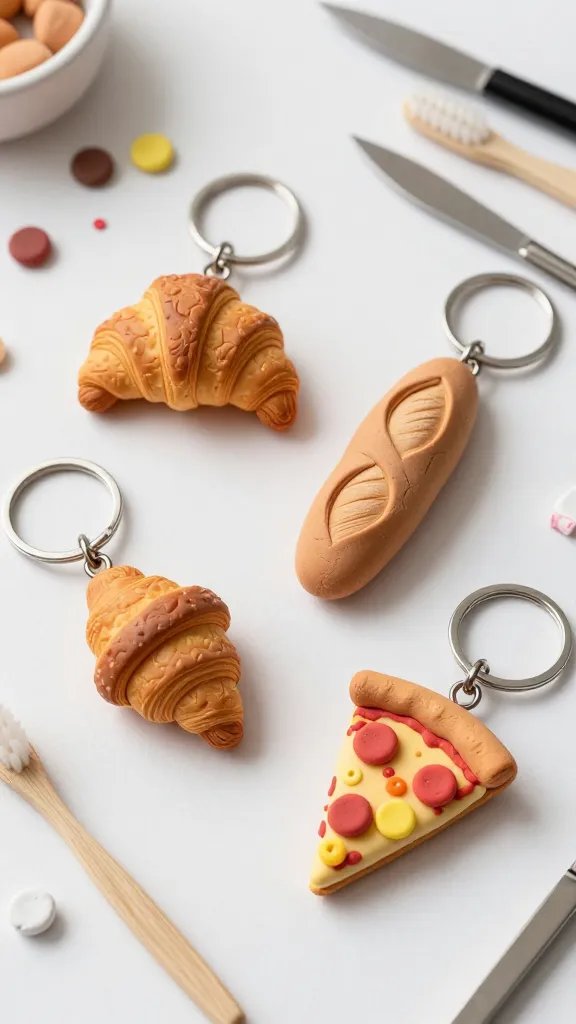
Tiny food charms never go out of style, and creating a mini baguette, croissant, or slice of pizza for your keys is just pure fun.
These realistic-looking snacks are surprisingly easy to sculpt once you know a few simple tricks.
Materials Needed
- Polymer clay in tan, brown, red, yellow, and white
- Toothbrush for texture
- Chalk pastels or eye shadow for shading
- Craft blade
- Keyring hardware
How to Make It
Pick your favorite food item to recreate in miniature. For a croissant, roll tan clay into a triangle, score lines with a blade, then curve into that classic crescent shape.
A tiny baguette needs texture from a toothbrush and brown shading on the crust. Pizza slices get layers of tan crust, red sauce, yellow cheese, and your choice of toppings.
The secret to realistic-looking food is the shading—use crushed chalk pastels or makeup brushes dipped in brown eye shadow to add those toasted, baked edges.
FYI, these make fantastic gifts for foodies, chefs, or anyone who appreciates a good carb joke hanging from their bag.
Geometric Terrazzo Pattern Keychain
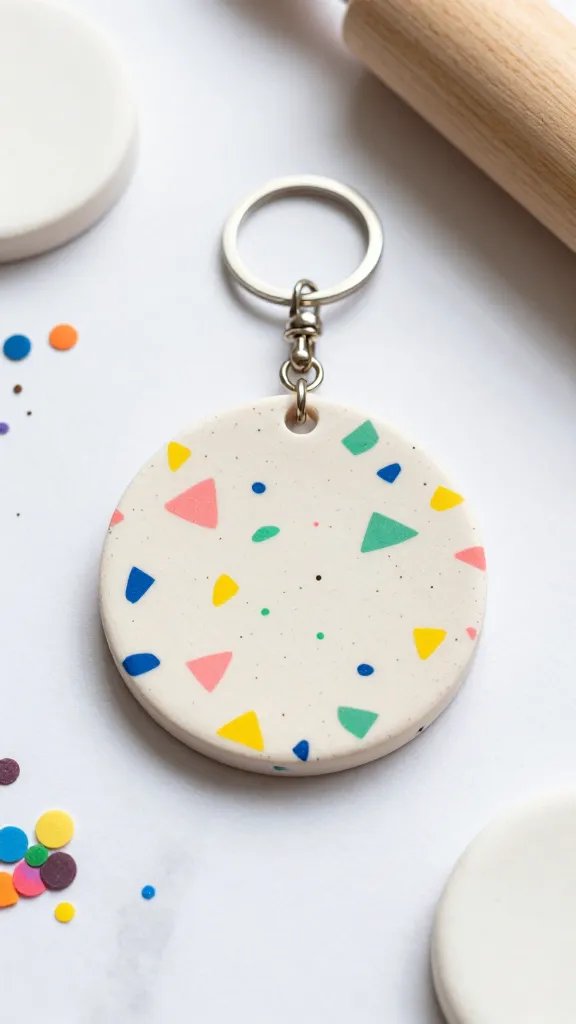
Terrazzo is that speckled, colorful pattern that’s been taking over interior design, and now you can carry it with you everywhere. This modern keychain looks complex but is actually one of the easiest projects on this list.
Materials Needed
- White or cream polymer clay
- Scraps of colored polymer clay
- Rolling pin
- Circle, square, or blob-shaped cutter
- Keyring hardware
How to Make It
Chop up your colorful clay scraps into tiny irregular pieces—think confetti-sized. Mix them into your white or cream base clay, but don’t blend them completely; you want those distinct color chunks showing through. Roll flat, cut your desired shape, add a hole, and bake.
The beauty of terrazzo is that it’s perfectly imperfect, so there’s zero pressure to make it look a certain way.
You can go bold with bright neons mixed into white, or keep it sophisticated with pastels in a cream base. Every keychain will be one-of-a-kind depending on which scrap colors you toss in.
Embossed Initial Monogram Keychain
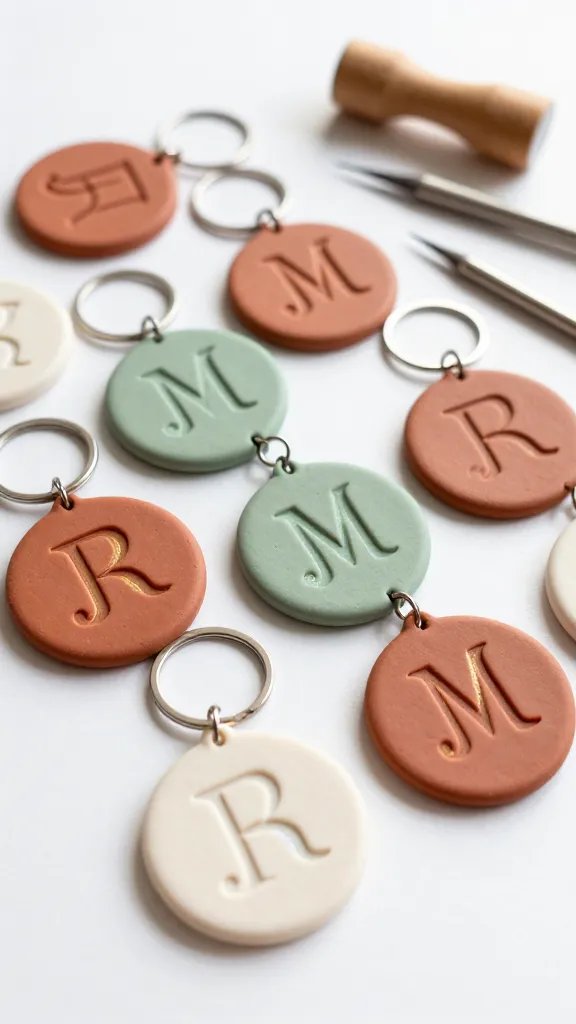
Sometimes simple is best, and a clean monogram keychain hits that sweet spot between personalized and elegant. This design looks professionally made and works for literally anyone on your gift list.
Materials Needed
- Polymer clay in your choice of color
- Letter stamps or alphabet cutters
- Circle or oval cutter
- Gold or silver acrylic paint
- Small paintbrush
- Keyring hardware
How to Make It
Roll out your clay to about a quarter-inch thickness and cut a circle or oval shape. Press a letter stamp firmly into the center to create an embossed initial. Make your hole, then bake according to package directions.
The magic happens after baking—lightly brush metallic paint over the surface, then immediately wipe it away with a damp cloth.
The paint stays in the recessed letter while the surface stays clean, creating that gorgeous contrast that looks incredibly high-end.
Choose classic colors like navy with gold lettering, blush pink with rose gold, or forest green with silver for a timeless look.
Pro Tips
Make a whole set with different family members’ initials for a coordinated key hook display. You can also add small embossed details around the letter like dots, stars, or tiny hearts for extra personality without overwhelming the minimalist vibe.
Let’s Get Started
There you have it—six completely different clay keychain projects to keep your creative hands busy.
Whether you’re drawn to the cosmic vibes of moon phases, the playful charm of tiny foods, or the modern elegance of a simple monogram, there’s a project here calling your name.
Grab some clay, turn on your favorite playlist, and start creating these adorable little accessories that prove good things really do come in small packages.






