
DIY Clay Coasters That Add Charm to Any Space

Ready to bring some creativity to your coffee table or kitchen counter? These DIY clay coasters are easy to make, beautifully customizable, and a fun way to add a unique handmade accent to your home.
When I started decorating my coffee table, I felt something was missing. My candles and handmade decor looked beautiful, but plain store-bought coasters lacked personality.
That’s when I tried making DIY Clay Coasters. Clay was affordable, easy to customize, and perfect for creating unique handmade designs.
With simple textures, colors, and creative details, I discovered how easy it was to turn clay into beautiful pieces that matched my style.
Below, I’m sharing easy DIY Clay Coasters ideas to add handmade charm to your home.
Marbled Masterpiece Clay Coasters With Gold Edges
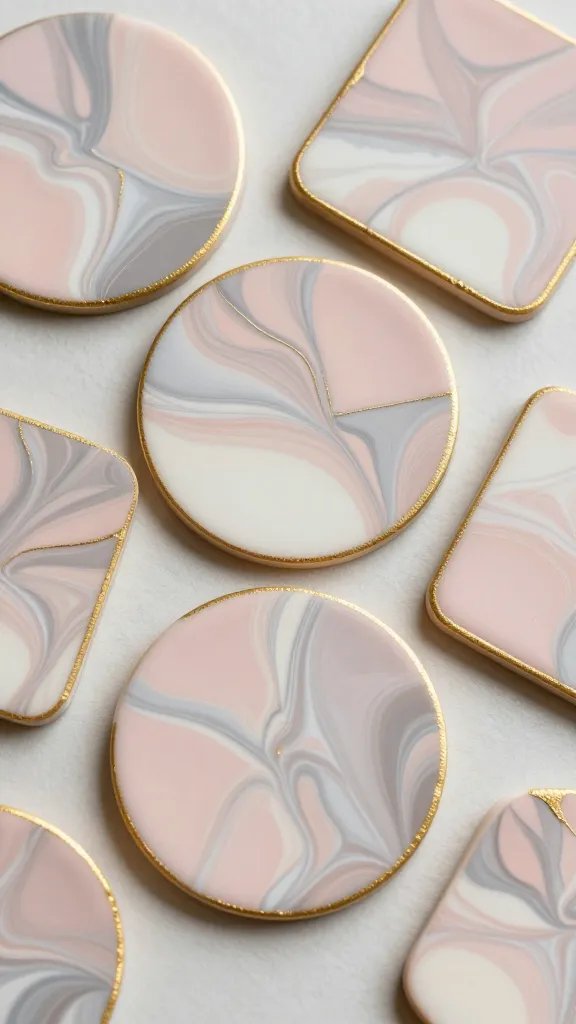
Picture this: swirls of soft blush pink, dove gray, and creamy white clay twisted together like fancy marble countertops, all finished off with a thin line of gold leaf around the edges.
These coasters look like they cost a fortune but take about 20 minutes to make.
The marble effect happens when you twist different colored clays together without fully blending them—you want those gorgeous streaks and veins running through.
Roll it flat, cut out circles or squares, then add that luxe gold leaf trim while the clay is still slightly tacky.
Materials Needed
- Air-dry clay in 2-3 colors (white, pink, gray work beautifully)
- Rolling pin
- Round cookie cutter or drinking glass
- Gold leaf sheets
- Clear sealer spray
Pro Tips
Don’t over-mix your clay colors—the magic is in those imperfect swirls. Once they’re dry, seal them really well since these babies will be holding drinks.
These make incredible housewarming gifts, and honestly, people will think you bought them from some fancy boutique.
Minimalist Geometric Stamped Coasters
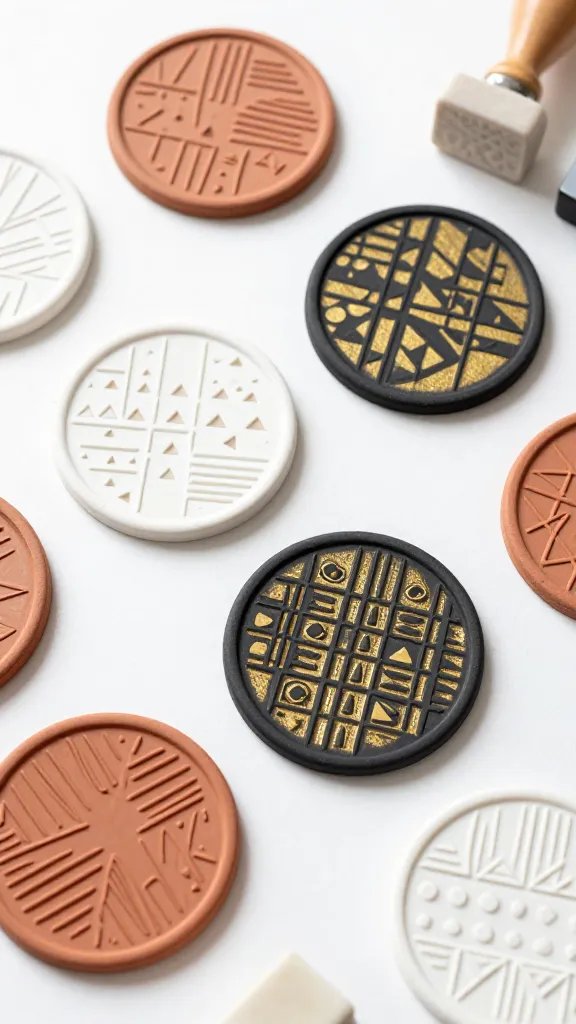
If clean lines and modern design are your thing, you’ll love these. Start with plain white or terracotta-colored clay, then use rubber stamps or even carved erasers to press geometric patterns into the surface before they dry.
Think tiny triangles, hexagons, or simple line patterns arranged in grids. The stamped impressions create texture and visual interest without being too busy.
You can leave them natural or paint the raised surfaces with black, navy, or metallics for extra contrast.
Materials Needed
- Air-dry clay in neutral colors
- Geometric rubber stamps or carved erasers
- Acrylic paint (optional)
- Small paintbrush
- Matte sealer
Styling Ideas
These look amazing in sets of four with slightly different patterns on each one. They’re perfect for that Scandinavian-minimalist aesthetic everyone’s obsessed with.
Set them on a wooden tray with a succulent, and your coffee table just became Instagram-worthy.
Terracotta Clay Coasters With Pressed Botanicals
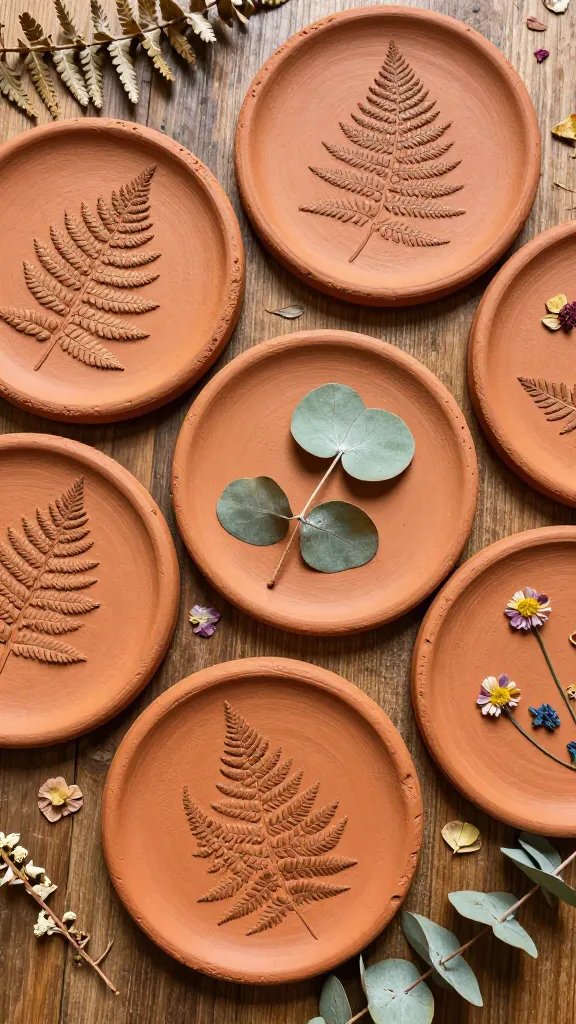
There’s something so earthy and beautiful about pressing real leaves, flowers, or ferns into clay.
Use terracotta or natural-colored clay, press in your botanical elements while it’s still soft, then carefully remove them to leave behind delicate imprints.
Fern fronds create the most stunning detailed patterns, but eucalyptus leaves, small flowers, or even herb sprigs work beautifully.
The finished coasters have this organic, nature-inspired vibe that works with literally any decor style.
Materials Needed
- Terracotta air-dry clay
- Fresh leaves, ferns, or flowers
- Rolling pin
- Circle cutter
- Natural oil finish or clear sealer
How to Make It
Roll your clay to about quarter-inch thickness, press your botanical firmly into the surface, then gently peel it away.
Cut your coaster shape around the imprint. Let them dry completely—seriously, give it 24-48 hours—then seal with either a natural oil for a matte look or a spray sealer for more protection.
These are absolutely perfect for plant lovers or anyone who gravitates toward that cottagecore aesthetic.
Colorful Confetti Speckled Clay Coasters
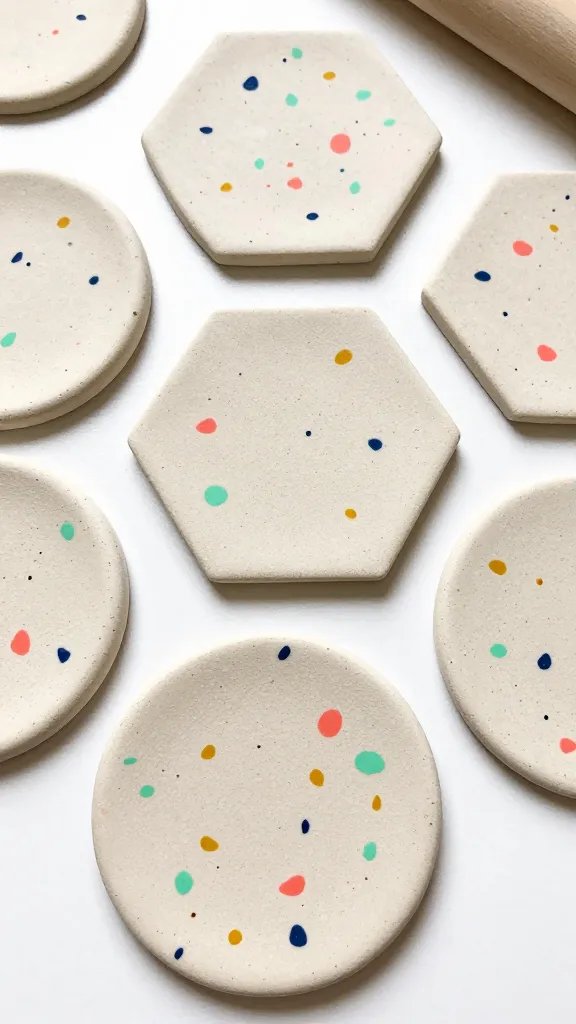
Want something fun and playful? Mix tiny clay confetti pieces into a base color for coasters that look like terrazzo or speckled stoneware.
Use a white or cream base, then knead in small flecks of bright colors—think coral, mint, mustard yellow, and navy.
The technique is super simple but the results look professionally made. Roll everything together so the confetti pieces are embedded throughout, then cut your shapes.
The random distribution of colors means each coaster is totally unique.
Materials Needed
- White or cream air-dry clay for base
- Small amounts of colored clay (4-5 bright colors)
- Rolling pin
- Square or circle cutter
- Sandpaper for smoothing edges
- Waterproof sealer
Pro Tips
Cut your confetti pieces small—like rice-grain size—for the most authentic terrazzo look.
These work beautifully in kitchens with colorful tile backsplashes or anywhere you want to add a pop of personality. Trust me, they’re addictive to make once you start.
Textured Linen-Impression Clay Coasters
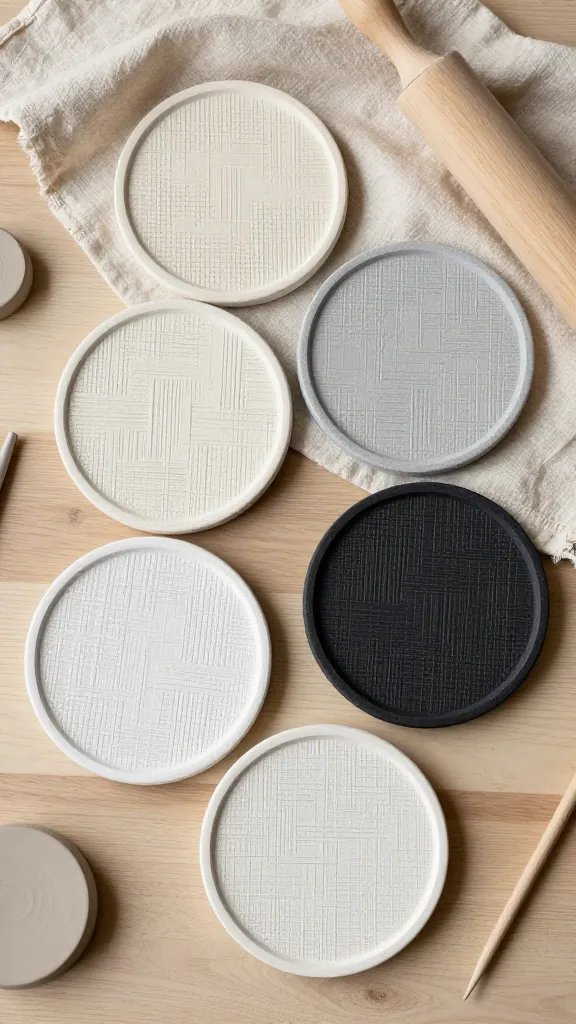
Here’s a clever trick: roll your clay out over a piece of linen fabric or burlap, and it picks up the weave texture for an instant fabric-like finish.
The result is coasters with gorgeous, subtle texture that feels almost like woven cloth frozen in clay.
This technique works best with neutral clays—think white, cream, soft gray, or even black. The texture catches light beautifully and adds so much visual interest without any color or pattern needed. Simple, sophisticated, and surprisingly elegant.
Materials Needed
- Air-dry clay in neutral tones
- Linen fabric or burlap
- Rolling pin
- Round cutter
- Matte sealer
Styling Ideas
These have major coastal grandmother energy—in the best way possible. They look incredible with white ceramic mugs and simple table settings.
FYI, you can experiment with different fabrics like lace or canvas for completely different textures. Each fabric creates its own unique impression, so play around and see what you love.
Rainbow Ombre Stacked Clay Coasters
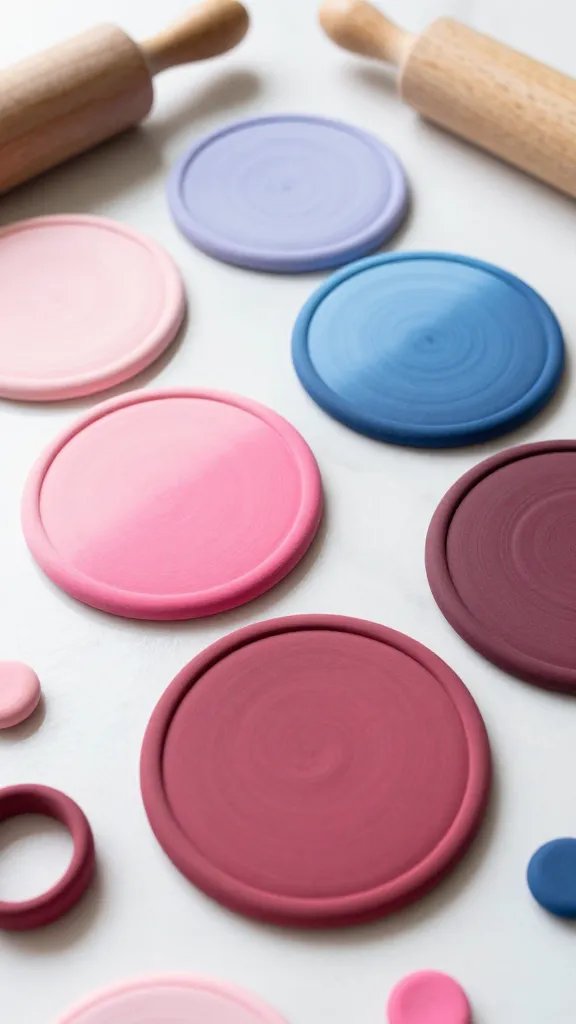
Go bold with coasters that fade from one color to another in a beautiful gradient. Mix clay in several shades of the same color family—like light pink to hot pink to burgundy, or pale blue through navy—then layer thin slices together before rolling and cutting.
The ombre effect runs through the entire coaster thickness, so you get that gorgeous color fade from every angle. These are total showstoppers and way easier to make than they look.
Materials Needed
- Polymer or air-dry clay in 4-5 graduated shades
- Sharp blade or clay cutter
- Rolling pin
- Circle or square cutter
- Gloss sealer for vibrant finish
How to Make It
Roll each color into flat sheets, stack them in order from lightest to darkest, then cut thin slices through all the layers.
Arrange these slices side by side, roll smooth, and cut your coaster shapes. The gradient flows seamlessly across each piece.
These work beautifully as gift sets—imagine sunset colors for a beach house friend or cool blues for someone who loves coastal vibes. They’re playful enough for kids’ rooms but chic enough for adult spaces too.
Ready to Get Crafty?
The best part about DIY clay coasters? There are zero rules. Mix techniques, experiment with colors, or come up with your own completely unique style.
Whether you make one set or all six, you’ll end up with functional art that protects your furniture and actually looks amazing doing it. Grab some clay and get rolling—your coffee table is about to look so much cooler.






