
7 DIY Clay Beads Ideas You’ll Love to Make

Want to turn simple materials into something beautiful? With these DIY clay beads ideas, you can create unique, handmade pieces that reflect your personality. From bracelets to home decor accents, the possibilities are endless!
When I first tried DIY Clay Beads, I didn’t expect such a small craft to feel so meaningful. Store-bought beads looked perfect, but they lacked personality, so I wanted something more personal and handmade.
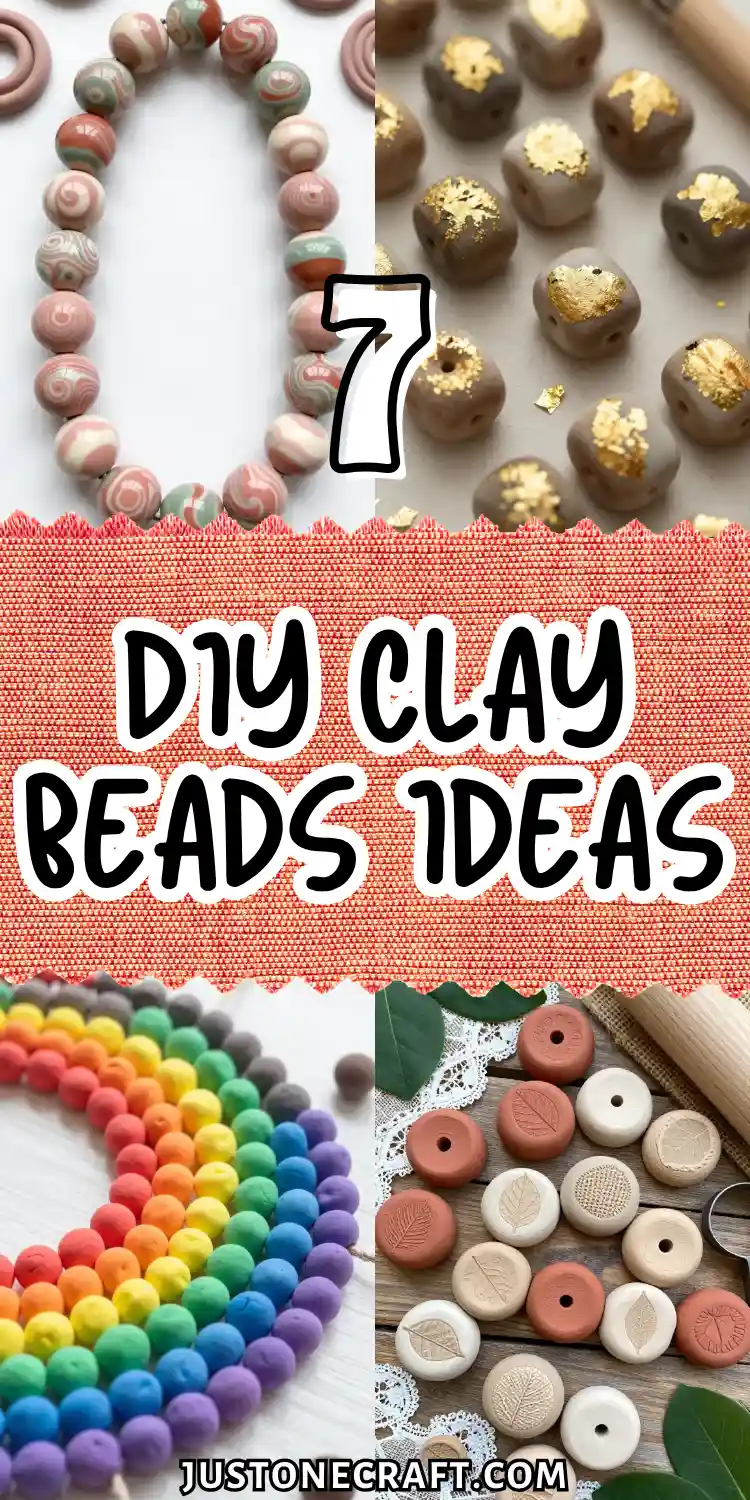
At first, shaping clay felt intimidating. But once I started, I realized the beauty isn’t in perfection, it’s in the unique character of each bead.
With simple techniques like rolling or adding texture, plain clay turns into something special. What I discovered is that making your own beads isn’t just a craft, it’s a relaxing, creative experience.
Marbled Polymer Clay Beads for Statement Necklaces
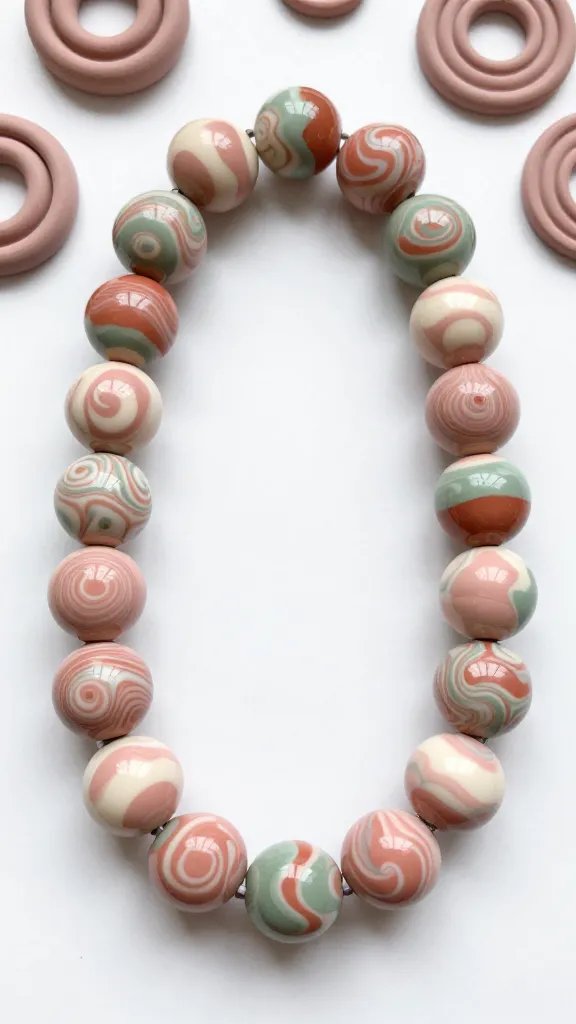
Marbled polymer clay beads are seriously stunning, and creating that marbled effect is actually super simple.
You just twist together different colored clay strands until you get those gorgeous swirls, then roll them into perfectly imperfect beads.
Materials Needed
- Polymer clay in 2-3 coordinating colors (think dusty rose with cream, or terracotta with sage)
- Toothpicks or wooden skewers for making holes
- Baking sheet and parchment paper
- Rolling pin or smooth cylinder
How to Make It
Start by conditioning your clay until it’s soft and pliable. Take equal amounts of your chosen colors and roll them into long snakes, then twist them together like a candy cane.
Fold and twist a few more times until you see those beautiful marbled patterns forming, but don’t overdo it or the colors will blend completely.
Roll small portions into beads, poke holes through the centers, and bake according to your clay package instructions.
These beads look absolutely gorgeous as chunky necklaces paired with simple gold spacer beads. The marbled effect means each bead is completely unique, so your jewelry will be truly one-of-a-kind.
Terracotta-Style Air Dry Clay Planters with Built-In Drainage
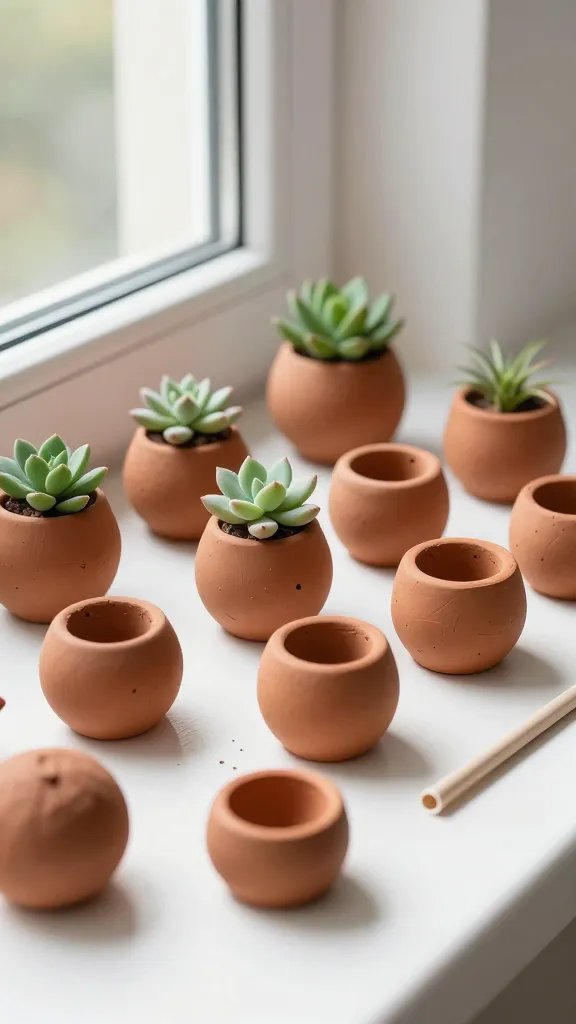
Who says clay beads have to be tiny? These oversized hollow beads double as the cutest mini planters you’ve ever seen.
Using air-dry clay, you can create bead-shaped planters that have that trendy terracotta aesthetic without needing a kiln.
They’re perfect for tiny succulents or air plants and look amazing clustered together on a windowsill.
Materials Needed
- Air-dry clay in terracotta or white
- Small round object for shaping (like a ping pong ball)
- Drinking straw for creating holes
- Sandpaper for smoothing
- Optional: acrylic paint or sealant
Form the clay around your round object to create a hollow half-sphere, then carefully remove it and create another half.
Join them together with a little water, leaving an opening at the top for your plant.
Use the straw to poke a hole straight through the center for drainage and to thread twine through if you want to hang them. Let them dry completely for 24-48 hours.
These little cuties are perfect for anyone who wants plant decor that’s a bit more creative than the standard pot. Plus, they make thoughtful housewarming gifts when you pop a succulent inside.
Geometric Faceted Clay Beads for Modern Bracelets
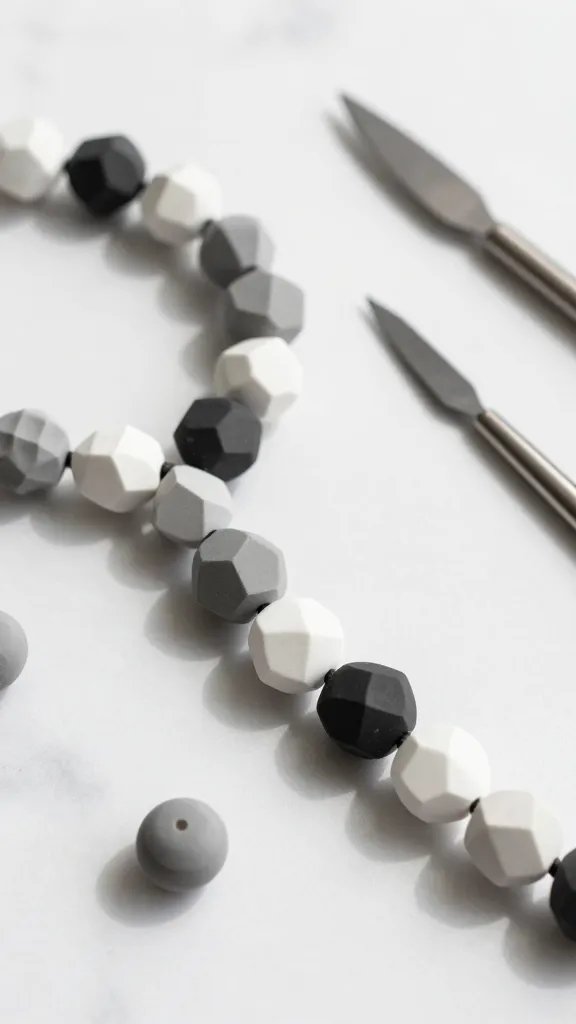
If your style leans more modern minimalist than boho, these geometric faceted beads are calling your name.
By gently pressing and shaping polymer clay into angular, multifaceted forms, you create beads that catch the light beautifully and look super sophisticated.
Think of them as the architectural jewelry your outfit’s been missing.
Pro Tips
Use a craft knife or clay blade to create flat surfaces on round beads, working your way around to create even facets.
Stick to a monochrome palette like all black, all white, or varying shades of gray for that ultra-modern vibe.
The key is keeping your facets relatively uniform in size so the beads have that intentional, designed look rather than just smooshed.
String these onto elastic cord for a sleek bracelet, or mix them with tiny gold beads for contrast.
They’re perfect for anyone who thinks most handmade jewelry looks too cutesy and wants something with serious style credentials.
Ombre Gradient Clay Beads for Rainbow Wall Hangings
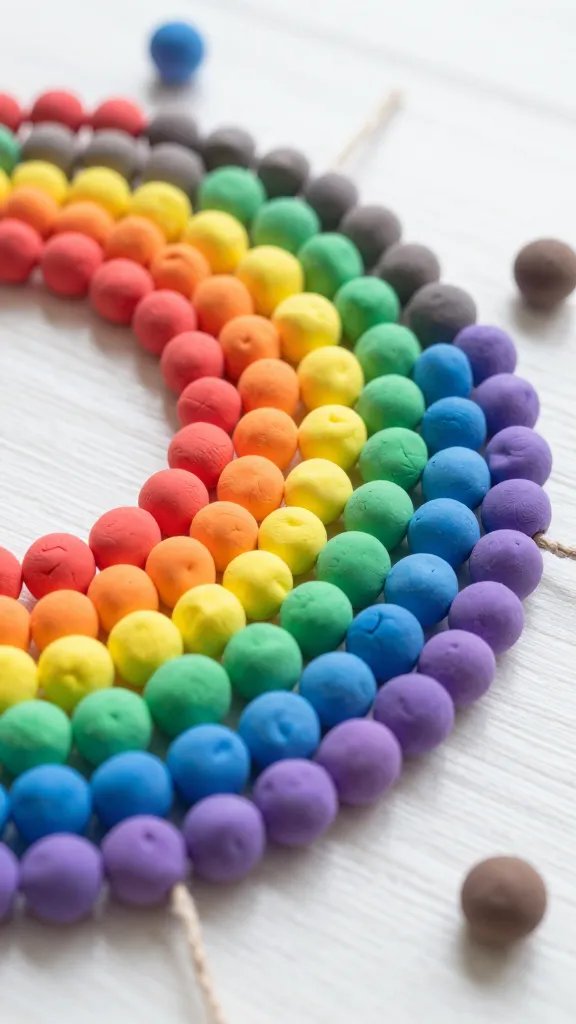
Rainbow everything is still going strong, and these ombre gradient beads take that trend to the next level.
By carefully blending clay colors to create smooth gradients, you can make beads that transition beautifully from one shade to the next.
String them in color order and you’ve got yourself a stunning rainbow wall hanging that’s way more sophisticated than it sounds.
How to Make It
Start with two colors that are next to each other on the rainbow spectrum. Blend tiny amounts of one color into the other, creating several shades in between.
Roll beads from each shade, going from lightest to darkest. Repeat this process for each color transition in the rainbow.
Once baked and cooled, string your gradient beads onto macramé cord along with some natural wood beads for contrast.
Add a driftwood branch at the top and you’ve got Instagram-worthy wall art. Trust me, people will ask where you bought it.
Textured Clay Beads with Natural Imprints
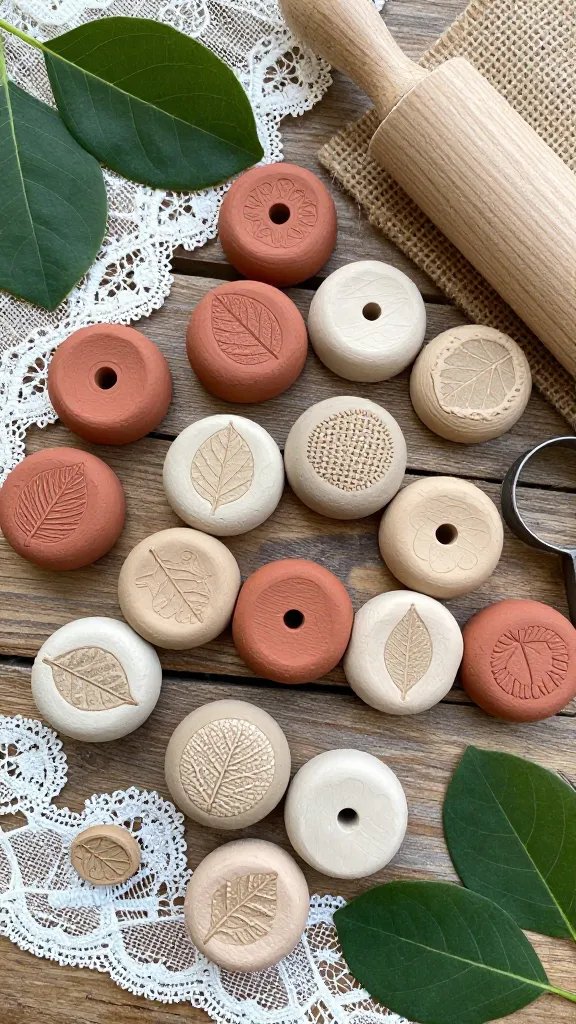
Here’s where you can get seriously creative and bring the outdoors in. Textured clay beads made by pressing real leaves, lace, fabric, or even tree bark into soft clay create the most beautiful organic patterns.
Each bead becomes a tiny nature-inspired work of art with incredible detail.
Materials Needed
- Polymer or air-dry clay in earthy tones
- Texture sources: pressed flowers, leaves, burlap, lace, shells
- Rolling pin
- Circle cutters in various sizes
Roll your clay flat, press your texture item firmly into the surface, then carefully peel it away.
Use circle cutters to cut out beads from the textured sheet, or hand-roll them for more organic shapes. The texture will remain beautifully imprinted in your clay.
These beads are absolutely gorgeous as earthy, bohemian jewelry or strung onto jute twine as rustic napkin rings for your next dinner party.
The natural textures give them such a handcrafted, artisanal vibe that store-bought beads just can’t match.
Miniature Clay Bead Fruit Charms for Summer Jewelry
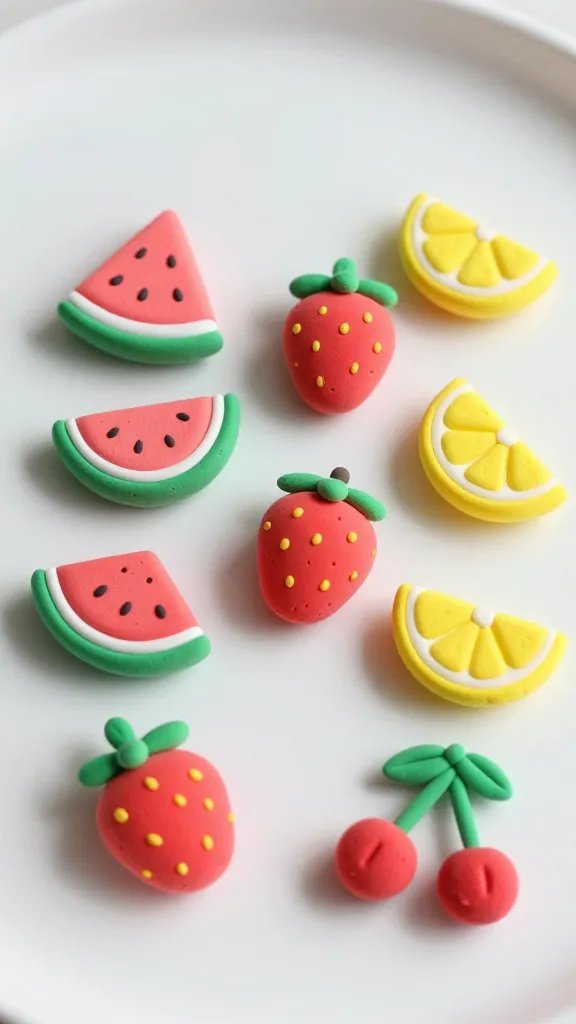
Okay, can we talk about how adorable tiny fruit beads are? These miniature clay fruits—think watermelon slices, strawberries, lemons, and cherries—add the most playful, summery touch to bracelets and necklaces.
They’re fun to make, even more fun to wear, and seriously cute.
How to Make It
For watermelon slices, layer pink and green clay with tiny black seed details using a toothpick.
For strawberries, shape red clay into a cone, add tiny yellow seed dots, and top with a green clay leaf.
Lemons are just yellow ovals with white clay layers inside when you slice them. Get creative with your favorite fruits.
These are perfect for kid-friendly jewelry projects or for anyone who loves accessories with personality.
Mix your fruit beads with colorful seed beads on stretchy cord for the ultimate summer bracelet stack. FYI, they also make amazing zipper pulls for backpacks.
Metallic Gold-Leaf Accent Beads for Luxe Jewelry
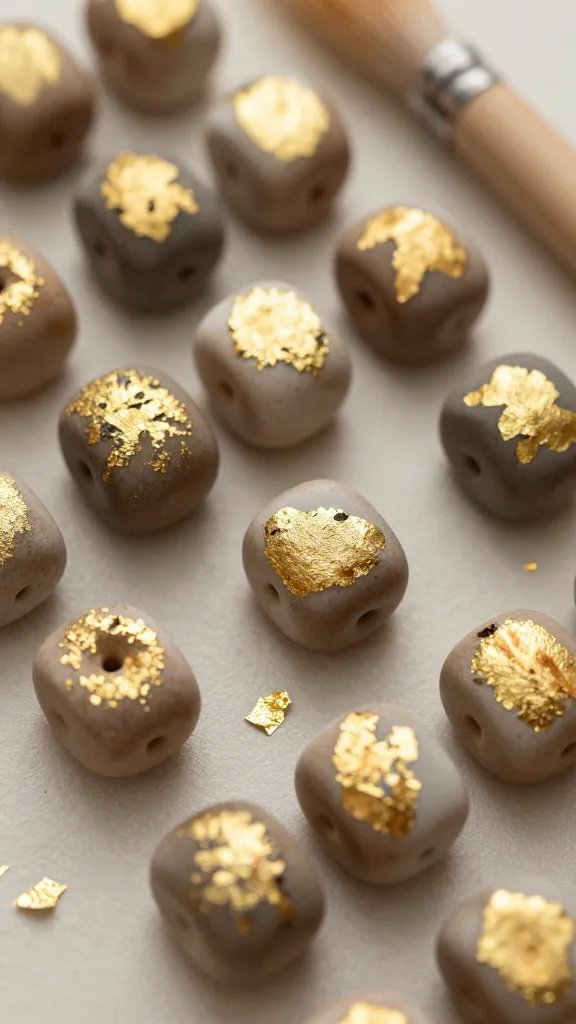
Want to take your clay beads from handmade to high-end? Add some metallic gold leaf accents.
By applying delicate sheets of gold leaf (or silver, or copper) to portions of your clay beads, you create pieces that look like they came from an expensive boutique.
The contrast between matte clay and shimmering metal is absolutely gorgeous.
Pro Tips
Apply gold leaf to unbaked polymer clay using a soft brush, pressing it gently onto the surface.
You can cover entire beads, create random patches, or apply it just to raised texture areas. Seal with a clear varnish after baking to protect the metallic finish.
These elegant beads work beautifully for special occasion jewelry or as thoughtful handmade gifts for friends who appreciate the finer things.
Pair them with simple chain for necklaces that look way more expensive than their actual cost.
Styling Ideas
- Mix metallic beads with neutral clay beads in white, black, or gray
- Create dainty bracelets with just one or two accent beads
- String them as decorative pulls for curtains or light fixtures
The luxe factor these beads bring is unmatched, and they prove that DIY doesn’t have to mean basic.
Your Turn to Craft
There you have it—seven completely different ways to work with clay beads that go way beyond basic.
Whether you’re into modern minimalism, boho vibes, or playful summer fun, there’s a project here with your name on it.
The beauty of clay is that it’s so forgiving and customizable, so don’t be afraid to experiment with colors, textures, and techniques.
Pick your favorite idea and get rolling—your next favorite accessory or home decor piece is just a little clay away!






