
DIY Candle Making for Beginners: Simple & Stylish Ideas

Want to start making your own candles but don’t know where to begin? You’re in the right place! These DIY candle making ideas for beginners are simple, fun, and perfect for creating beautiful candles at home without any stress.
My First Candle Making Story
The first candle I ever made looked less like a cozy home accessory and more like a wax volcano.
I poured way too hot, skipped the part about centering the wick, and ended up with a candle that tunneled straight down the middle after one burn. Sound familiar?
Here’s the thing, though — my “aha” moment came when I finally slowed down and paid attention to temperature.
Turns out candle making isn’t about rushing to the pretty part (the pour). It’s about respecting a few small details along the way.
Once that clicked, everything changed. My candles started burning evenly, smelling stronger, and honestly looking like something I’d actually buy in a store.
So if your first attempt goes sideways, trust me — that’s basically a rite of passage. A few simple techniques are all that stand between you and candles you’ll be proud to light (or gift).
Candle Making Basics Every Beginner Should Know
Three things make or break a candle: your wax type, your wick size, and your pour temperature.
Different waxes (soy, beeswax, coconut) behave differently, so matching the right wick to your wax and vessel size prevents tunneling or drowning.
Pouring at the temperature recommended for your wax — usually noted on the packaging — helps your candle set smoothly instead of cracking or sinking in the middle.
DIY Candle Making for Beginners
Classic Soy Wax Mason Jar Candles
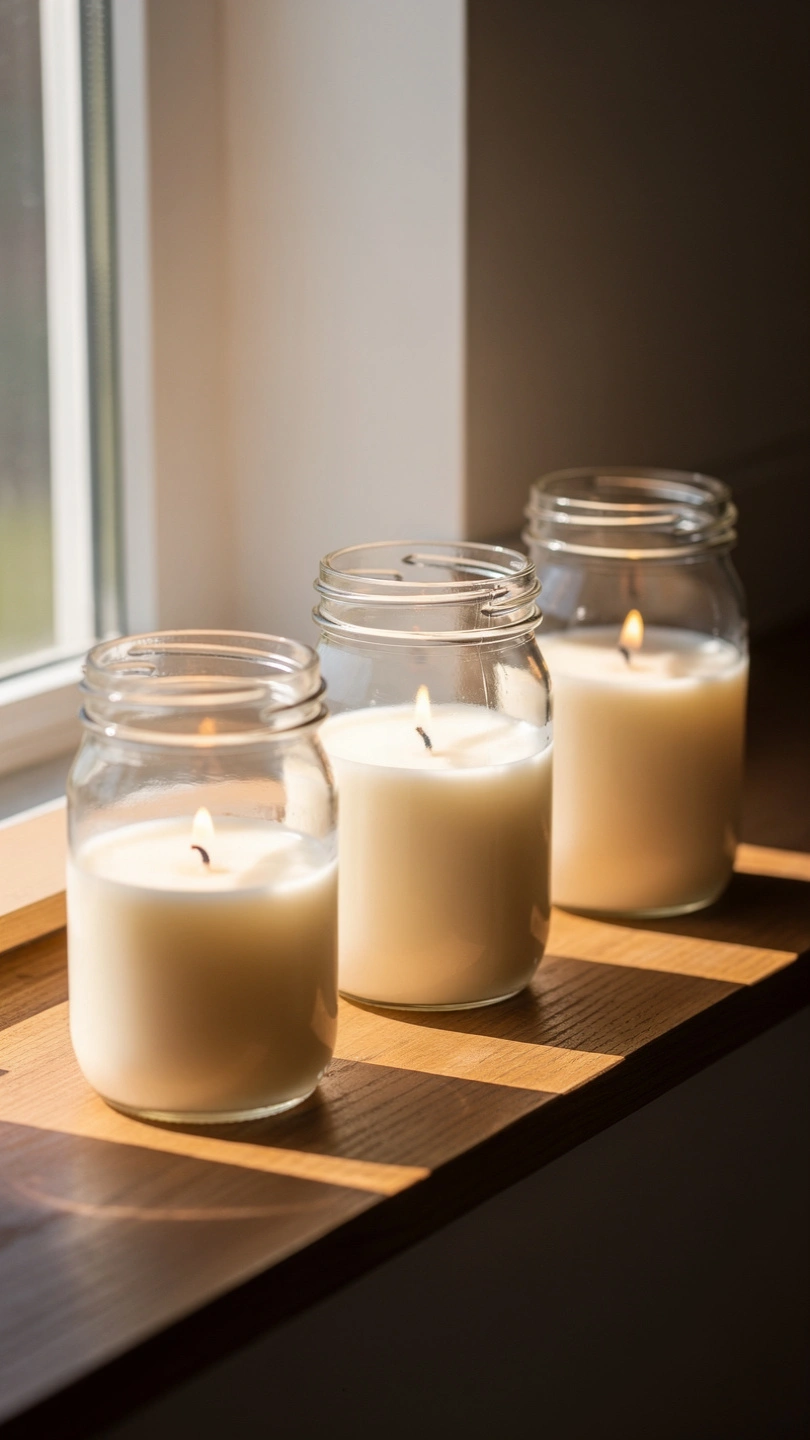
Picture this: a windowsill lined with simple glass jars, each one glowing softly with your favorite scent.
This is the candle-making equivalent of learning to ride a bike — foundational, forgiving, and endlessly useful.
Essential Supplies for Candle Making
- Soy wax flakes
- Mason jars
- Cotton wicks with metal tabs
- Fragrance oil
- Double boiler or a heat-safe pouring pitcher
- Wooden skewers or wick centering tool
Melt your soy wax slowly over a double boiler until it’s fully liquid, then stir in your fragrance oil once it cools to the recommended pour temperature (usually printed right on the wax bag).
Center your wick in the jar using a skewer laid across the top, then pour slowly to avoid trapping air bubbles.
Let it cure undisturbed for a few hours, and resist the urge to move it too soon. These are perfect for gifting to just about anyone, since the scent options are endless and the look never goes out of style.
Rolled Beeswax Candles (No Melting Required)
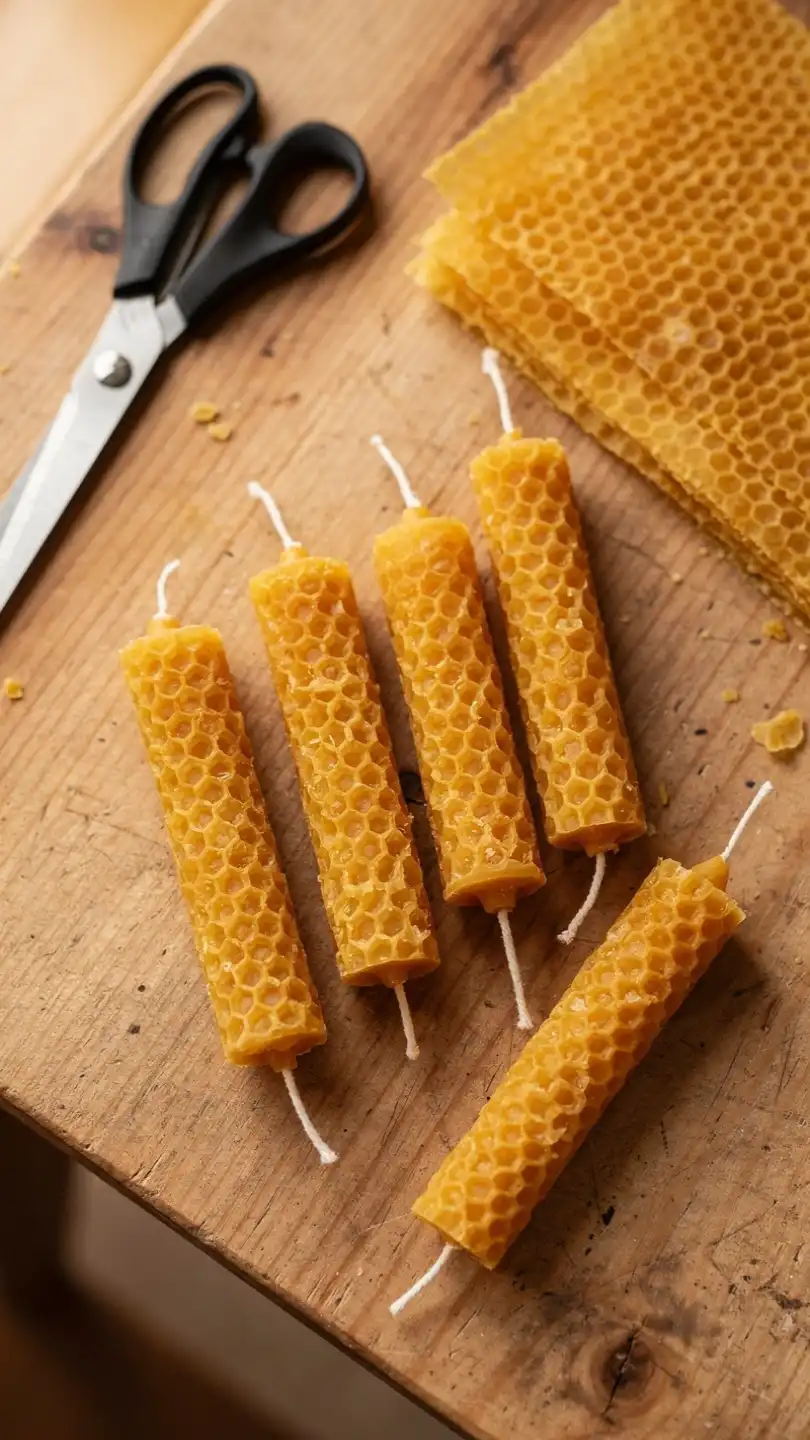
Here’s a fun twist for anyone nervous about hot wax: these candles use sheets of beeswax you simply roll by hand. No stove, no thermometer, just warm beeswax and a little patience.
Candle Making Materials Checklist
- Beeswax sheets
- Cotton wick
- Hairdryer (optional, for softening wax in cooler rooms)
- Scissors or a craft knife
Lay a beeswax sheet flat and press a length of wick along one short edge, leaving a bit extending past the top.
Starting from that edge, roll the sheet tightly and evenly, applying gentle pressure so there are no air gaps between layers.
If your beeswax feels stiff or cracks as you roll, a few seconds of warm hairdryer air will soften it right up.
Trim the wick to about a half inch, and you’re done — no cooling time needed. These are wonderful for kids’ craft nights or last-minute gifts, since there’s zero wait time between making and enjoying.
Layered Gel Candles with Dried Botanicals
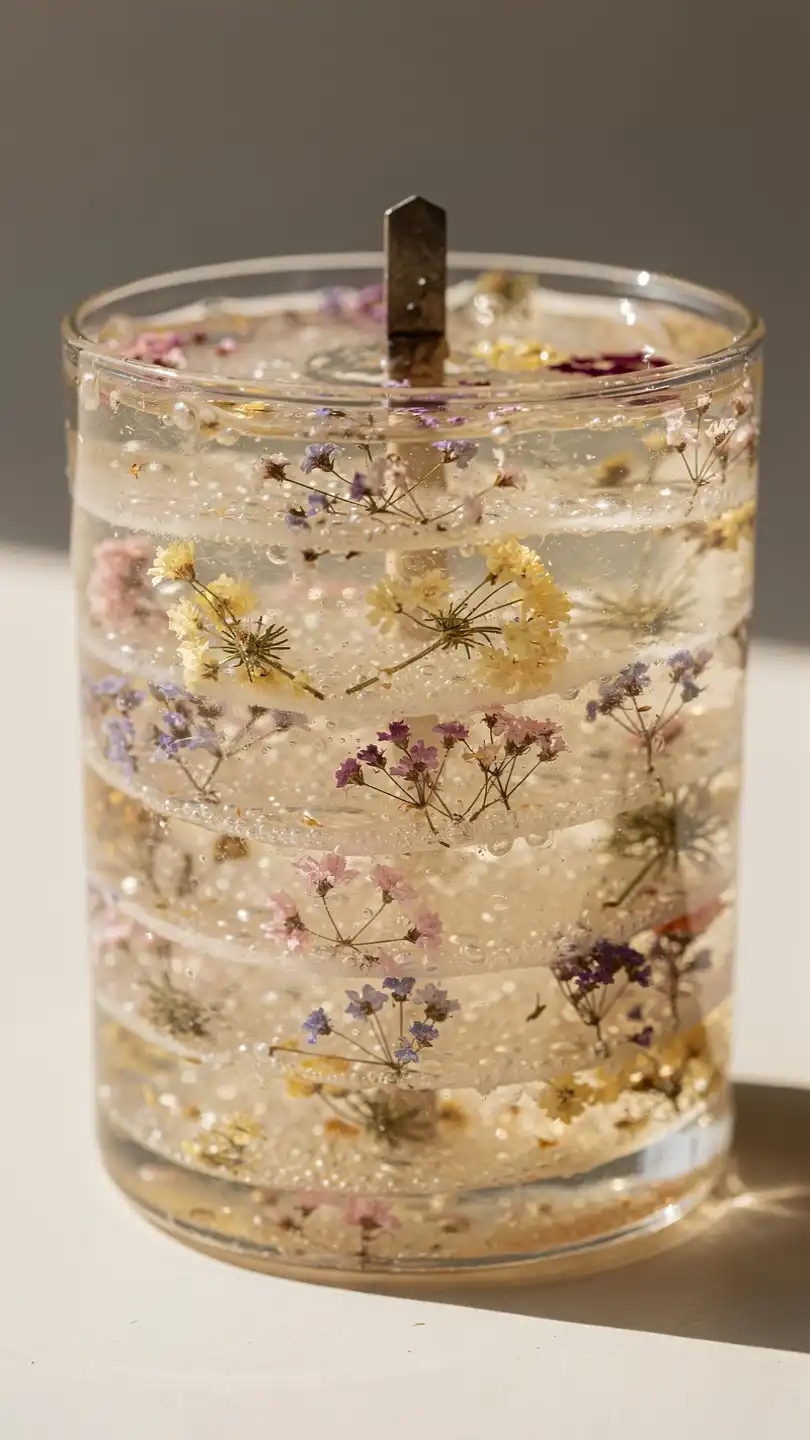
Imagine a candle that looks like it’s frozen mid-bloom, with tiny dried flowers suspended in clear, glassy layers. It’s a slightly more advanced project, but the payoff is seriously stunning.
Tools and Ingredients You’ll Need to Make Candles
- Clear gel wax
- Dried flowers or botanicals
- Glass container
- Wick with metal tab
- Heat-safe glue dots
Melt your gel wax slowly, since it scorches more easily than soy or beeswax if overheated.
Pour a thin base layer first, let it firm up slightly, then press in your dried flowers before adding the next layer — this keeps everything from floating to the top.
Continue layering and cooling in stages until you reach the top of your container.
Because gel holds botanicals so beautifully, this one’s ideal for romantic gifts, wedding favors, or anyone who loves a rustic, garden-inspired aesthetic.
Modern Concrete Vessel Candles
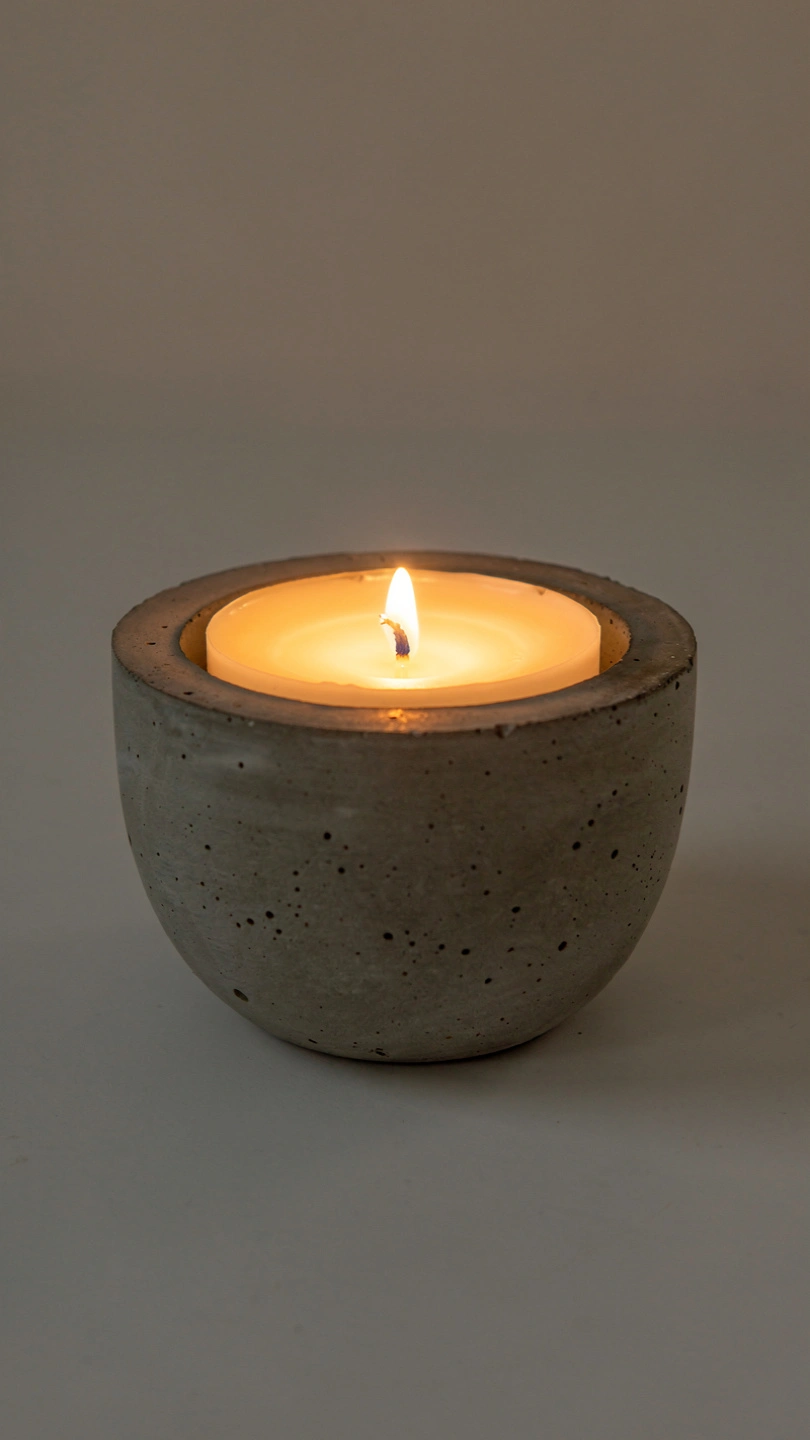
Who says candles can’t double as sculptural decor? This idea pairs raw, minimalist concrete with warm candlelight for a look that feels straight out of a design magazine.
Basic Candle Making Supplies for Beginners
- Quick-setting concrete mix
- Silicone mold (cup-shaped)
- Soy or coconut wax
- Cotton wick
- Fragrance oil (optional)
Mix your concrete according to the package instructions and pour it into your silicone mold, tapping gently to release air bubbles. Once it’s fully cured (usually 24 hours), pop it out and you’ve got your vessel ready for wax.
Melt and pour your wax into the finished concrete cup just like you would a jar candle, centering the wick as it sets.
The contrast between industrial concrete and soft candlelight makes this a favorite for modern apartments or minimalist home offices.
Citrus Peel Bowl Candles
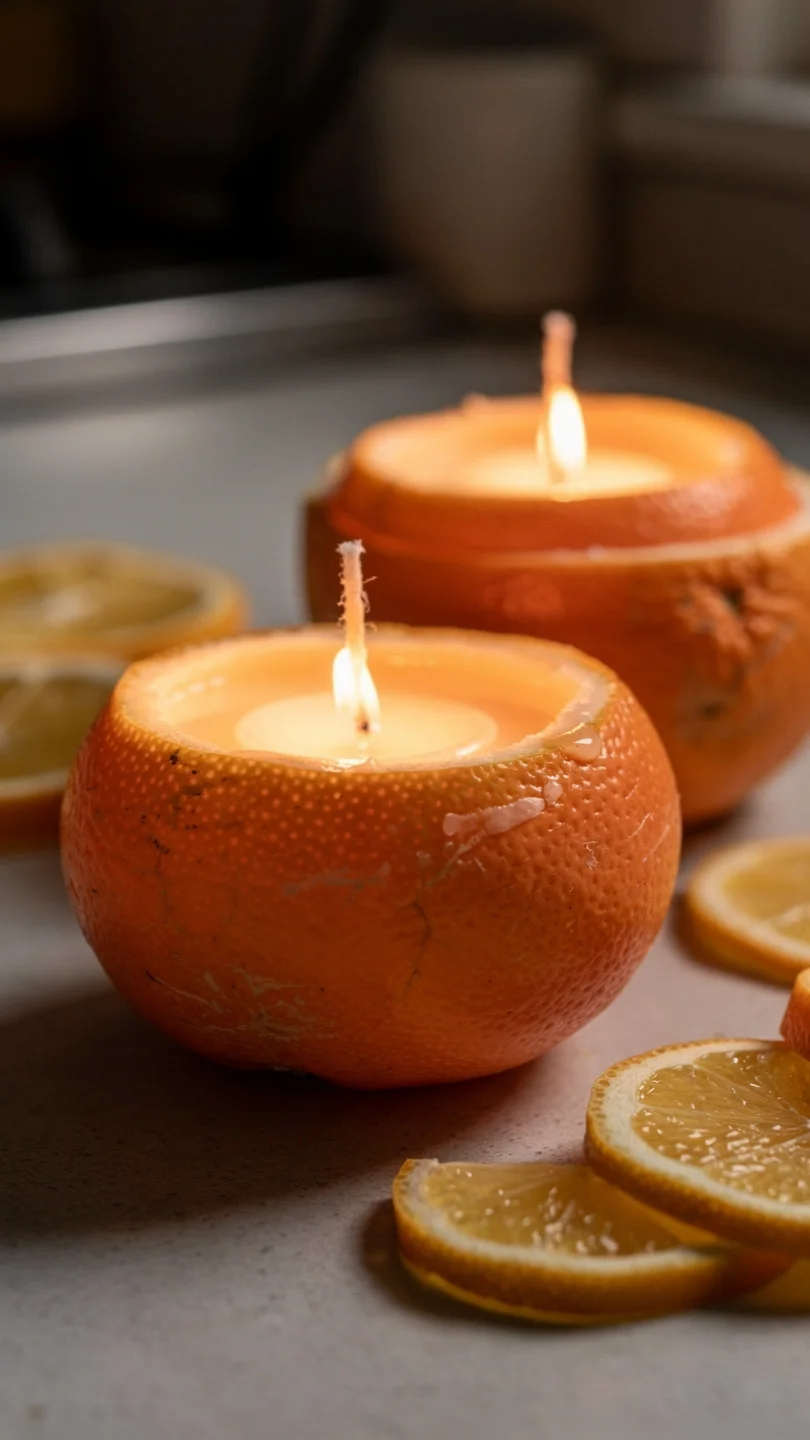
Here’s a twist that turns kitchen scraps into something genuinely charming: candles poured directly into hollowed-out orange or grapefruit peels.
Materials Needed
- Whole oranges or grapefruits
- Soy or coconut wax
- Small cotton wicks
- Citrus or vanilla fragrance oil
- Sharp knife and spoon
Slice your citrus in half and carefully scoop out the fruit, leaving the peel intact as a natural bowl (save the fruit for a smoothie — waste not!).
Let the peels dry slightly at room temperature so they hold their shape better during pouring.
Melt your wax, add a citrus-complementary scent, and pour into the peel “cups,” centering a small wick as you go.
Because these are so quick and low-cost, they’re great for a spontaneous weekend project or a rustic centerpiece at a dinner party.
Color-Block Layered Candles
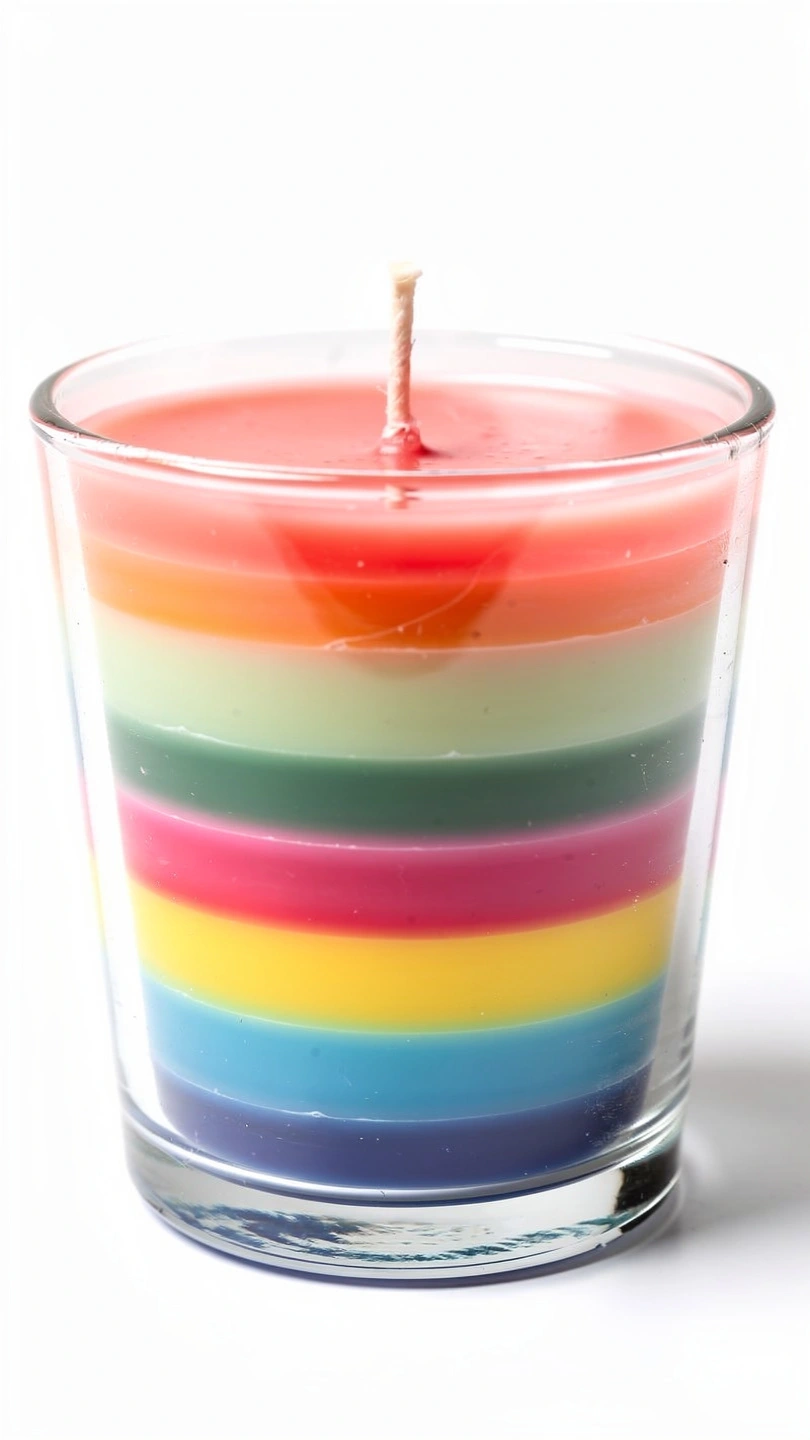
Picture a candle that looks like a tiny abstract painting — bold horizontal bands of color stacked in a clear glass.
It takes a bit more patience than a single pour, but it’s endlessly satisfying to watch come together.
Everything You Need to Start Making Candles
- Soy wax flakes
- Candle dye chips (multiple colors)
- Clear glass container
- Cotton wick
- Fragrance oil
Melt and color your first batch of wax, pour a thin layer, and let it firm up completely before adding your next color — patience here is everything, since pouring too soon will blur your layers together.
Repeat with each new color, adjusting layer thickness for whatever pattern you’re going for.
Keep your wick centered and taped in place throughout the process so it doesn’t drift as layers build.
This one’s a showstopper for modern, gallery-style shelves, and it makes an unforgettable gift for anyone who loves bold, graphic design.
Vintage Teacup Candles
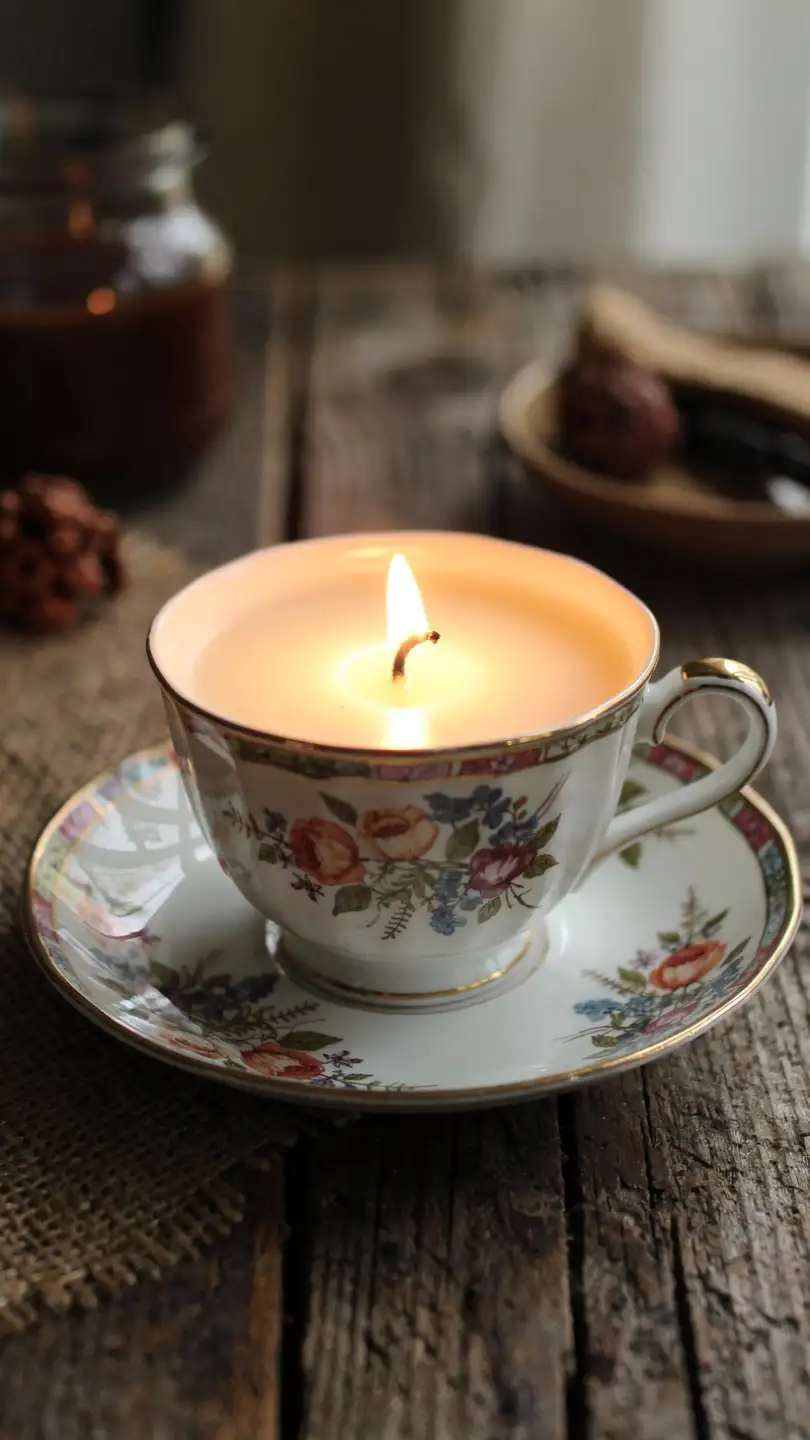
There’s something irresistibly cozy about sipping tea from a cup that used to hold… well, also felt like tea. These candles repurpose thrifted teacups into fragrant little heirlooms.
Materials Needed
- Vintage or thrifted teacups
- Coconut or soy wax
- Cotton wick with metal tab
- Warm, cozy fragrance oil (vanilla, chai, amber)
- Glue dots
Secure your wick to the base of the teacup with a glue dot, making sure it sits dead center. Melt your wax slowly, blend in a warm fragrance, and pour gently to avoid splashing over the cup’s delicate handle.
Let the candle cure fully before trimming the wick, and consider pairing it with a matching saucer for extra charm.
These make especially lovely gifts for grandmothers, tea lovers, or anyone who appreciates a bit of old-world romance.
Mini Pumpkin Spice Candles
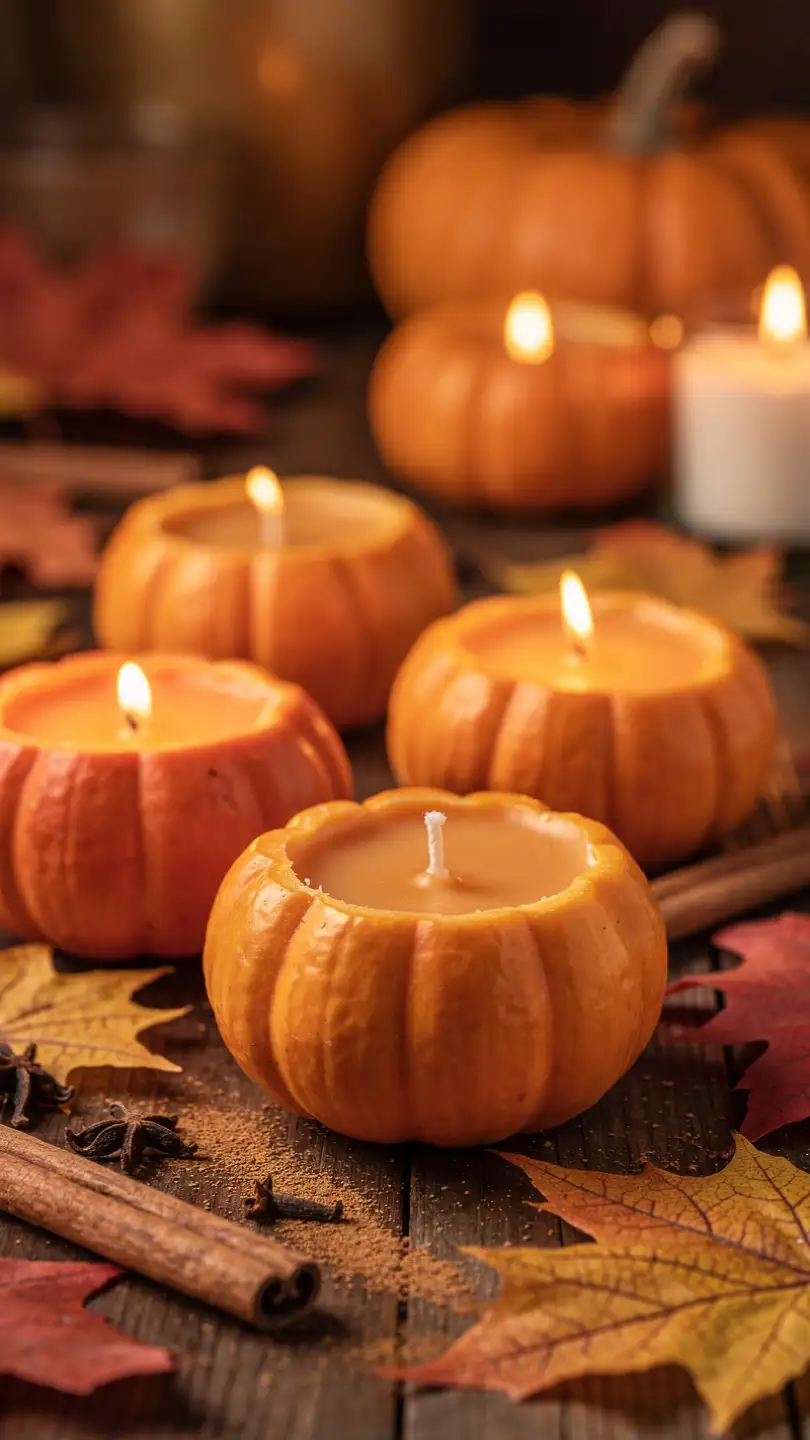
Here’s a seasonal favorite that turns actual mini pumpkins into rustic, spice-scented candle vessels — ideal for autumn tables or cozy gifting.
Materials Needed
- Small pumpkins (real or faux-hollow)
- Soy wax
- Cotton wick
- Warm spice fragrance oil (cinnamon, clove, nutmeg)
- Knife and spoon for hollowing
Cut a lid from the top of each pumpkin and hollow it out carefully, keeping the walls thick enough to hold wax without leaking.
If you’re using real pumpkins, let the inside dry out for a day or two before pouring to avoid excess moisture.
Melt your wax with a warm spice fragrance, then pour it into the hollowed pumpkin, centering your wick as it sets.
These are perfect for fall gatherings, hostess gifts, or dressing up a mantel without spending a fortune on seasonal decor.
Time to Create
From the sleek, modern lines of the concrete vessel candle to the soft romance of gel candles with dried florals, there’s a project here for every mood and skill level.
Once you’ve got the basics of wax, wick, and temperature down, the real fun begins — endless colors, scents, and containers are yours to experiment with.
So melt some wax, pick your favorite idea, and get ready to fall in love with your new favorite hobby.






