
Candle Gift Ideas Everyone Will Love

A good gift doesn’t have to be complicated. Candle gifts are easy, elegant, and always appreciated. Check out these ideas to find beautiful candles that add warmth and charm to any space.
Last winter, I struggled to find the perfect gift for my best friend. I didn’t want something generic, but I also didn’t have time for a complicated DIY project. That’s when I turned to candle gifts, simple, beautiful, and meaningful when done right.
As I experimented with scents, colors, and small personal touches like handwritten labels, what started as a quick idea became one of the most loved gifts I’ve ever given.
Candle gifts strike the perfect balance between effort and elegance. They’re easy to customize, always appreciated, and can turn even a small gesture into something truly special.
Understanding the Basics of Candle Making Before You Begin
Three things make or break a homemade candle: the wax-to-fragrance ratio, your pour temperature, and wick size.
Too little fragrance oil and your candle won’t throw scent; too much and it can smoke or pool.
Pouring wax too hot causes cracking and shrinkage, while the wrong wick size means your candle either drowns itself or burns unevenly.
Get those three dialed in, and pretty much any design idea below becomes totally doable.
6 Candle Gift Ideas
Concrete Vessel Soy Candles
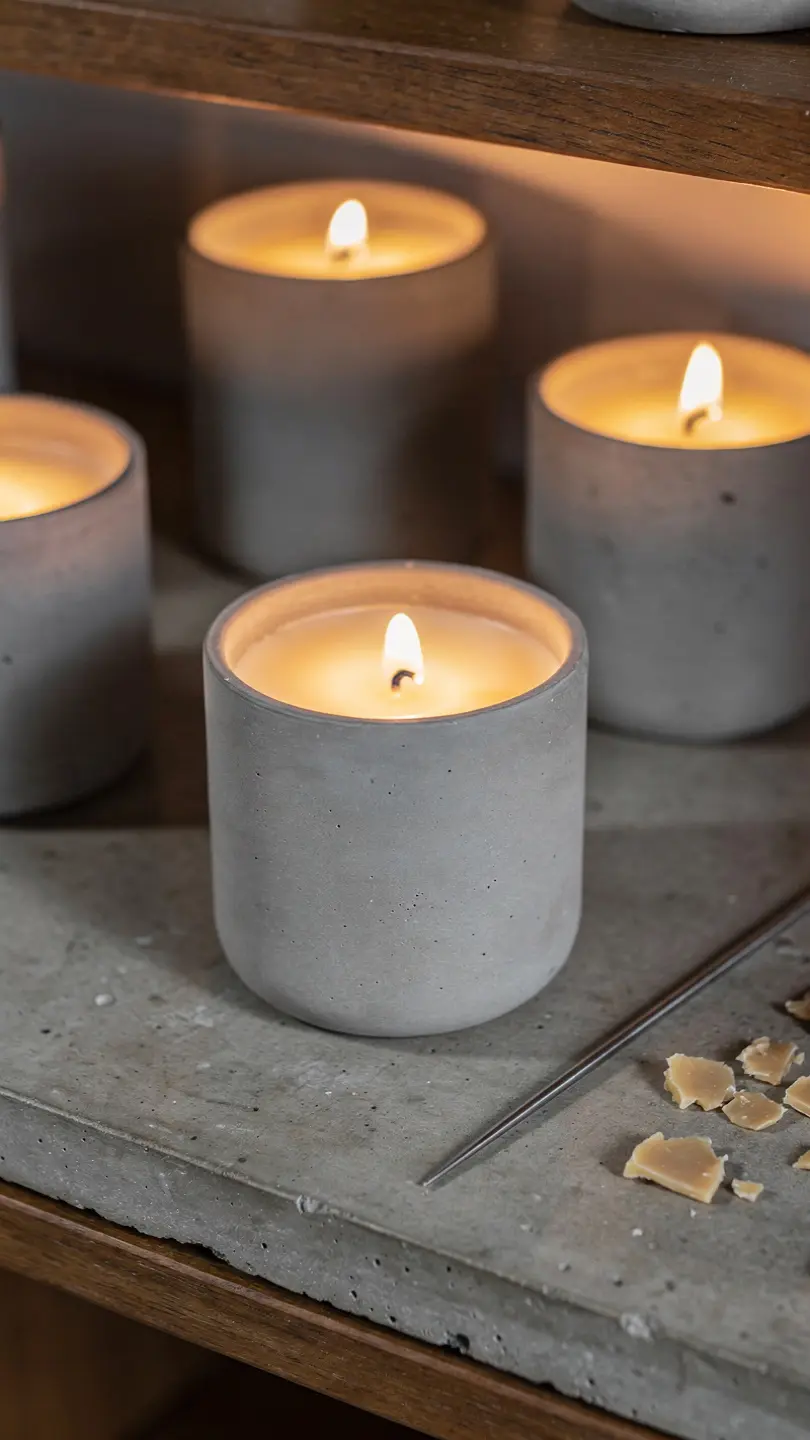
Picture this: a moody, matte-gray concrete cup with a warm glow flickering out of it. It’s the kind of candle that looks like it belongs on a designer’s shelf, but it’s shockingly beginner-friendly.
Materials Needed
- Small concrete planters or silicone concrete molds
- Soy wax flakes
- Cotton wicks with metal tabs
- Wooden skewers (to hold the wick centered)
- Fragrance oil (try sandalwood or fig)
Melt your soy wax slowly in a double boiler until it hits about 185°F, then stir in your fragrance oil.
Let the wax cool to around 130°F before pouring — this is the step people rush, and it’s the one that prevents cracking and sinking.
Center your wick using a skewer balanced across the top of the vessel, then pour slowly down the side of the container instead of straight into the middle.
Give it a full 24 hours to cure before trimming the wick and lighting it. This one’s a favorite for housewarmings or for anyone who’s into that clean, modern aesthetic.
Dried Botanical Beeswax Candles
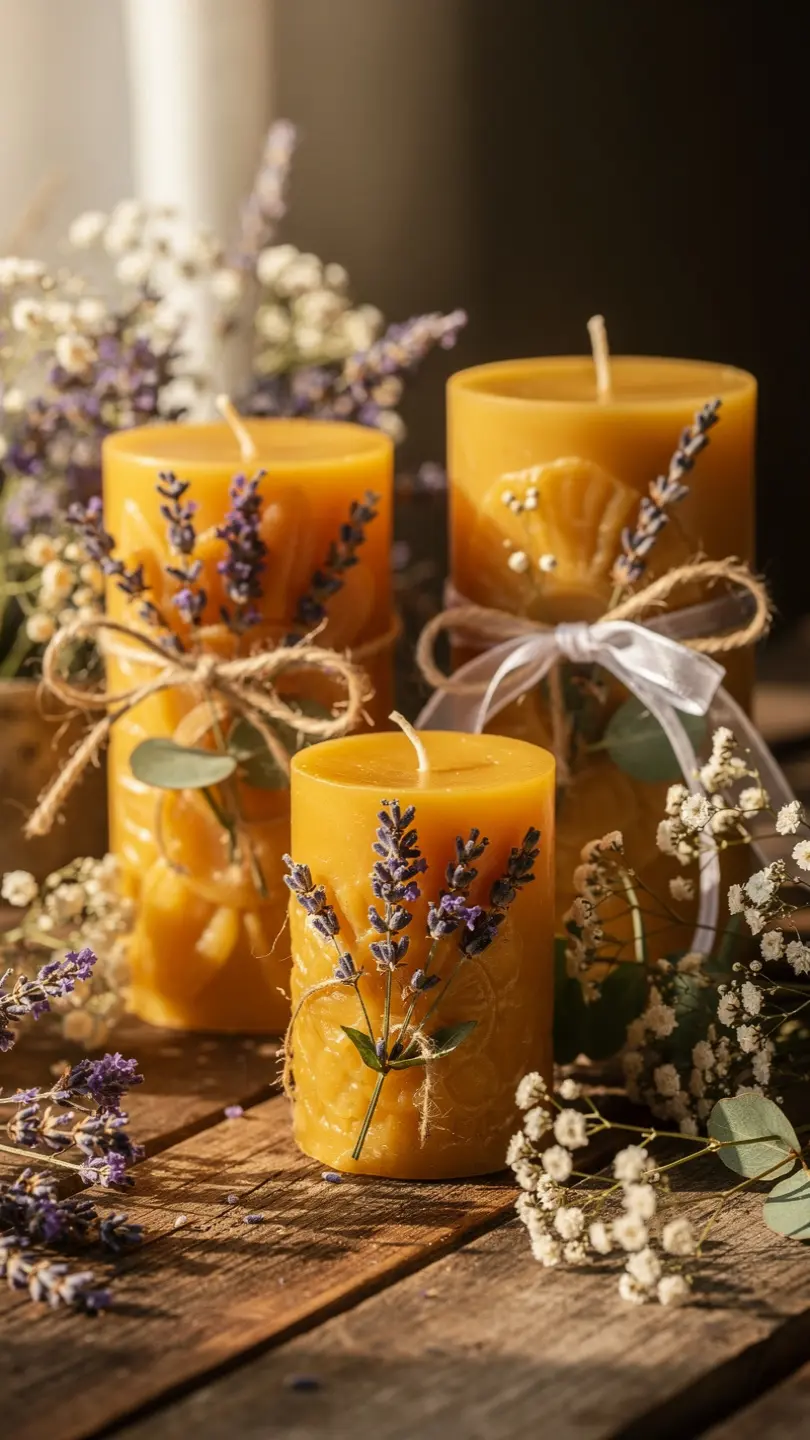
Here’s a fun twist on the classic pillar candle: pressed flowers and herbs embedded right into golden beeswax, so every candle looks like it was pulled from a cottage garden.
Materials Needed
- Pillar-safe beeswax (not the soft kind used for tapers)
- Silicone pillar mold
- Cotton wick with metal tab
- Dried botanicals (baby’s breath, lavender, or eucalyptus)
- Twine or ribbon
Melt the beeswax to about 150°F, then pour a thin base layer into your mold and let it firm up just slightly — tacky, not solid.
Press your dried flowers gently against the inside wall of the mold while the wax is still soft enough to hold them, then pour the rest of your wax to seal everything in.
Beeswax burns slower and cleaner than soy, so these make a lovely, longer-lasting gift. Tie a bit of twine or ribbon around the finished candle for that romantic, rustic finish, and you’ve got a gift that photographs beautifully too.
Cinnamon Stick Mason Jar Candles
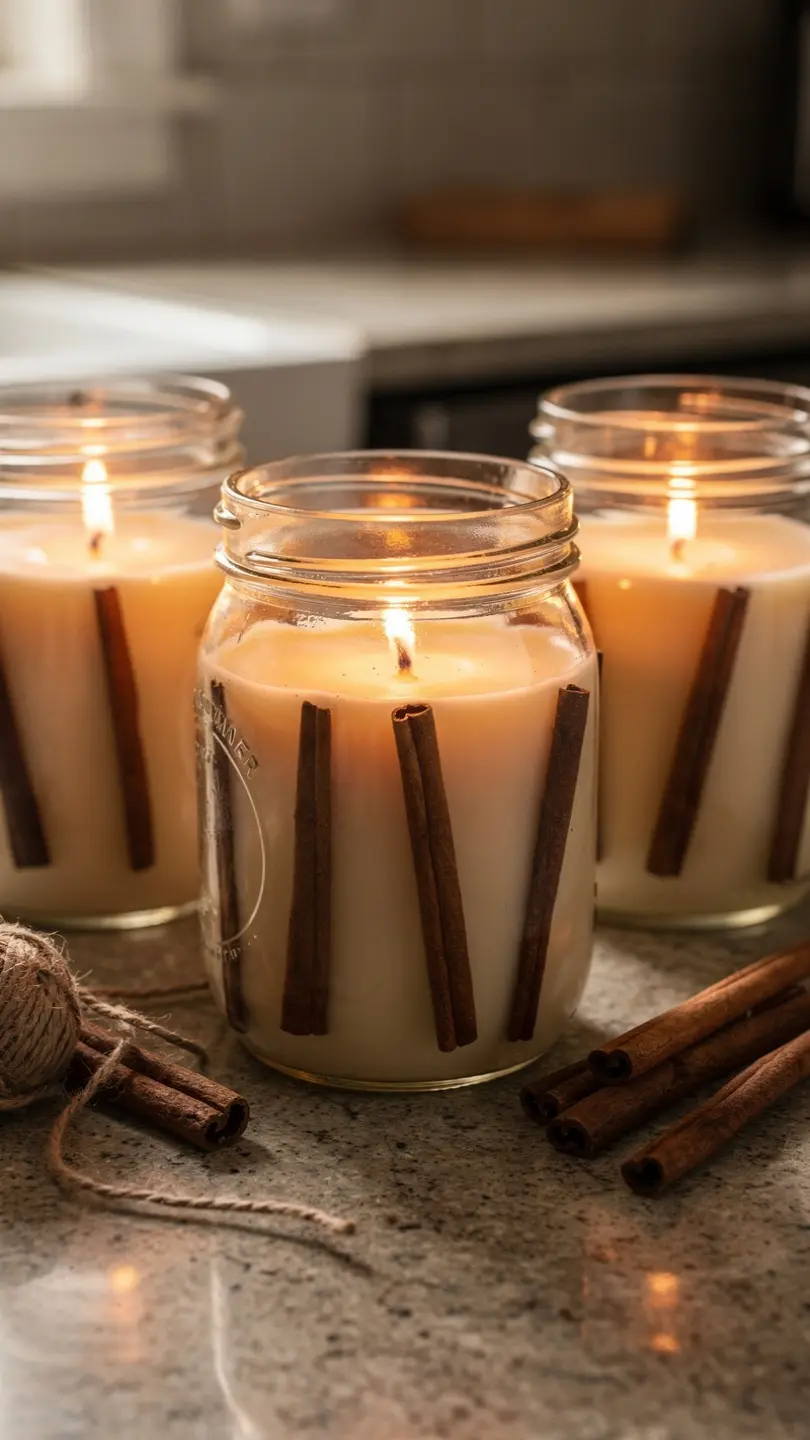
If you’ve never made a candle before, seriously, start here. This one’s forgiving, fast, and smells like a bakery the second you light it.
Materials Needed
- Wide-mouth mason jar
- Soy wax flakes
- Pre-tabbed cotton wick
- Cinnamon sticks
- Warm fragrance oil (vanilla or spiced apple)
Melt your wax, add the fragrance oil, and pour it while the jar sits somewhere sturdy and level.
Before the wax fully sets, tuck cinnamon sticks around the inside edge of the jar, pressing them gently against the glass so they show through once everything hardens.
This is a great project for a rainy afternoon, and honestly, kids can help with this one under supervision. It’s an easy win for teacher gifts, hostess gifts, or just because.
Marbled Wax Teacup Candles
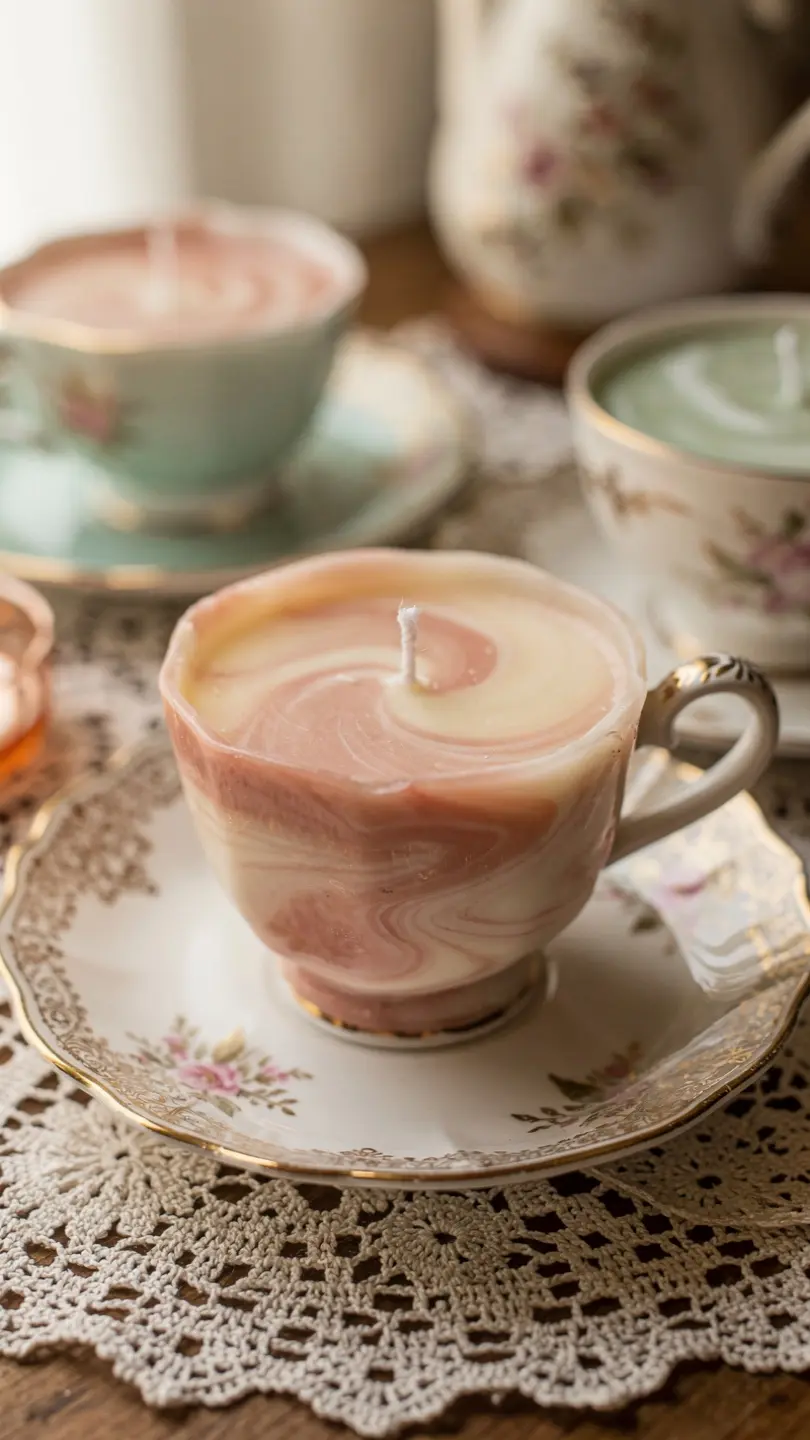
Ever walked past a thrift store shelf of mismatched teacups and thought, “these deserve a second life”? This idea turns them into swirled, one-of-a-kind candles that nobody else will ever have.
Materials Needed
- Vintage or thrifted teacups
- Soy wax flakes
- Candle dye chips (two contrasting colors)
- Cotton wick with metal tab
- Wooden skewers (to hold the wick centered)
Melt two batches of soy wax and tint each a different color using candle dye chips — think blush pink and cream, or sage and white.
Let both batches cool slightly to that same 130°F sweet spot, then pour them into the teacup at the same time from opposite sides.
Don’t stir. The colors will fold into each other naturally, creating a soft marbled pattern as they set.
Because every cup pours a little differently, no two candles ever turn out exactly alike. That’s part of the charm.
These make a sentimental gift for grandmothers, tea lovers, or anyone who appreciates a little vintage flair.
Dried Citrus Slice Candles
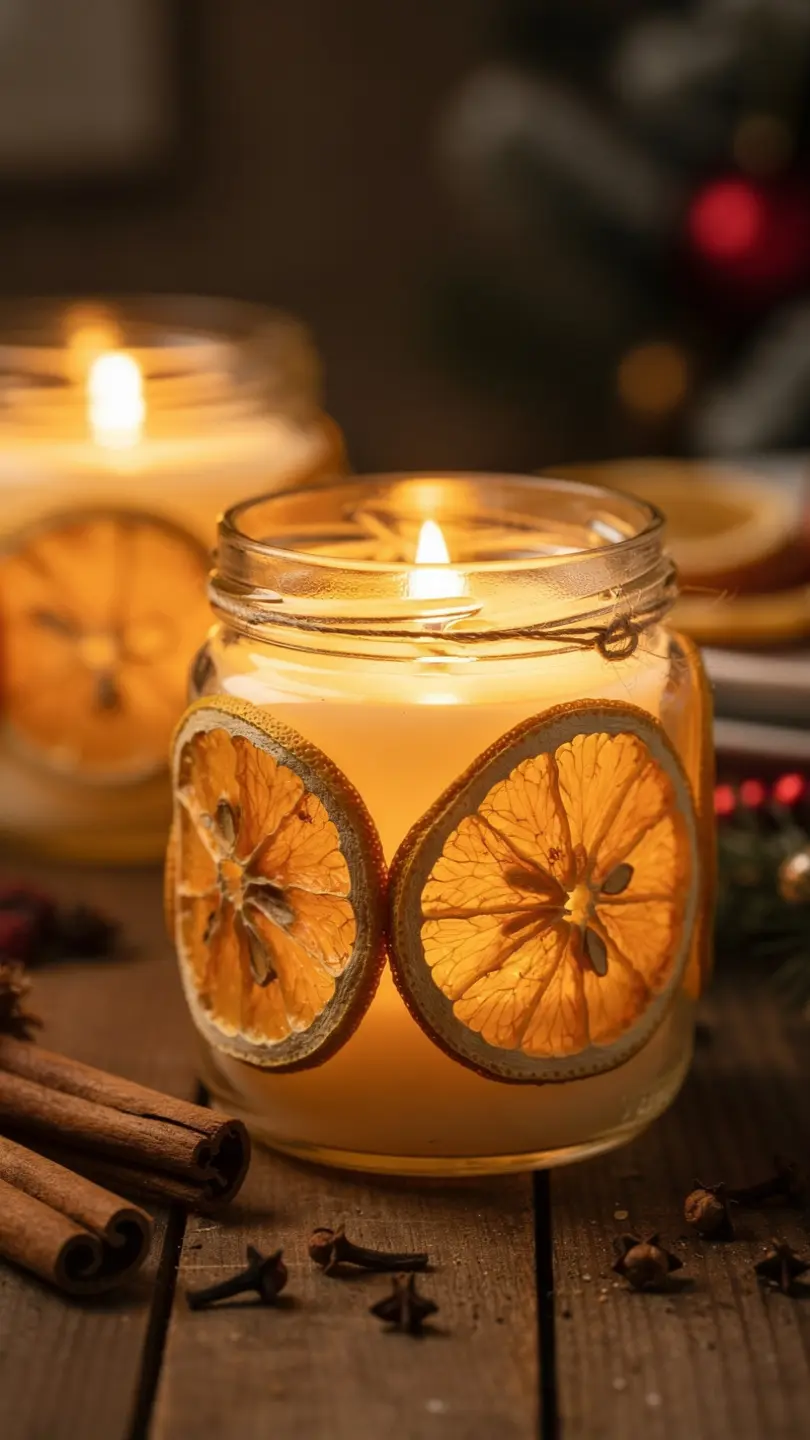
Here’s one that basically looks like sunshine in a jar. Thin, dried orange and lemon slices pressed into the sides of a candle give off this warm, golden glow that’s perfect for the holidays.
Dry citrus slices ahead of time in a low oven (around 200°F for 3–4 hours) until they’re firm but not brittle.
Using a clear glass jar, pour a thin layer of wax, press your citrus slices against the glass while it’s still tacky, then slowly build up more layers of wax until the slices are fully sealed in. Going slow here matters — pouring all your wax at once can shift the slices out of place.
A cinnamon-clove or spiced orange fragrance oil takes this from cute to genuinely irresistible. These are a natural fit for holiday gift baskets or as a hostess gift for a winter dinner party.
Geode-Inspired Crystal Candles
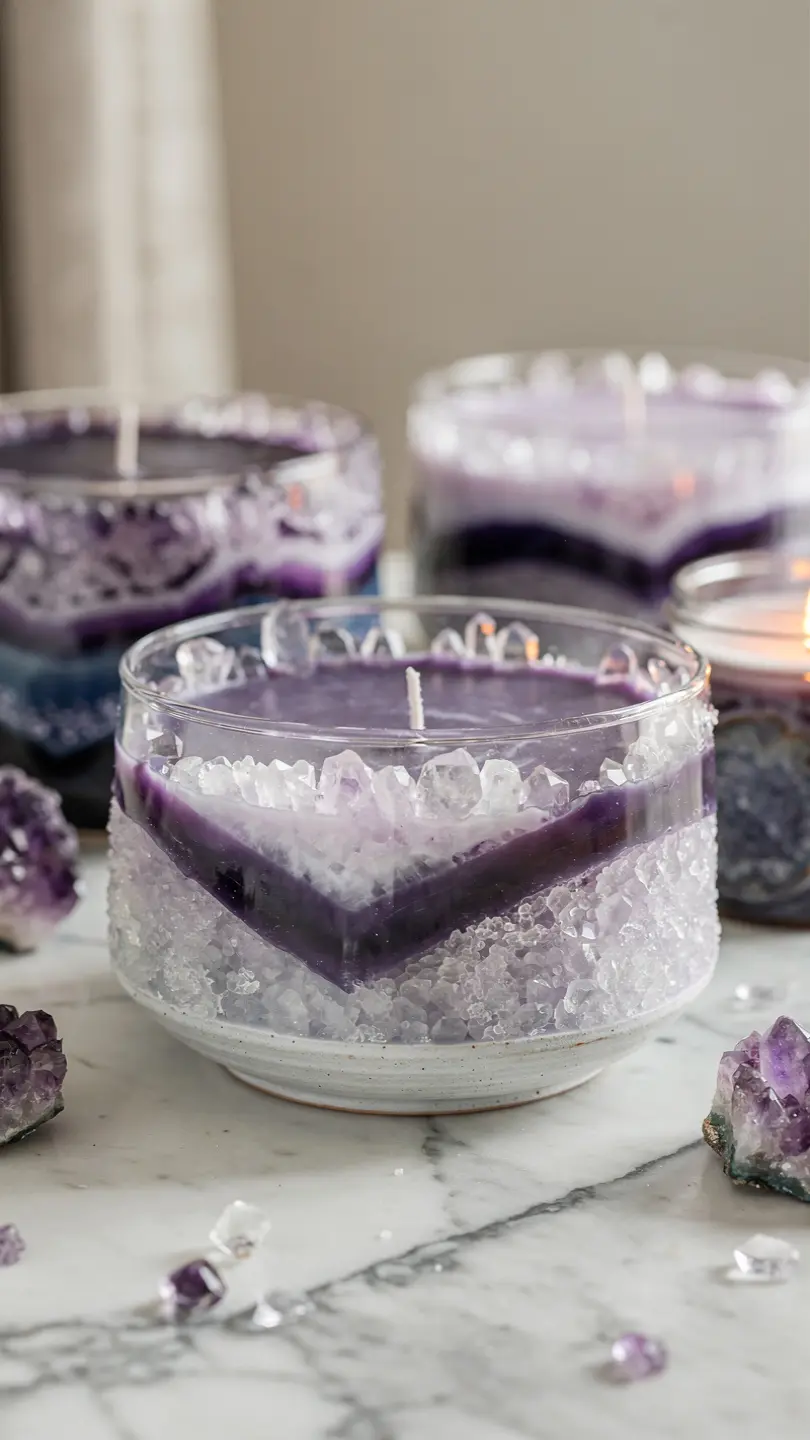
This one’s for anyone who wants their candle to double as a piece of art. Layers of colored wax and faux crystal chips mimic the look of a sliced geode, and it’s genuinely satisfying to build.
Materials Needed
- Wide, shallow glass or ceramic vessel
- Soy or paraffin wax
- Candle dye chips (purple and lavender shades)
- Acrylic “crystal” chips or coarse sugar-textured wax melts
- Cotton wick with metal tab
Pour angled layers of tinted wax — deep purple, then lavender, then white — letting each layer partially set before adding the next so they don’t blend together.
Once your final layer is poured, press small acrylic “crystal” chips or coarse sugar-textured wax melts around the edge while the top layer is still soft, mimicking the jagged look of real geode crystals.
It takes a little more patience than the other ideas here, but the payoff is a candle that looks like it belongs in a home décor magazine. It’s a great pick for a milestone birthday gift or for treating yourself, honestly.
Ready to Get Crafty?
From the clean lines of the concrete vessel candle to the romantic, botanical feel of the beeswax version, there’s a style here for pretty much anyone on your gift list.
And once you’ve got the basics of temperature, fragrance ratio, and wick size down, you can customize endlessly — swap in your own colors, scents, and containers to make each one totally your own.
So go ahead, melt some wax, and get crafting — you’re going to love what you make.






