
DIY Clay Rings: 9 Ideas for a Unique Look

Never underestimate the power of small details! DIY clay rings may be tiny, but they can completely elevate your everyday look. With these creative and beginner-friendly ideas, you can turn simple clay into stylish, handmade rings that reflect your personality.
When I first discovered DIY Clay Rings, I loved how simple yet beautiful they looked. My first attempts weren’t perfect, but with a little practice, I learned that handmade charm comes from the small imperfections.
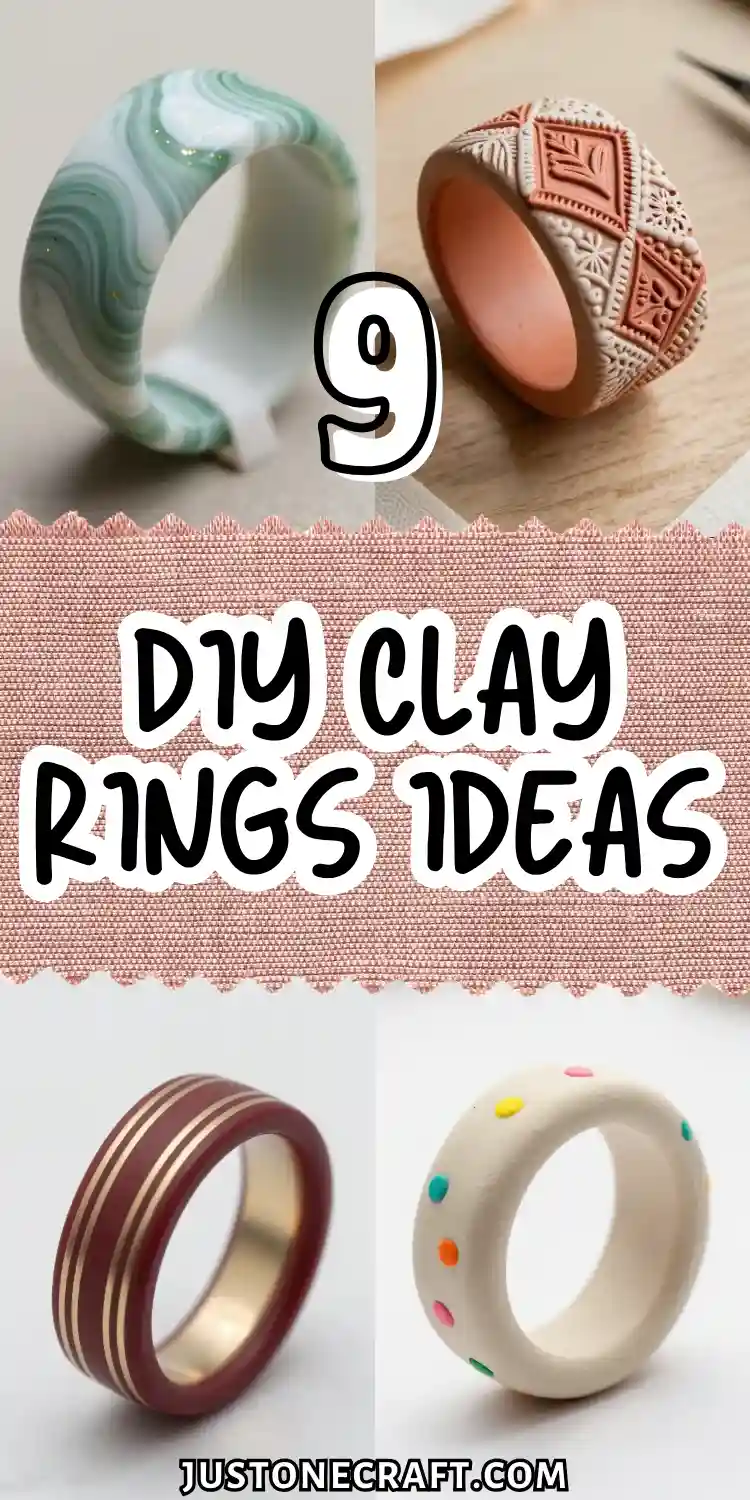
The best part is that you only need a few basic supplies and a bit of creativity to make unique rings you’ll love wearing. In this guide, I’ll share easy DIY Clay Rings ideas that are perfect for beginners.
Marbled Swirl Clay Ring With Gold Flakes
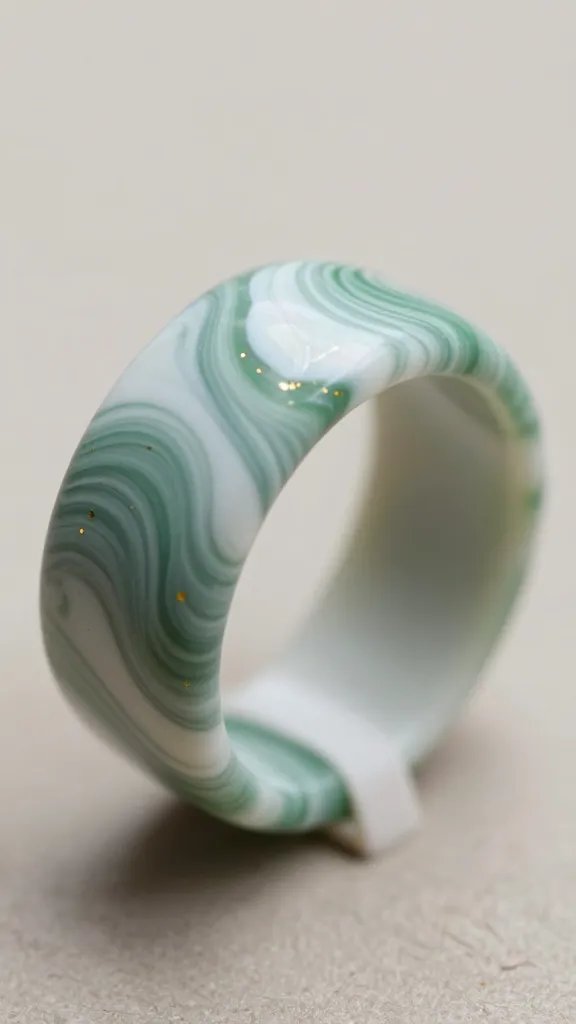
Imagine a miniature piece of abstract art sitting right on your finger. This marbled swirl ring combines two or three colors of polymer clay twisted together to create those gorgeous, unpredictable patterns that make every single ring totally one-of-a-kind.
The gold flakes pressed into the surface? That’s the chef’s kiss that takes it from cute to absolutely stunning.
Materials Needed
- Polymer clay in 2-3 complementary colors (white and sage green, or blush pink and terracotta work beautifully)
- Gold leaf flakes or metallic foil
- Ring mandrel or cylindrical object for shaping
- Smooth roller or acrylic rolling pin
- Oven for baking
How to Make It
Roll out your clay colors into thin snakes, then twist them together gently without fully blending.
Wrap the twisted clay around your ring mandrel to form the band, smoothing the seam carefully. Before baking, press tiny pieces of gold leaf onto the surface randomly for that luxe touch.
Once you bake it according to the clay package instructions and let it cool, you’ve got yourself a wearable masterpiece.
This one’s perfect for anyone who loves that modern, artsy vibe and wants something that looks way more expensive than it actually cost to make.
Chunky Minimalist Statement Ring
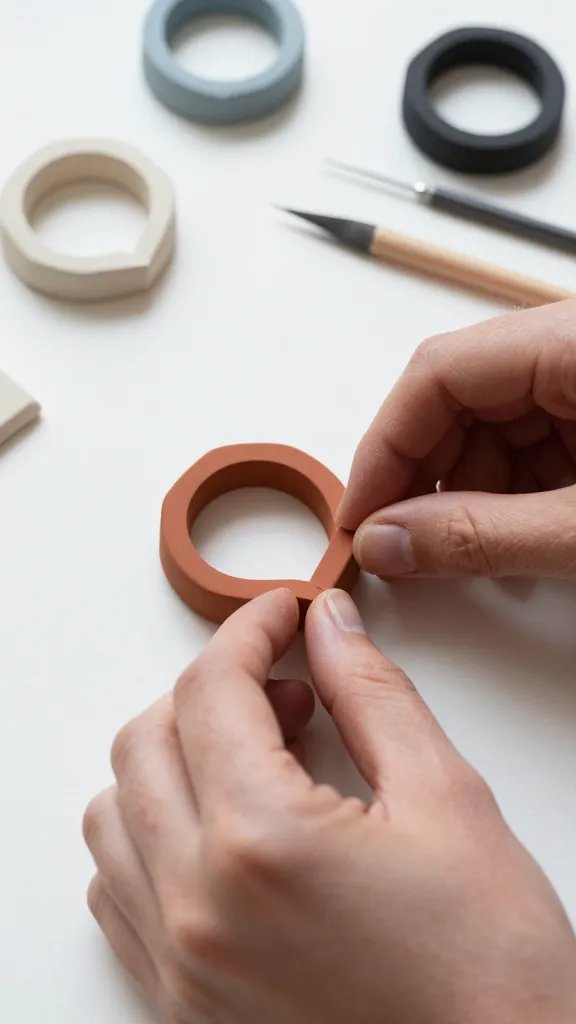
Sometimes bigger really is better, especially when we’re talking about bold, chunky rings that make a statement without trying too hard.
This oversized minimalist ring keeps things simple with a solid color and geometric shape—think thick band, smooth finish, and zero fuss. It’s the kind of piece that anchors your whole look.
Choose a single color of polymer clay in a neutral tone like terracotta, cream, black, or dusty blue.
Roll it thick (about half an inch works great) and shape it into a wide band that feels substantial on your finger.
Keep the edges clean and the surface super smooth for that high-end minimalist aesthetic.
Styling Ideas
- Wear it alone as your signature piece
- Stack multiples in different neutral colors
- Pair with delicate gold chains for contrast
FYI, this style looks amazing in earthy tones and works for literally any occasion, from coffee runs to gallery openings.
Pressed Flower Garden Ring
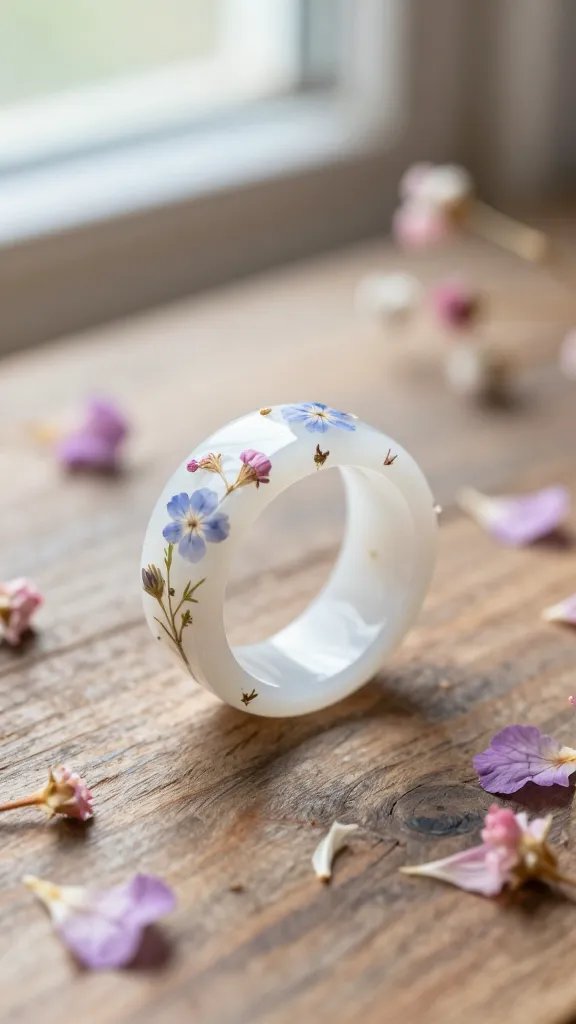
Carry a tiny garden on your finger by embedding real dried flowers into translucent or white polymer clay. This delicate ring has a soft, cottagecore-inspired look that’s perfect for everyday wear.
How to Make It:
- Press and dry small flowers or petals for a few days.
- Roll out translucent or white polymer clay.
- Gently place the dried flowers on the clay.
- Lightly roll over them to embed the petals.
- Shape into a ring band and bake.
- Finish with a clear glaze for extra shine and protection.
Best For:
- Handmade gifts and whimsical jewelry
- Nature lovers
- Spring or garden weddings
- Cottagecore style
Faux Gemstone Crystal Ring
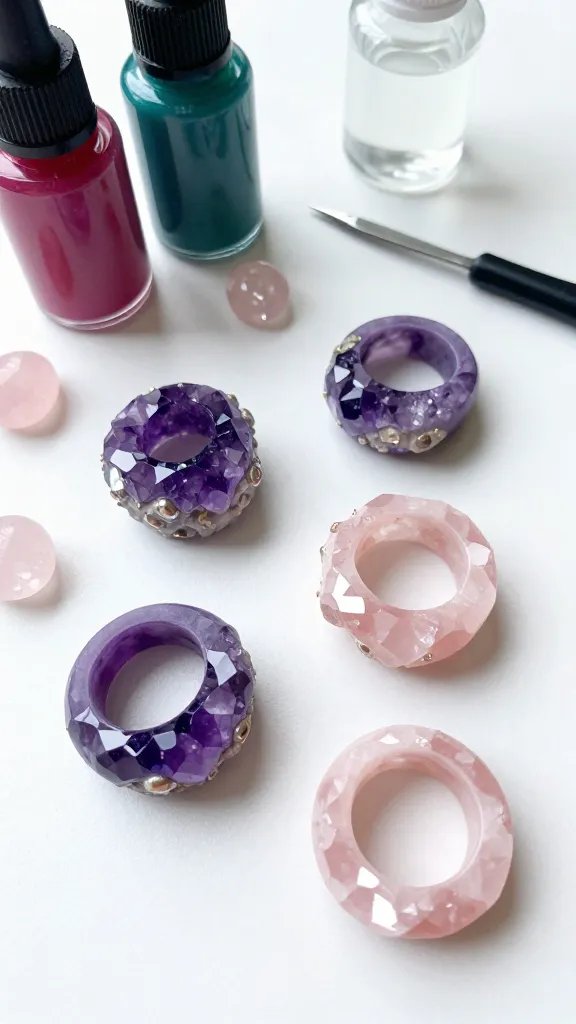
Who says you need actual crystals to get that mystical, gem-obsessed look? With the right clay colors and a little shaping magic, you can create rings that look like they’re topped with raw chunks of amethyst, quartz, or rose quartz.
The best part is you can make them in colors that don’t even exist in nature.
Materials Needed
- Translucent polymer clay
- Alcohol inks or clay paint in jewel tones
- Craft knife or clay blade
- Clear gloss varnish
Mix translucent clay with a drop of alcohol ink to get that gorgeous semi-transparent gem look. Shape the clay into irregular, chunky crystal formations with flat bottoms.
Create a simple band from solid-colored clay, attach your “crystal” on top, and bake everything together. A coat of gloss varnish after baking gives it that authentic gemstone shine.
Trust me, your spiritual besties will be asking where you bought these, and you’ll love telling them you made them yourself.
Textured Boho Ring With Stamped Patterns
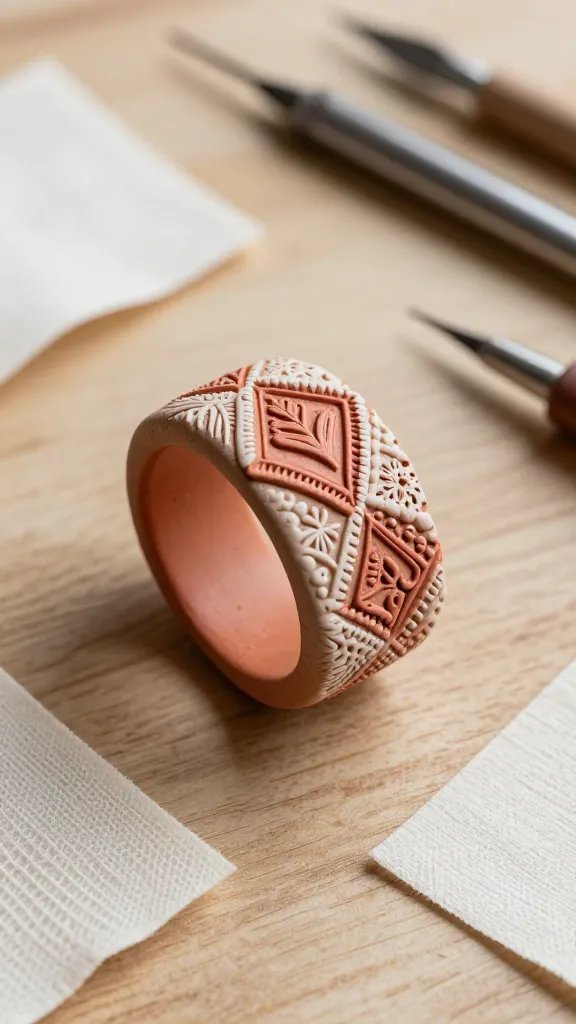
Add some personality to your clay with textures and patterns that make your rings look professionally crafted.
This boho-inspired beauty uses stamps, lace, or textured fabrics pressed into the clay before baking to create intricate designs that catch the light and add visual interest. It’s like giving your ring its own little story.
Before shaping your ring, press textured materials into rolled-out clay—try lace doilies, rubber stamps, fabric with interesting weaves, or even leaves from your backyard.
Shape the textured clay into your ring band, keeping the prettiest patterns visible on top. Earthy colors like burnt orange, olive green, or sandy beige really bring out that bohemian vibe.
Pair these with flowy dresses and layered necklaces for the ultimate free-spirit aesthetic.
Colorful Checkerboard Pattern Ring
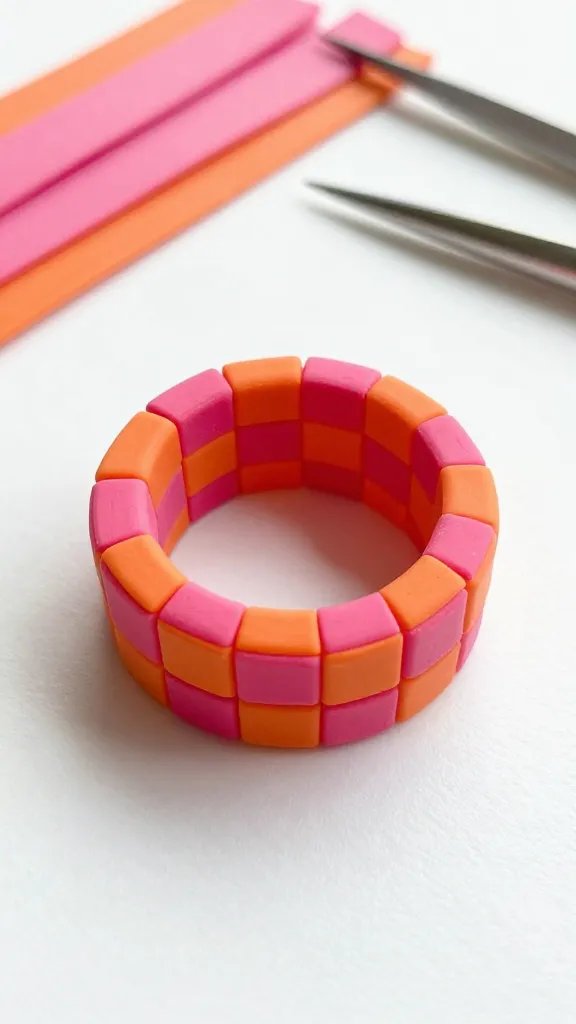
Channel your inner chess queen with this playful checkerboard design that’s way easier to create than it looks.
Alternating tiny squares of contrasting clay colors create a graphic, retro pattern that’s seriously eye-catching. This one’s for the bold maximalists who love their accessories with a side of personality.
How to Make It
Roll out two contrasting colors of clay (black and white is classic, but hot pink and orange? Chef’s kiss). Cut both into thin strips of equal width, then stack them alternating colors.
Slice your stack into sections, rotate every other section 90 degrees, and press them together to create the checkerboard pattern. Carefully wrap this patterned clay around your ring form and bake.
These are perfect conversation starters and look absolutely adorable when you make a whole set in different color combos.
Ombre Sunset Ring
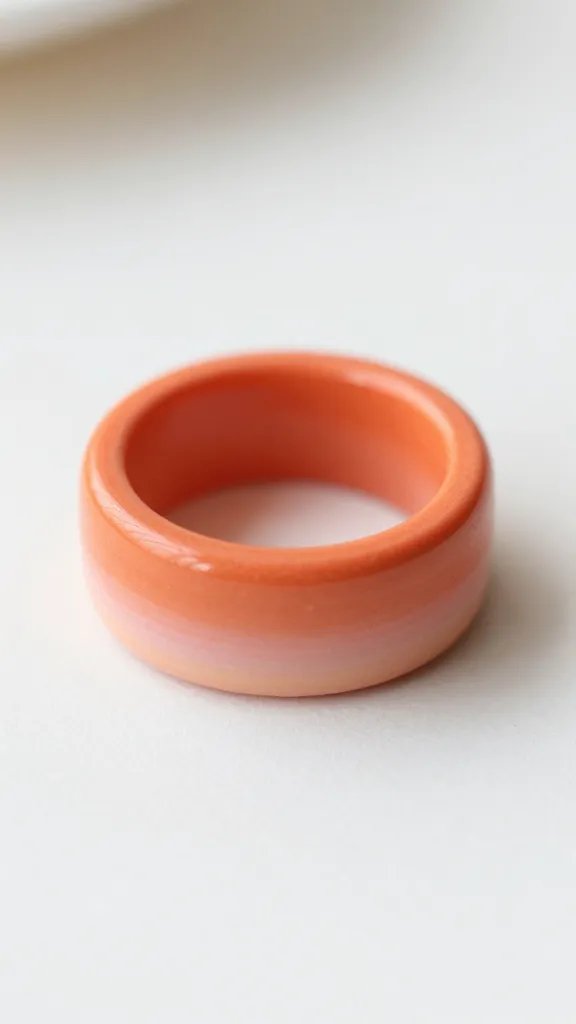
Capture the most beautiful part of the day in wearable form with a ring that gradually shifts through sunset colors.
This ombre technique blends warm tones from deep orange through coral to soft peachy pink, creating that dreamy gradient effect that photographs like an absolute dream. You’ll love this.
Create your gradient by blending polymer clay colors together where they meet, working from darkest to lightest.
Roll the blended clay into a smooth, even band, making sure the color transition flows naturally around the ring.
The key is patience in the blending process—rush it and you’ll lose that smooth transition.
Wear this during golden hour for maximum magical vibes, and prepare for the compliments to roll in.
Dotted Confetti Party Ring
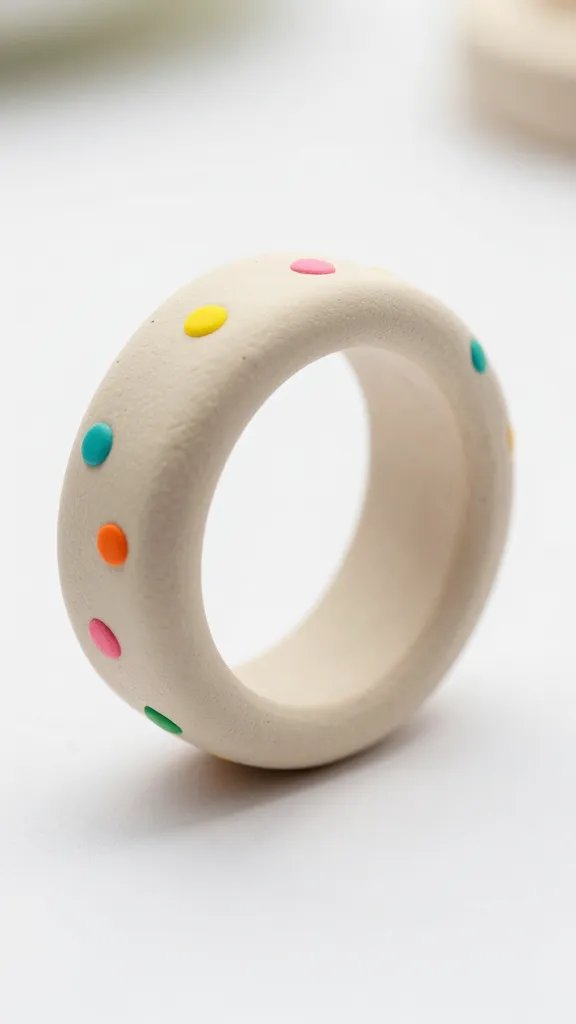
Sometimes you just need jewelry that feels like a celebration. This fun, playful ring features colorful dots scattered across a neutral base, giving major party confetti energy that instantly brightens your mood. It’s happy, it’s cheerful, and it refuses to take itself too seriously.
Materials Needed
- Base color clay (white, cream, or light gray works best)
- Multiple bright colors for dots
- Toothpick or dotting tool
Roll tiny balls of various bright colors, then press them gently onto your base clay band before shaping. Use a toothpick to create even tinier dots if you want more detail.
The random placement is what makes this design work, so don’t stress about perfection—embrace the chaotic joy of scattered confetti.
These make the sweetest handmade birthday gifts or just-because treats for yourself when you need a pick-me-up.
Metallic Striped Band Ring
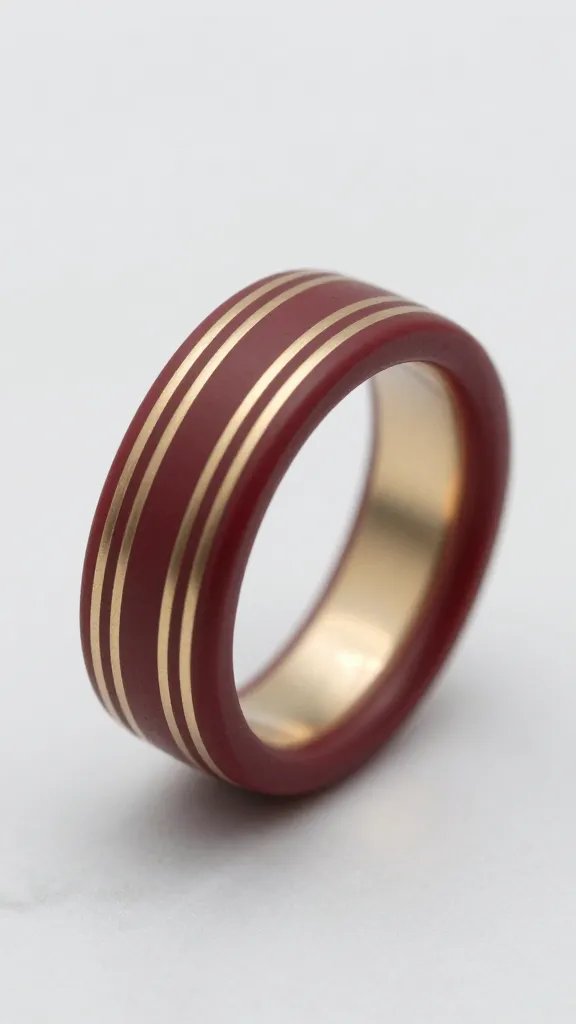
Add a modern touch to your clay jewelry with sleek metallic stripes. Thin gold, silver, or copper accents create a clean, minimalist design that looks elegant and stylish.
How to Make It
- Roll out a solid base color of polymer clay.
- Cut thin metallic clay strips.
- Place the strips evenly across the base.
- Press gently, trim the edges, and shape into a ring.
- Bake and finish according to your clay’s instructions.
Why You’ll Love It
- Perfect for everyday wear or stacking with other rings.
- Modern and minimalist style.
- Easy to customize with different metallic colors.
Time to Create
There you have it—nine completely different ways to create gorgeous clay rings that look expensive, feel personal, and cost almost nothing to make.
Pick your favorite style and spend an afternoon crafting, or challenge yourself to make all nine and build the ultimate handmade ring collection. Either way, your jewelry box (and your wallet) will thank you!






