
DIY Clay Trinket Dish Ideas That Look So Aesthetic

Never let your jewelry get lost again! With these DIY clay trinket dish ideas, you can create beautiful, handmade holders that keep everything neat and easy to find. From minimalist to creative designs, there’s something here for every style.
The first time I tried organizing my jewelry, I thought a simple box would fix everything. It didn’t. Rings tangled, earrings disappeared, and my favorites were always hard to find. That’s when I realized I needed something both functional and beautiful.
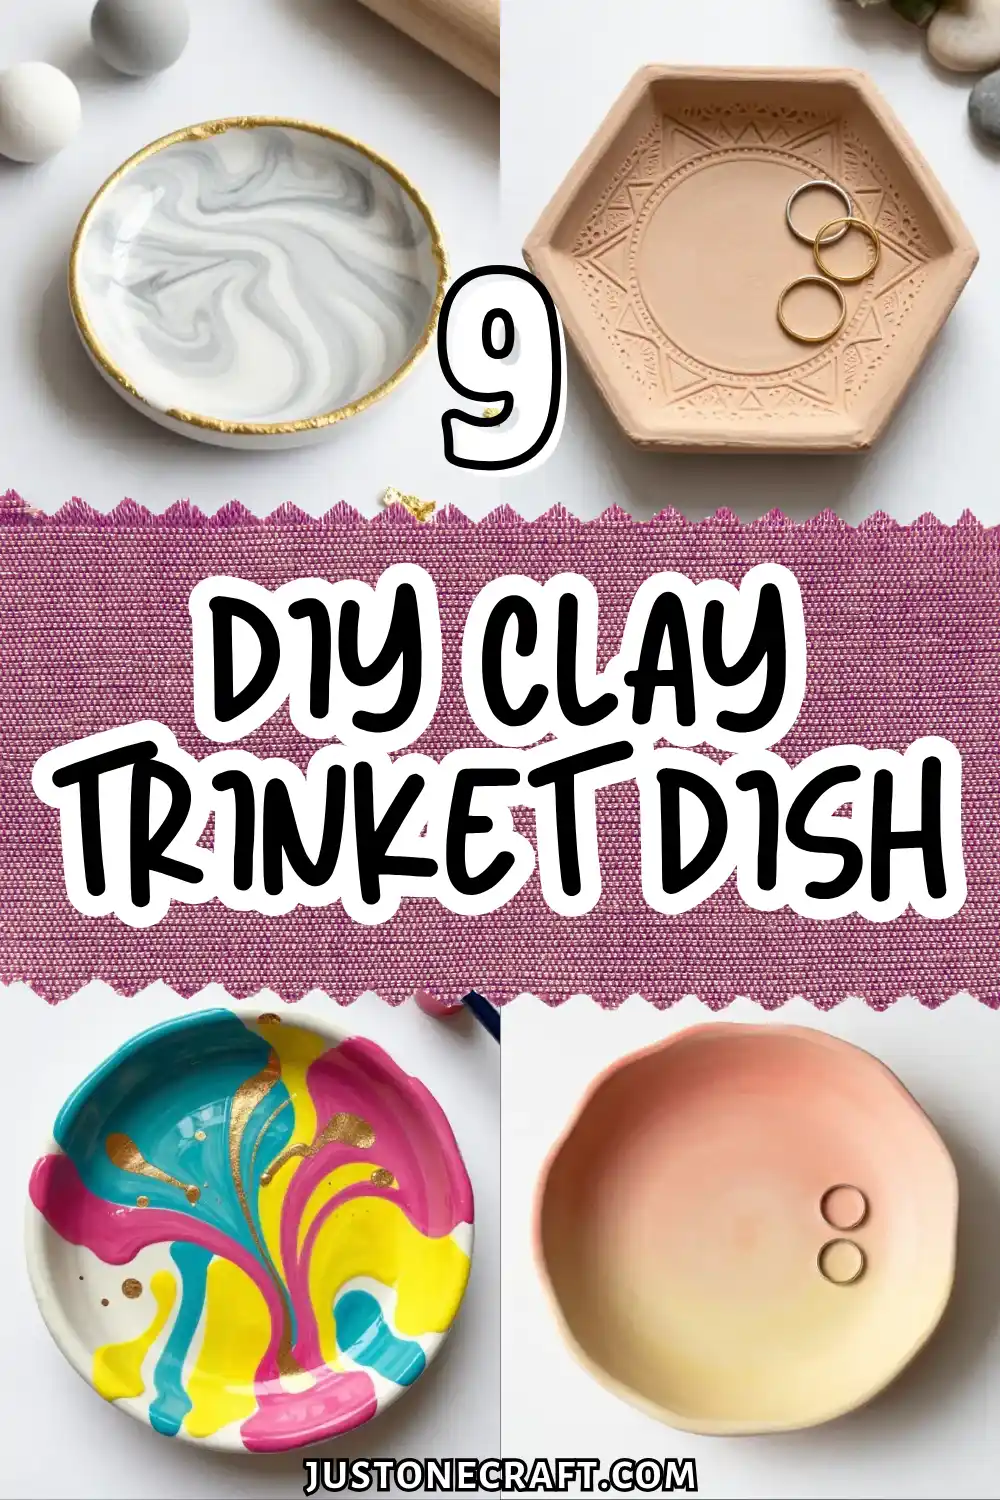
That’s how I discovered the charm of a DIY Clay Trinket Dish. It’s a simple project that makes a big difference—perfect for keeping small items like rings or keys in one place while adding a personal touch to your space.
The best part? You don’t need special tools or experience. With a little clay and creativity, you can create a unique piece that’s both useful and stylish.
Marbled Gold-Edged Trinket Dish With Polymer Clay
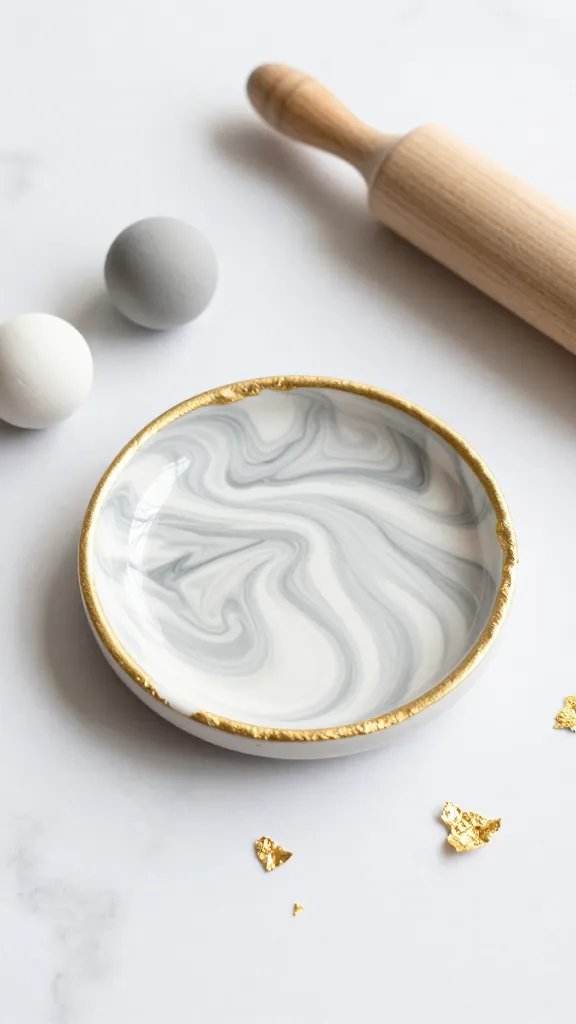
This stunner looks like it came straight from an expensive boutique, but you’ll make it for just a few dollars.
The swirled marble effect combined with those luxe gold edges creates something that screams sophisticated without trying too hard.
Materials Needed
- White and gray polymer clay
- Rolling pin or clay roller
- Small bowl for shaping
- Gold leaf sheets or metallic gold paint
- Oven for baking
Start by twisting together your white and gray clay—don’t overmix because you want those gorgeous streaks, not a solid color.
Roll it flat, drape it over your upside-down bowl, and trim the edges to create your dish shape. Before baking, gently press gold leaf around the rim or plan to paint it afterward once cooled.
This beauty belongs on your dresser holding your everyday jewelry, and trust me, everyone who sees it will ask where you bought it.
Pressed Botanical Air-Dry Clay Dish
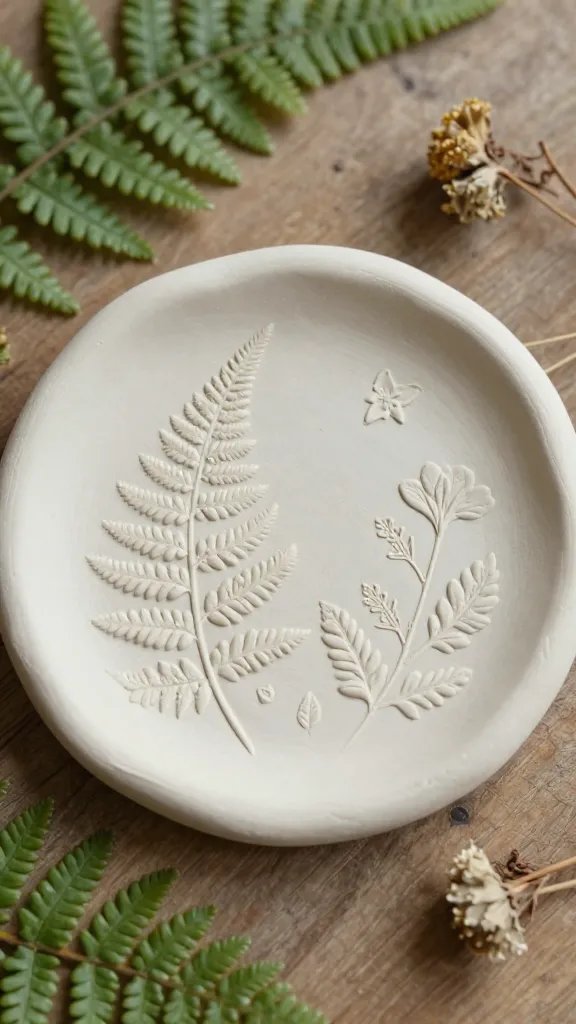
Imagine tiny ferns, flower petals, and delicate leaves forever preserved in a creamy white dish. This nature-inspired project brings the outdoors in and creates something truly one-of-a-kind since no two botanical impressions are ever identical.
How to Make It
- Roll out air-dry clay to about a quarter-inch thickness
- Press fresh or dried flowers, leaves, and herbs firmly into the surface
- Carefully remove the botanicals to reveal beautiful imprints
- Mold over a small bowl and let dry for 24-48 hours
- Seal with a clear matte or glossy finish
The organic textures and patterns make this perfect for anyone who loves cottagecore aesthetics or just wants a peaceful, earthy vibe on their vanity. Use herbs like rosemary or lavender for extra aromatherapy points while you’re crafting.
Terrazzo-Style Confetti Clay Catchall
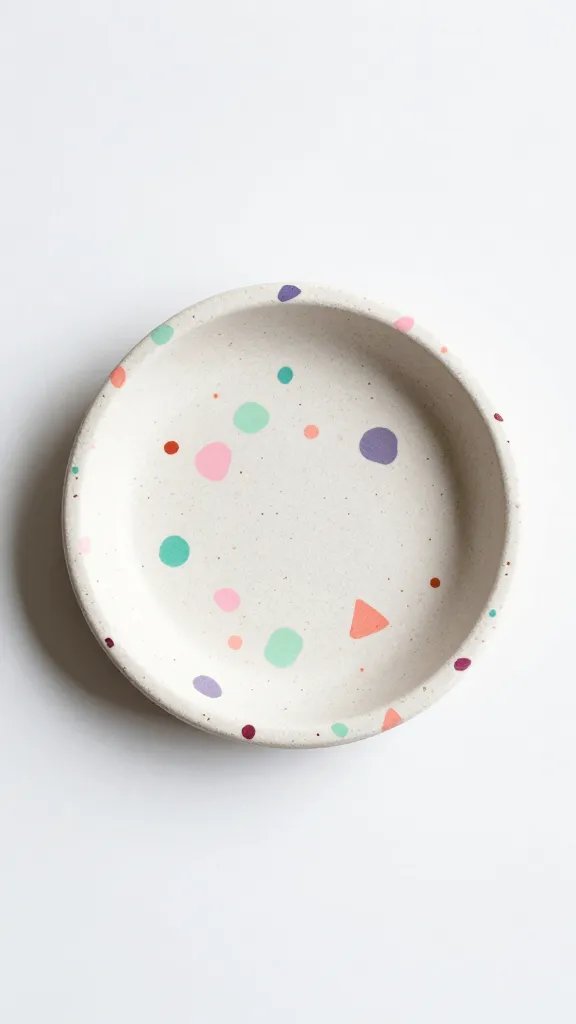
Remember terrazzo floors from fancy hotels? Now you can have that same playful, speckled look in a tiny dish that holds your stuff. This colorful project is seriously fun to make and completely customizable to match any room.
Mix different colored clay scraps or intentionally create small chunks in your favorite shades—think pastels for spring vibes or jewel tones for something richer.
Roll those colorful bits into white or neutral clay base, keeping the pieces visible throughout. The random pattern means there’s no way to mess this up, which is honestly refreshing.
Pro Tips
- Use leftover clay from other projects to make this extra budget-friendly
- Slice your clay roll to see the confetti pattern before shaping
- Sand the edges after baking for a smooth, professional finish
Pop this happy little dish wherever you need a smile—your desk, bathroom counter, or entryway table.
Geometric Hexagon Ring Holder With Stamped Pattern
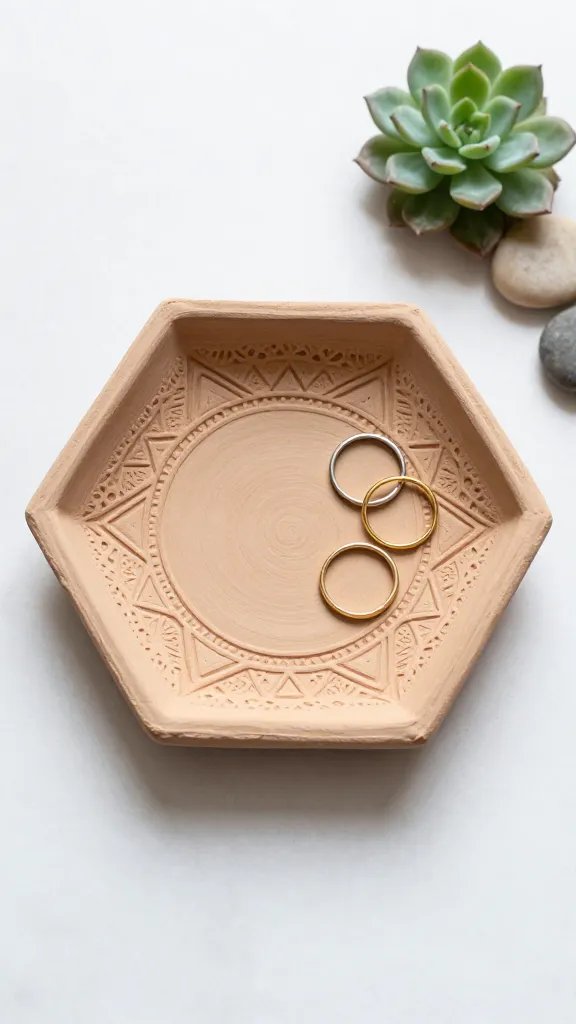
Ditch the basic circle and go six-sided with this modern geometric dish. The hexagon shape feels fresh and contemporary, especially when you add stamped or carved patterns that create incredible texture.
Cut your rolled clay into a perfect hexagon using a template or cookie cutter, then go wild with rubber stamps, lace pressed into the surface, or even carved lines using a toothpick or clay tool.
You can keep it minimal with just an edge pattern or cover the entire surface with repeating designs.
This angular beauty works perfectly in modern spaces and makes an amazing handmade gift for friends who appreciate clean lines and bold shapes.
FYI, metallic acrylic paint rubbed into the stamped areas after baking creates stunning dimension.
Hand-Sculpted Animal Trinket Dish
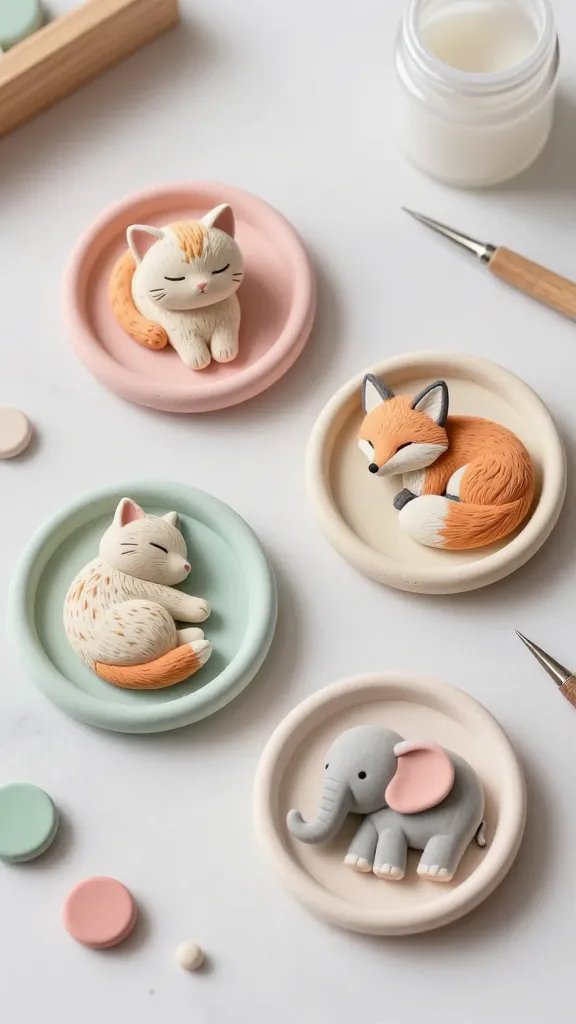
Why should your trinket dish be flat and boring when it could have a tiny elephant, sleeping cat, or curled-up fox as part of the design? These adorable animal-topped dishes add personality and charm to any space.
Materials Needed
- Polymer clay in various colors
- Sculpting tools or toothpicks
- Small dish or circular cutter for base
- Acrylic paint for details
- Clear glaze
Create your simple dish base first, then sculpt your chosen animal separately or right on the edge.
Even simple shapes work—think a curled cat tail forming the rim or a bunny peeking over the side. Add details like texture for fur using a toothpick or tiny dots for eyes.
These make incredible gifts for animal lovers and add such a playful touch to kids’ rooms or anyone who refuses to take life too seriously.
Ombre Sunset Ring Dish With Blended Colors
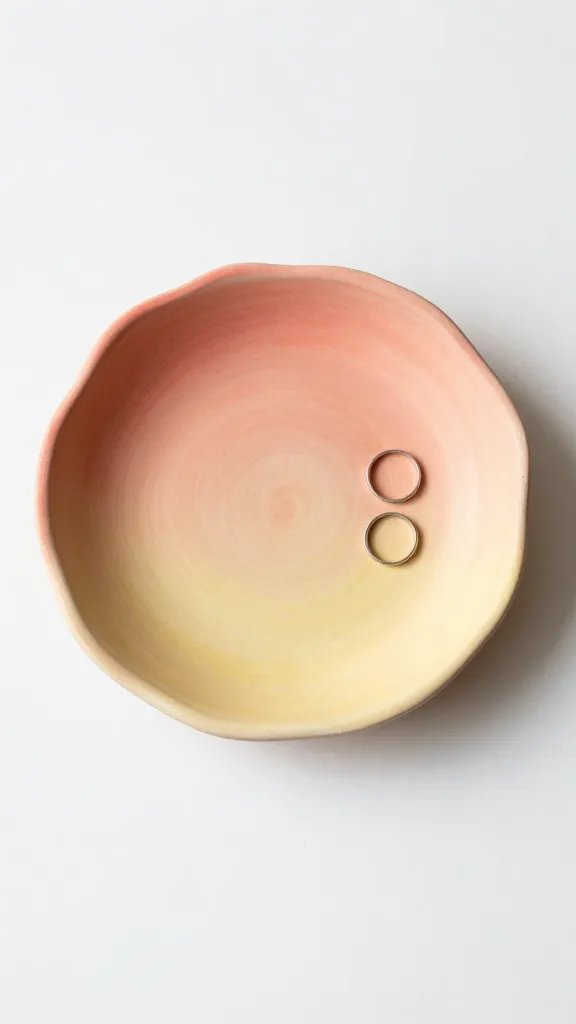
Capture that dreamy golden-hour magic in a dish that transitions from deep coral to soft peach to creamy yellow.
The gradient effect looks complicated but is actually super beginner-friendly once you know the blending trick.
Roll out strips of clay in your chosen colors, then overlap them slightly and roll together in one direction only.
The colors will gradually blend at the edges while staying distinct in the centers. Keep your dish shallow and organic-shaped to really showcase that beautiful color flow.
Sunset colors are classic, but you can create ocean ombres with blues and teals, forest vibes with greens, or moody purples for something more dramatic. Place this near a window where light can catch those color shifts—seriously gorgeous.
Lace-Textured Vintage-Style Trinket Tray
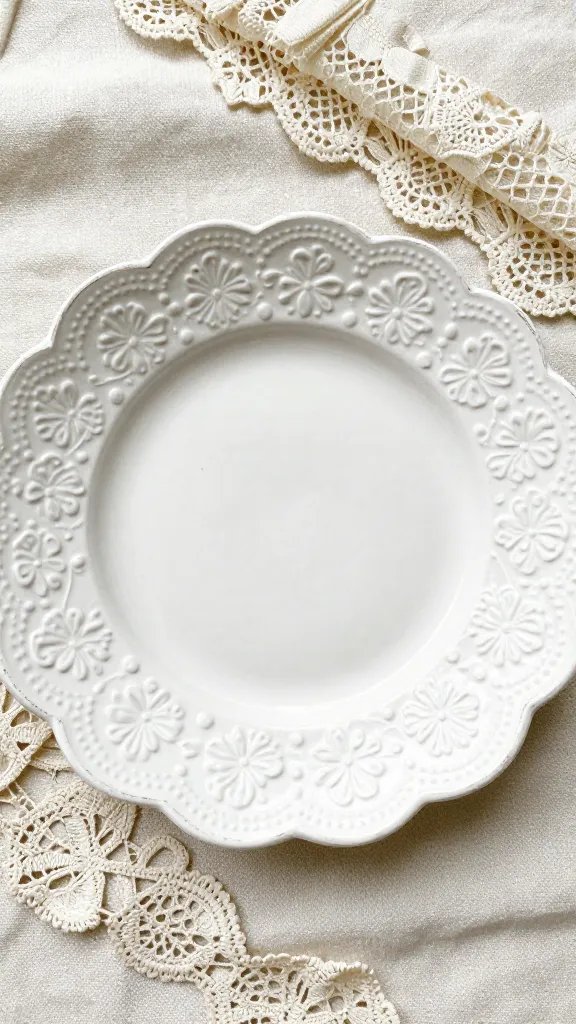
This elegant project uses actual lace to create intricate patterns that look hand-carved but take zero artistic skill.
The delicate impressions give major vintage, romantic vibes that work beautifully for shabby chic or French country aesthetics.
How to Make It
- Roll clay smooth and flat
- Press a piece of lace firmly across the entire surface
- Carefully peel away the lace to reveal the detailed pattern
- Shape into your dish form
- Consider painting white and lightly distressing edges after baking
The finished product looks like a treasured antique you found at a French flea market. It’s perfect for holding dainty jewelry or sitting pretty on a vanity as a purely decorative piece.
Abstract Paint-Swirl Clay Dish
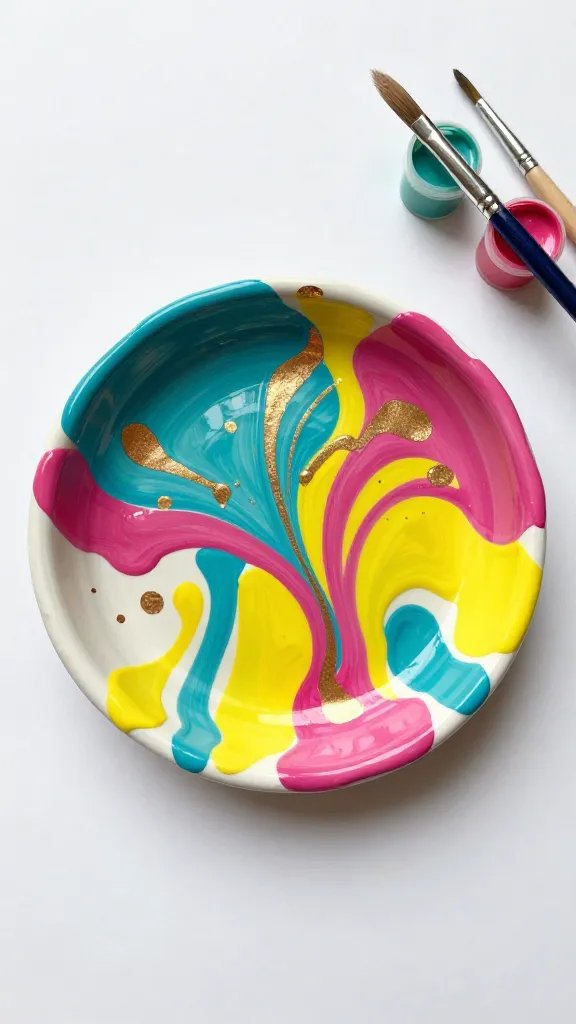
For those who love bold, artistic vibes, this technique combines clay crafting with painting for a truly unique result. Think abstract expressionism meets functional decor—Jackson Pollock would approve.
Start with a plain white or light-colored baked clay dish, then go wild with acrylic paints in your favorite colors.
Drip, swirl, splatter, and blend the paints directly on the surface, letting them interact naturally. You can also mix in metallics like gold or copper for extra wow-factor.
Once dry, seal everything with a clear resin coating or strong acrylic sealer to protect your artwork and make the colors pop even more.
No two dishes will ever look the same, which makes this perfect for anyone who wants something truly original on display.
Minimalist Speckled Concrete-Effect Dish
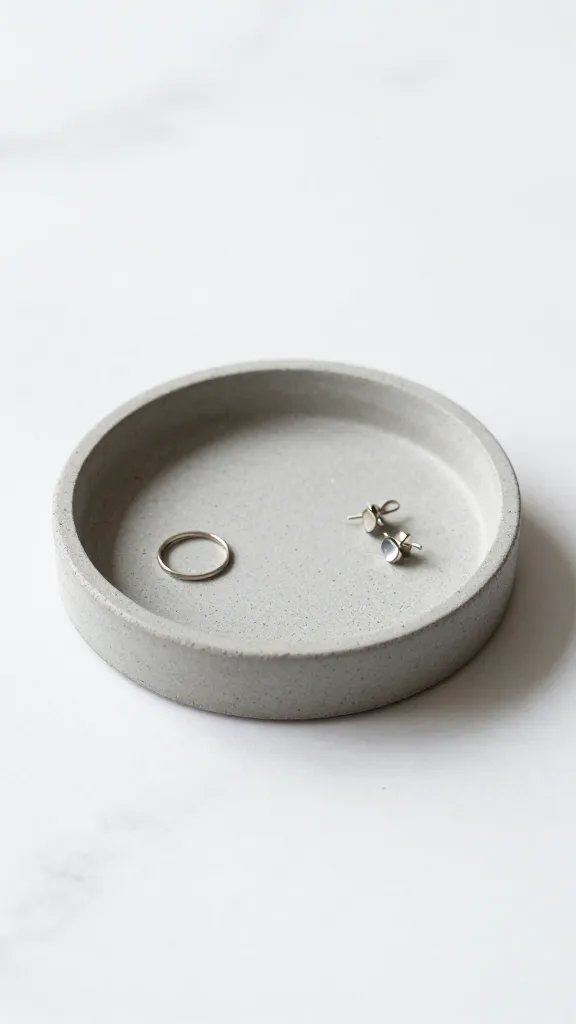
Sometimes less really is more, and this understated beauty proves it. The concrete aesthetic is having a major moment in home decor, and you can achieve that industrial-chic look with simple clay and paint techniques.
Materials Needed
- Gray polymer or air-dry clay
- Black and white acrylic paint
- Small sponge or old toothbrush
- Matte sealer
Shape your dish in a simple, architectural form—circles and squares work beautifully here.
After the clay is set or baked, use a nearly-dry sponge to dab on subtle variations of gray, then flick tiny specks of black and white paint using a toothbrush for that authentic concrete speckle. The matte sealer is crucial for maintaining that raw, unfinished look.
This modern minimalist piece fits perfectly in Scandinavian-inspired spaces, on office desks, or anywhere you want functional storage without visual clutter.
Start Crafting Today
There you have it—nine completely different ways to create gorgeous trinket dishes that’ll keep your small treasures organized and your space looking intentional.
Pick the style that speaks to you, grab some clay, and spend an afternoon making something beautiful and useful.
You’ll wonder why you ever settled for boring store-bought dishes when creating your own is this satisfying and fun!






