DIY Clay Letters: 11 Ideas You’ll Love to Make

If you love handmade decor, you’re going to enjoy these DIY clay letters ideas. From minimal designs to textured and colorful styles, there’s something here to match every taste and aesthetic.
I still remember trying DIY Clay Letters for the first time as a simple handmade gift. As I shaped each letter, it quickly became something more personal and meaningful.
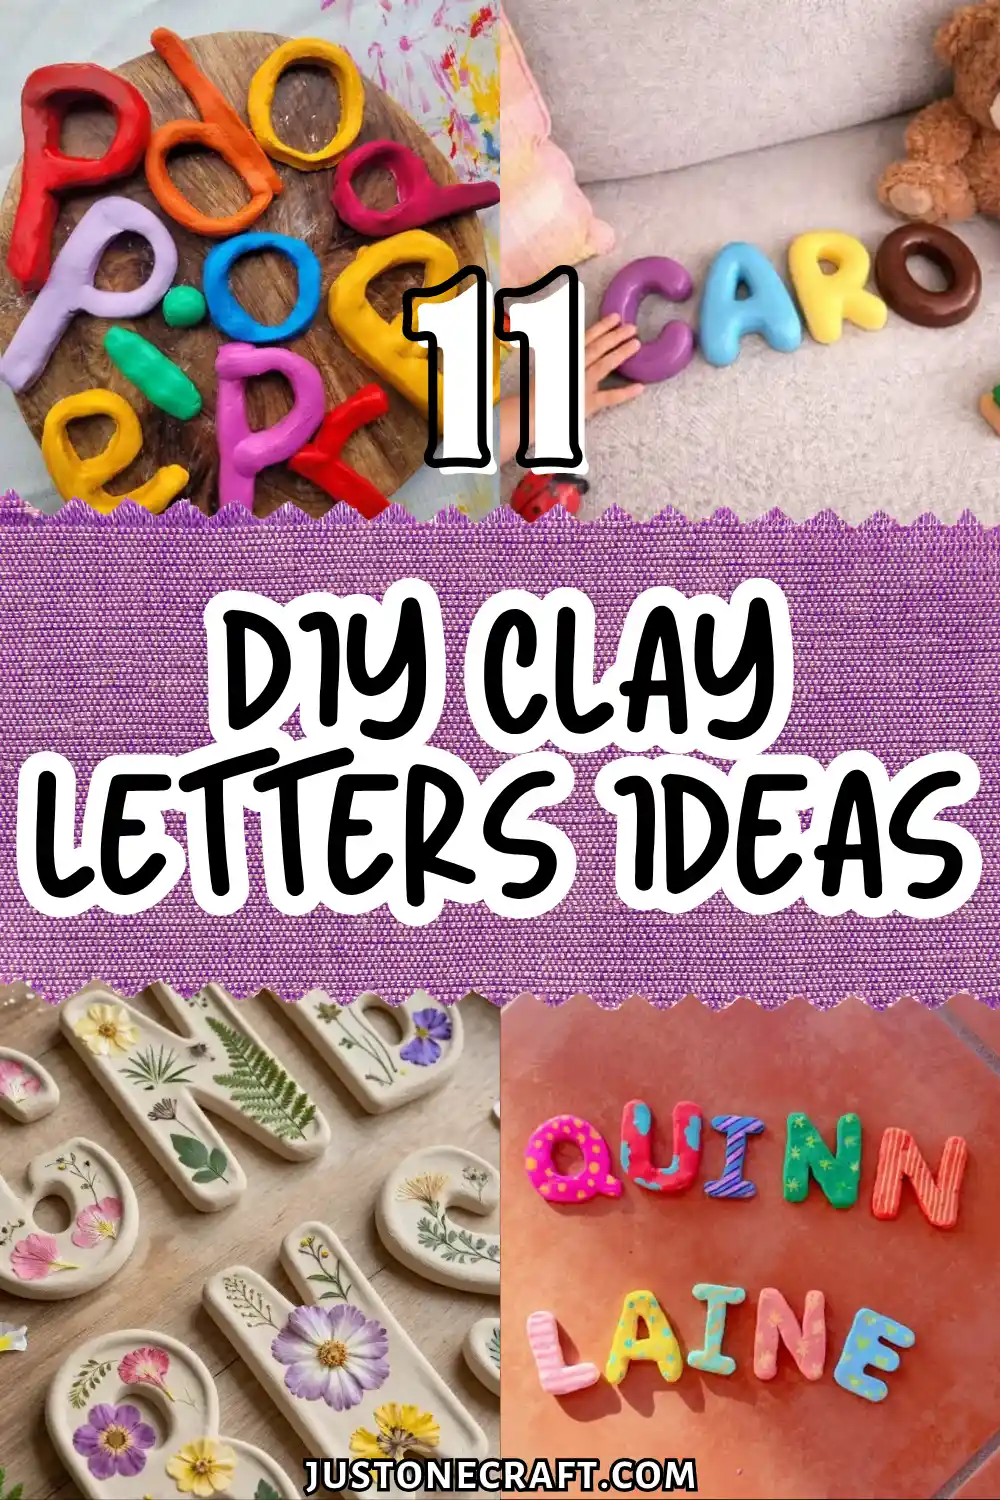
At first, getting them neat was tricky, but with practice, they became more polished and uniquely mine.
DIY Clay Letters are perfect for adding names or small decorative touches to your space. They’re easy, beginner-friendly, and fun to make.
In this guide, I’ll share simple ideas to help you create your own.
Patterned Clay Name Plaque
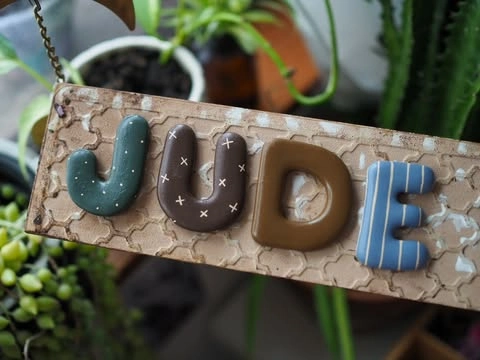
Smooth clay forms modern letters spelling out a name. Soft earth tones create a calm visual palette. White painted details add tiny dots, crosses, and stripes.
Mount these finished shapes onto a carved wooden board. A rustic plaque displays the artwork nicely on any wall.
Materials Needed
- Air dry or polymer clay (green, brown, blue, earth tones)
- Fine detail acrylic paint pen (white)
- Wooden plaque or board
- Strong craft glue or epoxy
- Clear acrylic varnish
- Clay rolling pin and craft knife
Instructions
- Roll clay into smooth coils of even thickness.
- Bend each coil to form the individual letters.
- Bake or air-dry the clay pieces according to package directions.
- Paint delicate patterns like dots, crosses, and stripes using a fine paint pen.
- Coat each dry letter with clear varnish to protect the surface.
- Glue the finished letters securely onto your wooden base.
Vibrant Hand-Sculpted Rainbow Alphabet
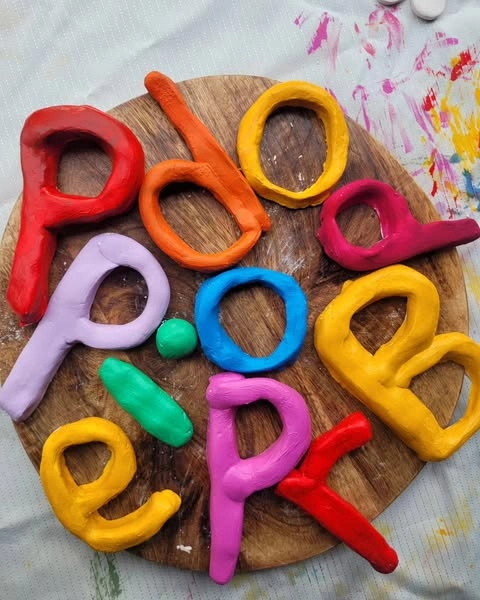
Bold rainbow shades bring these chunky handmade letters to life. Thick rolls of molded clay create playful shapes with an organic finish.
Bright primary colors give this alphabet collection an energetic aesthetic. Each letter rests on a round wooden cutting board display.
Materials Needed
- Air dry clay or modeling dough
- Acrylic paints in red, yellow, orange, blue, pink, and purple
- Soft paintbrush
- Clear sealant spray
Instructions
- Roll thick clay ropes using your palms on a clean work surface.
- Curve and cross the ropes to form distinct letter shapes.
- Allow the clay pieces to dry completely until solid.
- Brush rich coats of colorful acrylic paint onto each individual piece.
- Apply a protective coat of sealant once the paint dries completely.
Whimsical Patterned Clay Name Sign
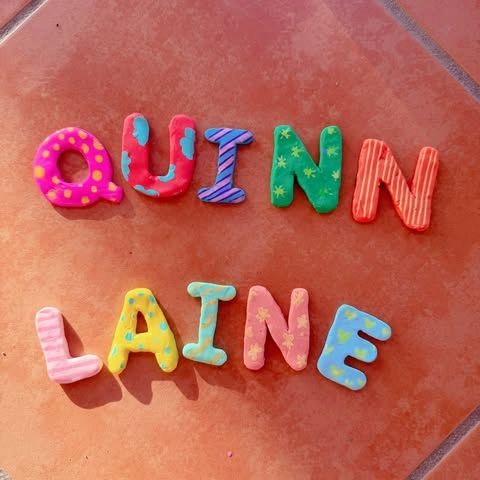
Playful handcrafted letters feature contrasting motifs like polka dots, clouds, diagonal lines, and flowers.
Neon pink, teal, yellow, and peach tones create an energetic color palette across the complete name display.
Each piece shows detailed painted accents over smooth sculpted bases. Laying out personalized name sets creates colorful art for playroom tables or bedroom shelves.
Materials Needed
- Polymer or air dry clay
- Acrylic paint pens (yellow, blue, purple, pink)
- Fine paintbrushes
- Clay sculpting tools
- Glossy varnish
Instructions
- Sculpt individual letter forms using soft clay ropes.
- Smooth out surface imperfections before curing or drying the pieces.
- Paint bright background colors onto each completed letter base.
- Draw custom patterns such as clouds, stripes, and hearts using paint pens.
- Apply a protective glossy varnish coat across all surfaces.
Oversized Glossy Nursery Letters
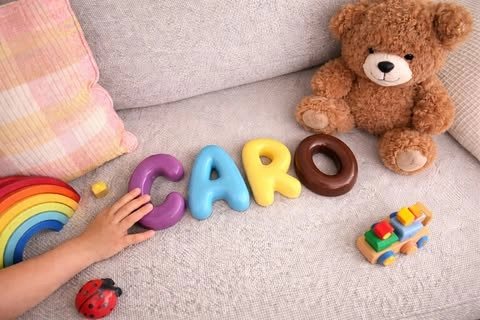
Plump rounded shapes spell out a short name on a textured gray sofa. A tiny hand reaches toward a large purple letter sitting next to classic wooden toys.
Thick layers of clear glaze make the blue, yellow, and brown figures shine brightly. Oversized sculpted forms provide playful tactile decor suited for a nursery space.
Materials Needed
- Lightweight modeling clay
- Acrylic craft paints
- Clear glossy liquid glaze
- Soft bristle brush
Instructions
- Form large thick logs out of lightweight craft clay.
- Curve your bulky pieces into soft rounded shapes.
- Bake the material until completely firm.
- Paint solid bright colors over every side.
- Seal the finished artwork using a heavy coat of glaze.
Please send the next image whenever you are ready.
Cutout Monogram Clay Keychain
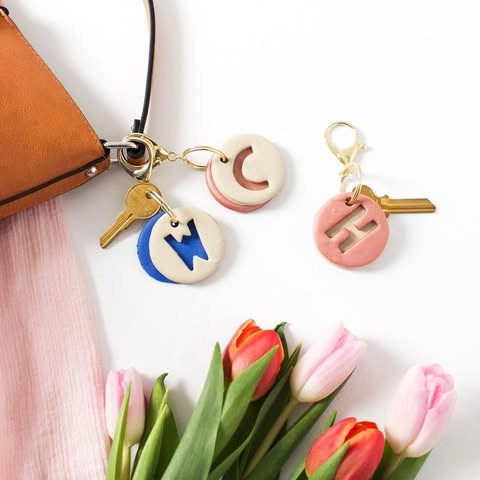
Round clay discs feature stamped letter cutouts layered over colorful backing bases. Gold hardware transforms these dual layer medallions into chic accessories for handbags or keys.
Soft pastel tones pair with royal blue accents for a sophisticated look. Small holes punch through the top edge to hold split rings and lobster clasps.
Materials Needed
- Polymer clay in cream, blue, pink, and red
- Circular cookie cutters
- Small letter shape cutters
- Keychain rings and lobster clasps
- Clay hole punch tool
Instructions
- Roll out different colored clay sheets onto a flat work surface.
- Cut round discs using a circular cutter.
- Punch letter shapes out of the center of cream discs using letter cutters.
- Stack the cutout cream discs over solid colored discs to reveal contrast.
- Make a small hole near the top edge of each layered piece.
- Bake the clay pieces and attach gold keychain hardware after cooling.
Marbled Rainbow Clay Letter Wall Art
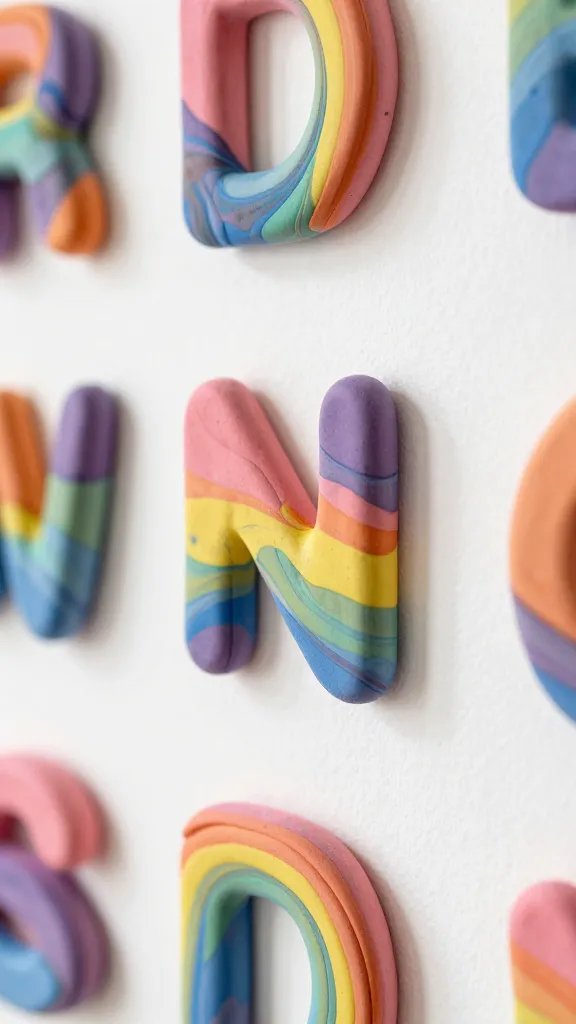
Imagine bold, colorful letters swirled with gorgeous marbled patterns hanging on your wall like miniature pieces of abstract art.
This project combines the fun of color mixing with the satisfaction of creating something totally unique—no two letters will ever look the same.
Materials Needed
- Air-dry clay in white
- Acrylic paints in rainbow colors
- Rolling pin
- Letter-shaped cookie cutters
- Toothpick or skewer
- Small command hooks or picture hanging strips
How to Make It
Start by kneading different colored paints into separate portions of white clay until you get vibrant hues. Then twist 2-3 colors together gently—don’t overmix or you’ll lose that marbled effect.
Roll out your multicolored clay to about half an inch thick, cut out your letters, and poke a small hole at the top for hanging. Once dried, these make the most Instagram-worthy bedroom decor for teens or playrooms.
The best part? You can customize the color palette to match any room’s aesthetic, from pastel nursery vibes to bold boho bedroom energy.
Gold Leaf Monogram Clay Letters For Your Entryway
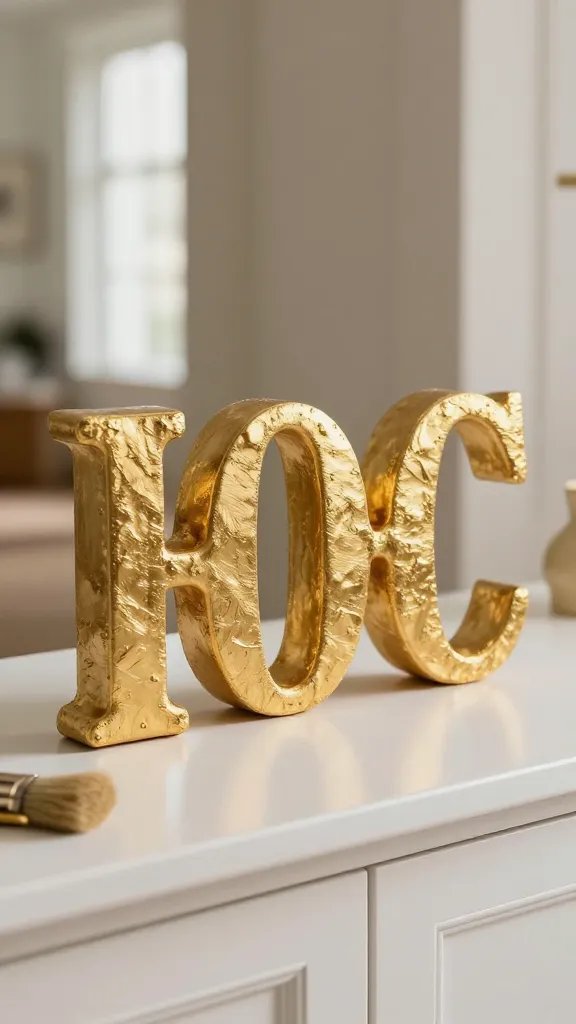
Nothing says “elevated home decor” quite like the shimmer of gold leaf. These sophisticated monogram letters look expensive but cost practically nothing to make, and they add instant glamour to console tables, bookshelves, or mantels.
Materials Needed
- Polymer clay or air-dry clay
- Letter templates or freehand design
- Gold leaf sheets
- Adhesive sizing or mod podge
- Soft brush
- Matte sealer spray
How to Make It
Shape your clay into chunky, freestanding letters—think thick and three-dimensional rather than flat.
Let them dry completely, then brush on a thin layer of adhesive where you want the gold leaf to stick.
Gently press the delicate gold sheets onto the clay, using a soft brush to smooth and remove excess.
You can go full gold for maximum drama or just add touches on the edges for a more subtle, modern look. These make seriously impressive housewarming gifts that look like they came from an upscale boutique.
Terrazzo-Style Speckled Clay Letters For Trendy Shelf Decor
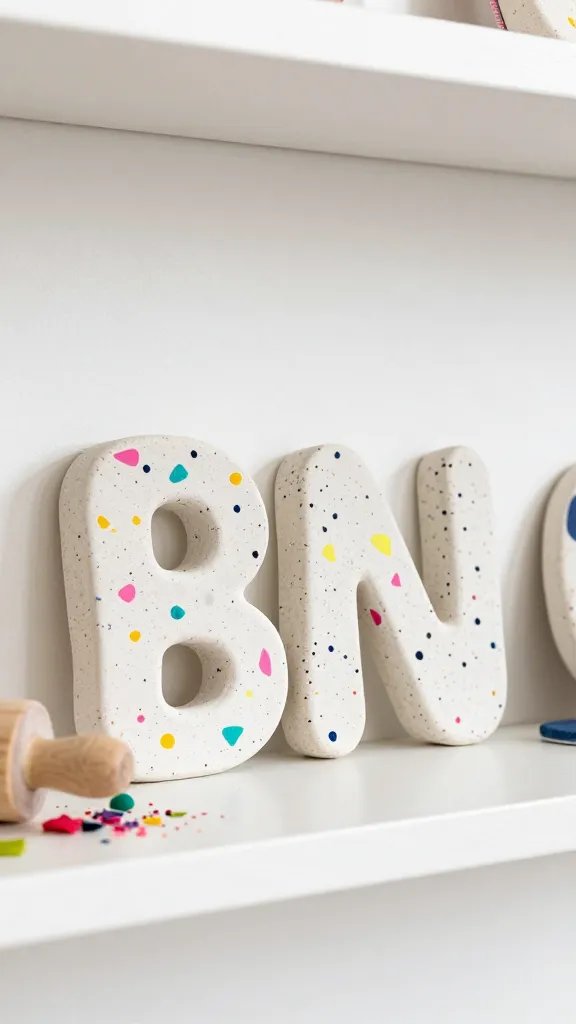
Terrazzo is everywhere right now, and this DIY brings that trendy speckled look to your clay letters in the most satisfying way.
The confetti-like specks of color create a playful, modern aesthetic that’s perfect for contemporary spaces.
Materials Needed
- White or cream air-dry clay
- Tiny clay pieces in various colors (or use clay shavings)
- Rolling pin
- Alphabet cookie cutters or cardboard templates
- Sandpaper for smoothing edges
Pro Tips
Create your terrazzo effect by rolling out your base clay, then pressing small colored clay pieces or shavings into the surface before cutting your letters.
Roll over everything one more time to embed those colorful specks. The key is using contrasting colors—black, pink, and mustard on white looks particularly stunning.
These letters work beautifully spelling out words like “HELLO” or “HOME” on floating shelves. Trust me, guests will ask where you bought them.
Pressed Botanical Clay Letters With Real Flowers
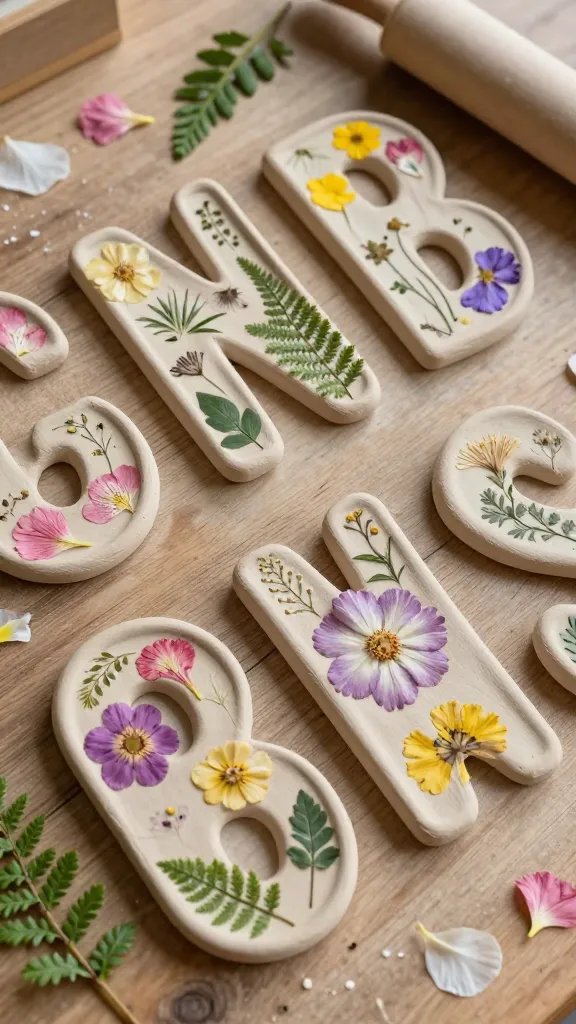
This nature-inspired project preserves the delicate beauty of real flowers and leaves right into your clay letters. It’s like creating a little piece of your garden that lasts forever—perfect for cottagecore enthusiasts and plant lovers.
Materials Needed
- Air-dry clay in natural tones
- Fresh or dried flowers, petals, and small leaves
- Rolling pin
- Letter cutters or templates
- Clear acrylic sealer
- Ribbon for hanging (optional)
How to Make It
Roll your clay to about quarter-inch thickness and gently press your botanicals into the surface—ferns, daisies, lavender, and tiny wildflowers all work beautifully.
Cut out your letters, being careful not to disturb the pressed flowers. After the clay dries completely, seal everything with a clear topcoat to protect the delicate botanicals.
These make incredibly thoughtful personalized gifts for birthdays or Mother’s Day, especially when you use flowers that have special meaning. The vintage, romantic vibe is absolutely dreamy.
Textured Clay Letters With Fabric And Lace Imprints
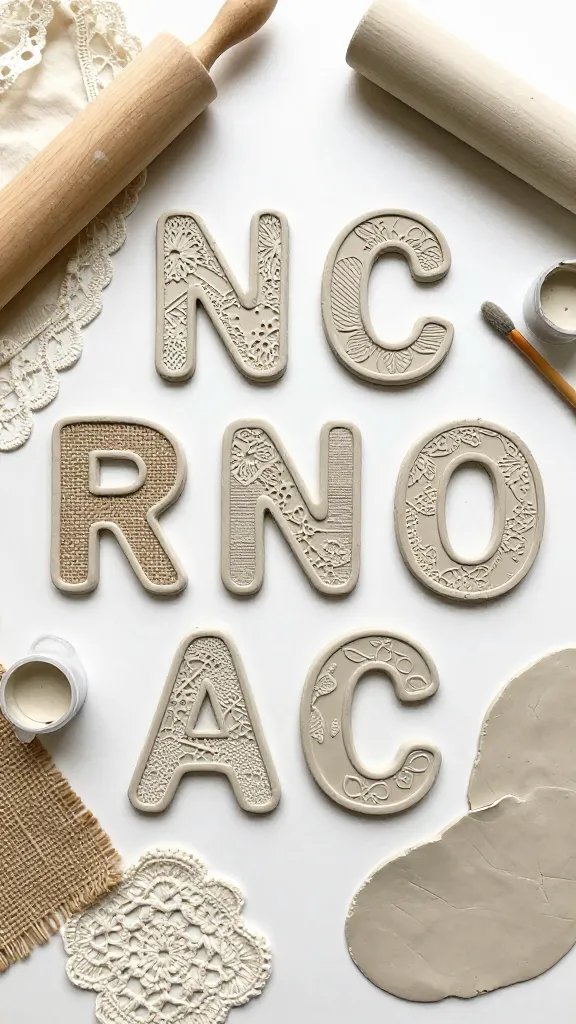
Who knew you could create such intricate, dimensional designs by simply pressing fabric into clay? This technique produces letters with gorgeous texture and pattern that look unbelievably professional.
Materials Needed
- Air-dry or polymer clay
- Lace, burlap, crochet doilies, or textured fabric
- Rolling pin
- Letter templates
- Acrylic paint or stain (optional)
- Foam brush
Styling Ideas
Roll out your clay, lay your chosen fabric on top, then roll over it firmly to transfer the texture. Peel away the fabric to reveal the beautiful imprint, then cut your letters.
You can leave them natural for a rustic look or brush on watered-down paint that settles into the crevices, highlighting every detail.
Lace creates an elegant, feminine effect while burlap gives you farmhouse charm. These work wonderfully for wedding decor, nursery name letters, or seasonal displays. Seriously, the texture is so satisfying you’ll want to make the entire alphabet.
Ombre Sunset Clay Letters For Boho Wall Displays
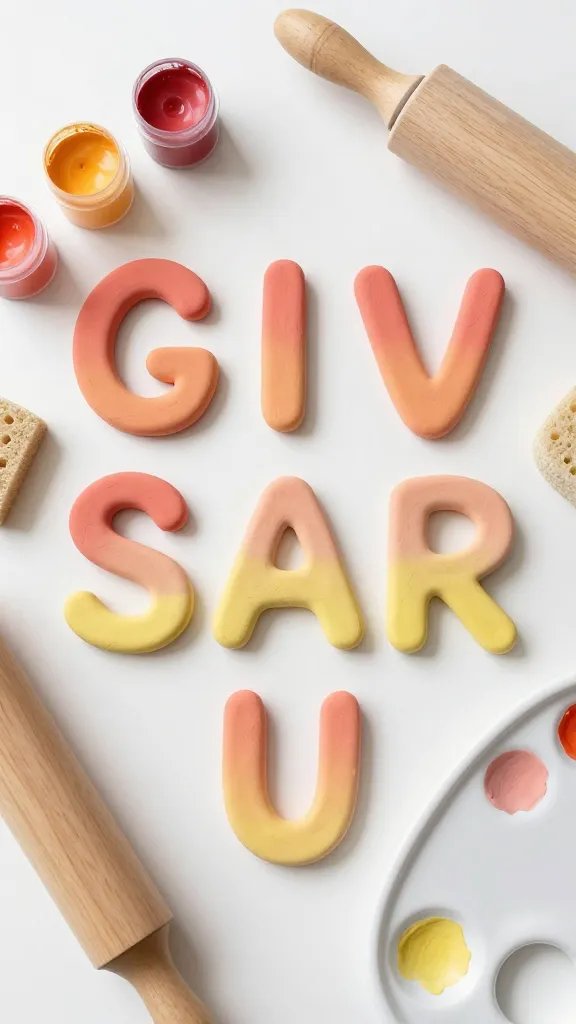
Gradient colors never go out of style, and these ombre letters bring those dreamy sunset vibes straight to your walls.
The smooth color transition from one shade to another creates an artistic, gallery-worthy look that’s surprisingly simple to achieve.
Materials Needed
- White air-dry clay
- Acrylic paints in gradient shades (like coral, peach, yellow)
- Rolling pin
- Letter cutters
- Sponge or soft brush
- Palette or plate for blending
How to Make It
Cut out your letters from plain clay and let them dry completely first. Then comes the fun part—painting! Start with your darkest color at the bottom, then gradually blend upward through your color range, using a damp sponge to blur where each shade meets.
The blending technique takes a little practice, but even imperfect gradients look amazing.
FYI, you can adapt this to any color scheme—think ocean blues fading to turquoise, or moody purples melting into pink. These look incredible spelling out inspirational words like “DREAM” or “CREATE” above your workspace or in a teen’s bedroom.
Let’s Get Started
There you have it—six completely different ways to turn simple clay into personalized letter art that’ll make your space feel so much more you.
The beauty of these projects is that they’re all beginner-friendly but look anything but basic.
Pick your favorite technique, grab some clay, and get ready to create something you’ll be proud to display—or gift to someone special who’ll absolutely love it.






