
How to Upcycle Old T-Shirts No Sewing

Upcycling old t-shirts without sewing means cutting and knotting cotton jersey into something new — tote bags, crop tops, headbands, yarn — using nothing but scissors and the fabric’s own properties. No needle, no thread, no machine required.
Why cotton jersey is your best friend
Jersey fabric, used in most t-shirts, naturally curls inward when cut into strips and stretched.
This creates a smooth, cord-like edge that won’t fray, making it perfect for no-sew projects.
For the best results, use 100% cotton jersey, as it curls reliably, while polyester blends fray more and spandex blends can be too stretchy for easy knotting.
Curls reliably
Frays
Too stretchy
What You Need
- 100% cotton T-shirt (adult medium or larger) — Avoid tri-blend fabrics; cotton curls into yarn.
- Sharp fabric scissors (8-inch or larger) — Ensure clean, even cuts.
- Ruler or cutting mat — Helps measure consistent strip widths.
- Fabric chalk or washable marker — Marks cutting lines and washes out easily.
- Binder clips or clothespins — Keeps the shirt flat while cutting.
Step-by-Step Instructions
1. Lay the shirt flat on a hard surface
Smooth out all wrinkles with your hands and clip both side seams to your work surface using binder clips.
The shirt should lie completely flat — if it’s bunching, the clips aren’t holding enough tension. Fold the shirt so the front and back layers are aligned; you’ll cut through both at once.
2. Cut off the hem
Remove the bottom hem by cutting 0.75 inches above the stitched hemline. The hem doesn’t curl the way jersey does — it’s reinforced stitching — so it must be removed.
You’ll feel a slight resistance when the scissors hit the hem versus the jersey body. Stop just above that resistance.
3. Mark your strips at 1-inch intervals
Using your ruler and chalk, draw horizontal lines across the shirt body at 1-inch spacing. For a tote bag, mark from the cut hem up to 10 inches.
📏 Precision Matters: Even half-inch inconsistencies show up as visible variation in the finished piece — always use a ruler.
For yarn or fringe, mark the full body. The beginner mistake here is eyeballing the spacing — even half-inch inconsistencies create visible variation in the finished piece.
4. Cut along the marked lines — but stop 1 inch before the side seam
Cut each strip across the shirt, stopping 1 inch before the opposite side seam. Do not cut all the way through.
This leaves a connected spine along one side, which holds all strips together — critical for bag projects. You should end each cut with 1 inch of uncut fabric on the left edge.
5. Open the shirt and cut the spine at a diagonal
Open the shirt and cut the connected edge diagonally from one strip to the next to create one continuous strip.
6. Stretch each strip to activate the curl
Pull each strip firmly between both hands — about 6 inches of stretch along a 12-inch section. Hold for 2 seconds and release.
🧪 Stretch Test
Should feel like a soft cord. If it tears, re-cut strips at 1.25 inches next time.
The edge will curl inward and the strip will narrow and elongate. It should feel like stretching a soft cord, not tearing fabric. If it tears, your strips are too narrow — re-cut at 1.25 inches next time.
7. Knot or assemble your project
Tie the strips together for a tote bag or use the continuous cord for other DIY projects like headbands, rugs, or macramé.
Aftercare
Wash finished no-sew pieces in cold water on a gentle cycle. Hot water causes 100% cotton jersey to shrink further, which can tighten knots to the point where they won’t untie if you need to adjust. Air dry flat — a dryer’s heat and tumbling can distort knot placement over time.
Variations
Braided t-shirt rug
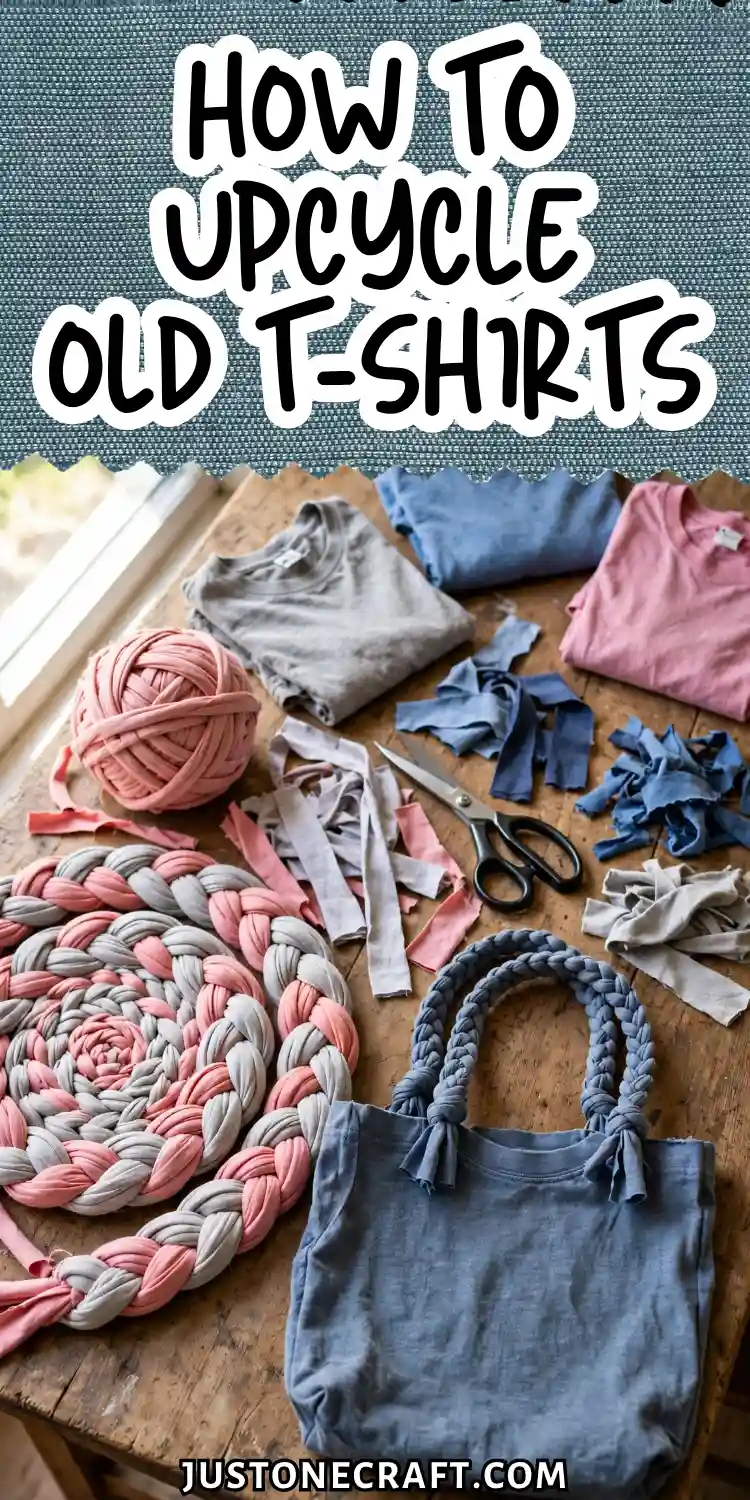
Cut 3 long continuous strips per shirt from 3 different colored shirts, stretch all strips to activate curl, then braid them together into a flat coil.
Knot the end of each braid together. Coil into a round or oval and knot adjacent braid sections to connect — no sewing, just knots.
No-sew crop top
Cut the bottom 6 inches off a large t-shirt. Along the cut edge, make 2-inch-deep fringe cuts every 0.5 inches.
Stretch each fringe strip, then tie adjacent strips together in double knots to create a lace-like hem. The knotted fringe sits flush and doesn’t ride up.
T-shirt yarn for crochet or macramé
Cut the entire shirt body into 1.5-inch strips using the diagonal spine method above. Stretch the full length of cord to activate curl. Wind into a ball.
This yarn is strong enough for crochet hooks size N (9mm) or larger and produces chunky, tactile results ideal for plant hangers or baskets.
Knotted headband
Cut one 2-inch-wide strip from the shirt body. Stretch fully. Tie the two ends together in a square knot, leaving a 1-inch loop.
Twist the main band once and pass the knot through the loop — this creates the gathered center typical of fashion headbands.
Troubleshooting
| Problem | Likely Cause | Fix |
|---|---|---|
| Strips fray instead of curling | Polyester or blended fabric content | Use only 100% cotton shirts; test a small strip before cutting the whole shirt |
| Strips tear when stretched | Cut width is under 0.75 inches | Recut at 1–1.25 inches; narrower strips can’t handle full tension |
| Tote bag bottom has gaps between knots | Strips weren’t aligned before knotting | Re-pair strips and retie; pull each knot firm before moving to the next |
| Continuous cord breaks at diagonal cuts | Diagonal cut went too far into the spine | Leave a full 1-inch spine; re-cut more conservatively |
| Knots slip loose over time | Jersey wasn’t stretched before knotting | Stretch each strip completely before tying; activated jersey grips itself |
| Finished piece looks uneven | Strip widths were inconsistent | Always mark with chalk and ruler; never cut freehand on jersey |
One Final Thought
Every no-sew t-shirt project is really just two skills: cutting consistently and knotting firmly.
🔍 If Something Fails, Check:
✂️ Strip width — cut consistently?
🪢 Knot tension — tied firmly?
When something goes wrong — fraying, tearing, slipping — it almost always traces back to one of those two things.
Before you blame the project, check your strip width and your knot tension. Consistent cuts and tight knots solve 90% of problems before they start.






