
9 DIY Paper Blind Bags for Cute Surprises

Love surprises but want to add a personal touch? DIY paper blind bags are a creative way to package tiny gifts, treats, or crafts into cute mystery bundles. These ideas will help you turn simple paper into something fun, playful, and totally irresistible.
When I first came across DIY Paper Blind Bags, I didn’t think much of them—just folded paper, right? But the moment I made one and added a tiny surprise inside, it became more than a craft. It felt like an experience.
Store-bought blind bags can be expensive and often disappointing. That’s why making your own is so much better.
With simple paper and a little creativity, you can create fun, personalized surprises that feel even more exciting.
Whether for kids, gifts, or party favors, DIY Paper Blind Bags turn simple moments into something special—and once you start, you won’t want to stop.
Rainbow Ombre Gradient Mystery Bags
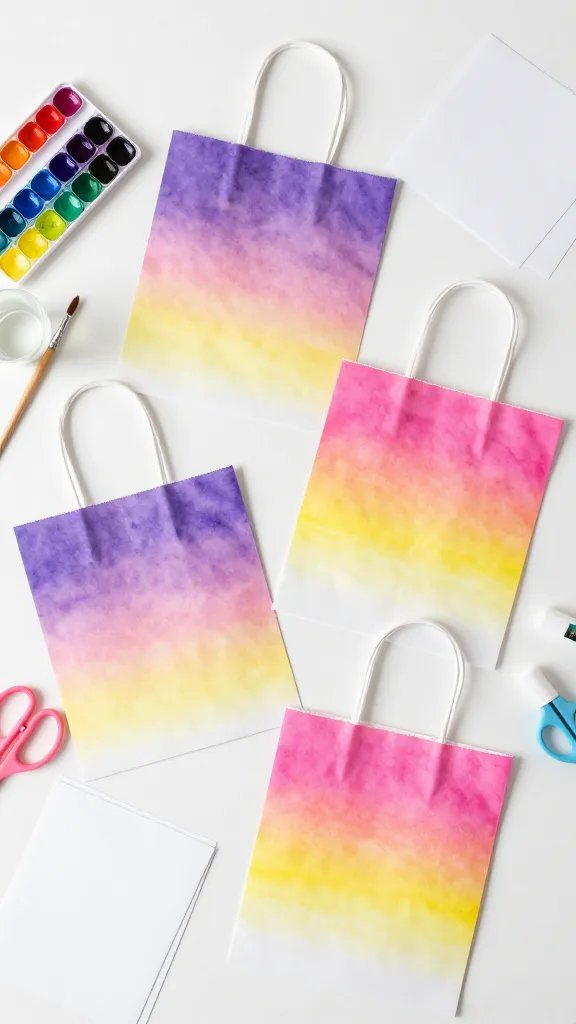
Picture a series of bags that fade from deep purple through pink to sunny yellow, each one more Instagram-worthy than the last.
These gradient beauties use watercolor techniques on cardstock to create that dreamy ombre effect that looks way more complicated than it actually is.
Materials Needed
- White cardstock or heavy paper
- Watercolor paints in rainbow shades
- Paintbrush and water cup
- Scissors and glue stick
- Number stickers or stamps
How to Make It
Start by painting your cardstock with watercolors, blending colors as you go down the page for that smooth gradient transition.
Once dry, fold the paper into simple envelope-style bags and seal the sides with glue. Add mystery numbers to each one so recipients can’t tell what’s inside just by looking.
These are perfect for birthday parties where you want guests to trade bags without knowing what goodies they’re getting.
The watercolor effect makes each bag totally unique, even if you’re following the same color scheme.
Character Peek-A-Boo Window Bags
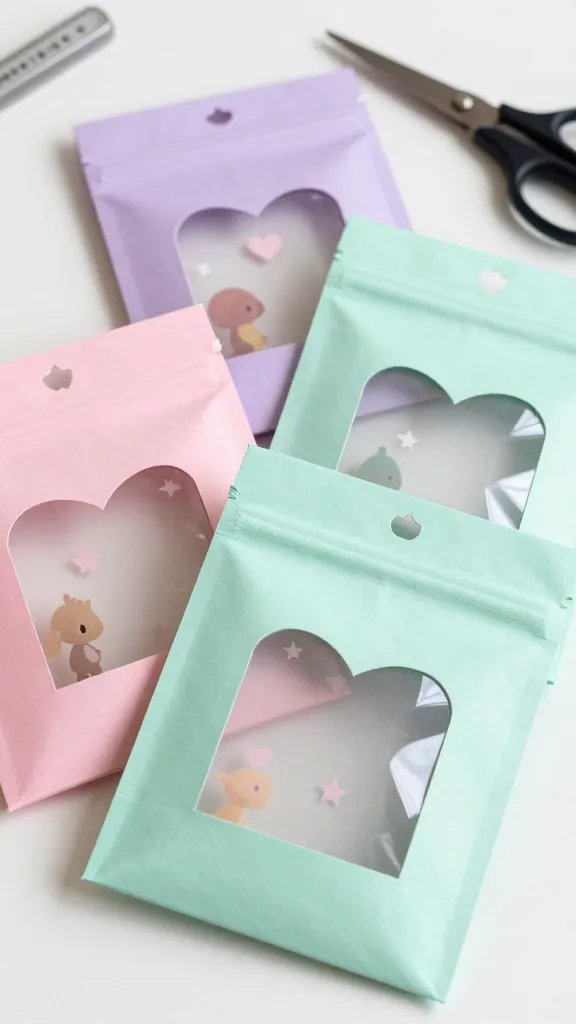
Nothing builds anticipation like a tiny window that reveals just a hint of what’s inside. These bags feature small die-cut windows covered with translucent vellum, showing just enough to tease but not enough to spoil the surprise.
Cut small shapes like stars, circles, or hearts into your folded paper bags before assembly. Back the cutouts with colored vellum so the contents stay mostly hidden but create intriguing silhouettes.
You can theme these around holidays by using seasonal shapes—think pumpkins for Halloween or snowflakes for winter.
Pro Tips
- Use contrasting vellum colors against your bag color for maximum impact
- Place small toys or candies right behind the window for extra curiosity
- Add “Can you guess what’s inside?” text around the window
Kids absolutely go wild for these at classroom parties, and honestly, adults love them too when you fill them with mini self-care items or gourmet treats.
Origami Fortune Cookie Pouches
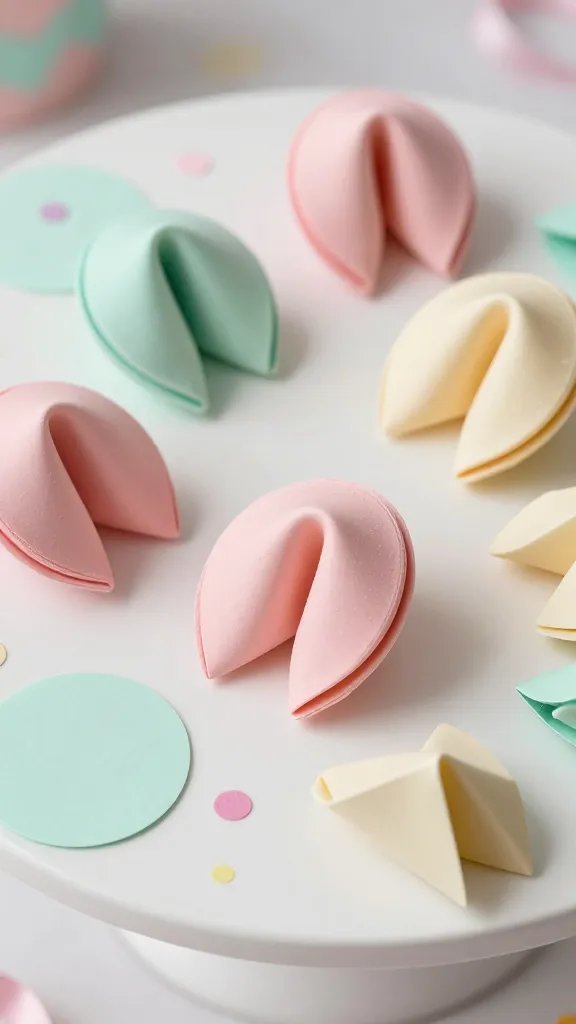
These aren’t your standard paper bags—they’re actually folded into the shape of fortune cookies using simple origami techniques.
The curved, puffy shape makes them instantly recognizable and seriously adorable on any dessert table.
Using circular paper cutouts about six inches in diameter, fold them in half and then gently bend the edges together to create that signature fortune cookie curve.
Tuck small fortunes, trinkets, or candies inside before making the final fold. Secure with a tiny dab of glue or decorative washi tape.
These work beautifully for Asian-themed parties, Lunar New Year celebrations, or anytime you want to add a playful twist to gift-giving. Write custom fortunes that relate to your event for an extra personal touch.
Scratch-Off Secret Reveal Bags
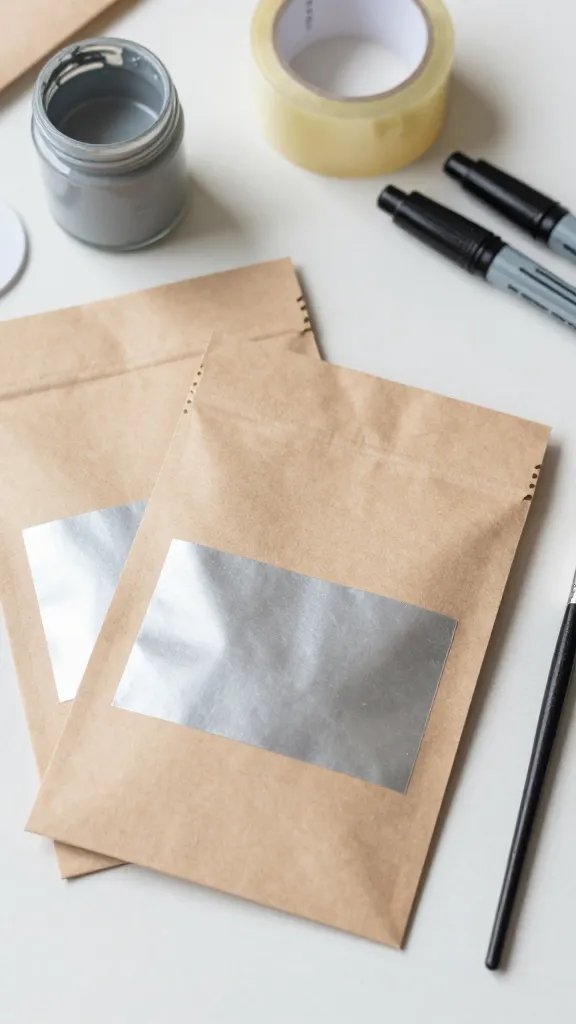
Here’s where things get interactive. These bags feature scratch-off panels that recipients need to reveal before they can even think about opening their surprise.
Materials Needed
- Plain paper bags
- Acrylic paint mixed with dish soap (2:1 ratio)
- Clear packing tape
- Permanent markers
- Small paintbrush
How to Make It
Write or draw clues about the bag’s contents on the front using permanent marker. Cover your design with clear packing tape, smoothing out all bubbles.
Paint over the tape with your paint-soap mixture in two or three coats, letting each dry completely.
The anticipation doubles with these because first they scratch, then they open. Use them for scavenger hunts where each bag contains the next clue, or create a series where scratching reveals which order to open them in.
Layered Tissue Paper Surprise Sachets
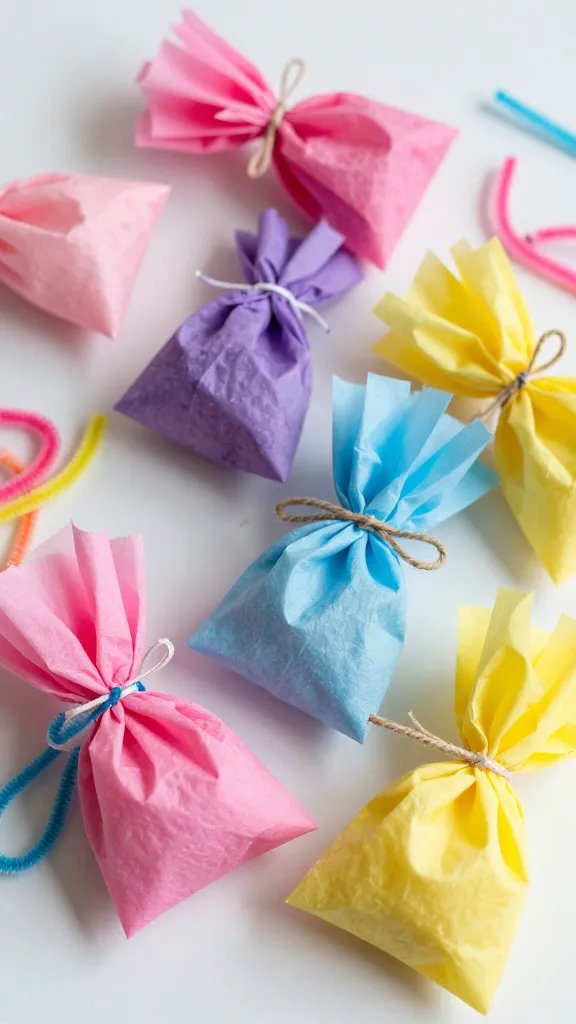
Think of these as the fancy cousins of regular paper bags. Multiple layers of colorful tissue paper get gathered and tied to create pouches that look like flower blooms or candy wrappers.
Stack three to five sheets of tissue paper in complementary colors, place your surprise in the center, and gather the paper around it.
Secure with ribbon, twine, or pipe cleaners twisted into fun shapes. The outer layers hide what’s beneath, and the unwrapping process becomes part of the fun as recipients peel back each colorful layer.
These are incredibly fast to make in bulk, which makes them ideal for wedding favors, baby showers, or classroom valentines. FYI, metallic tissue paper adds an extra luxe factor that photographs beautifully.
Pop-Up Question Mark Bags
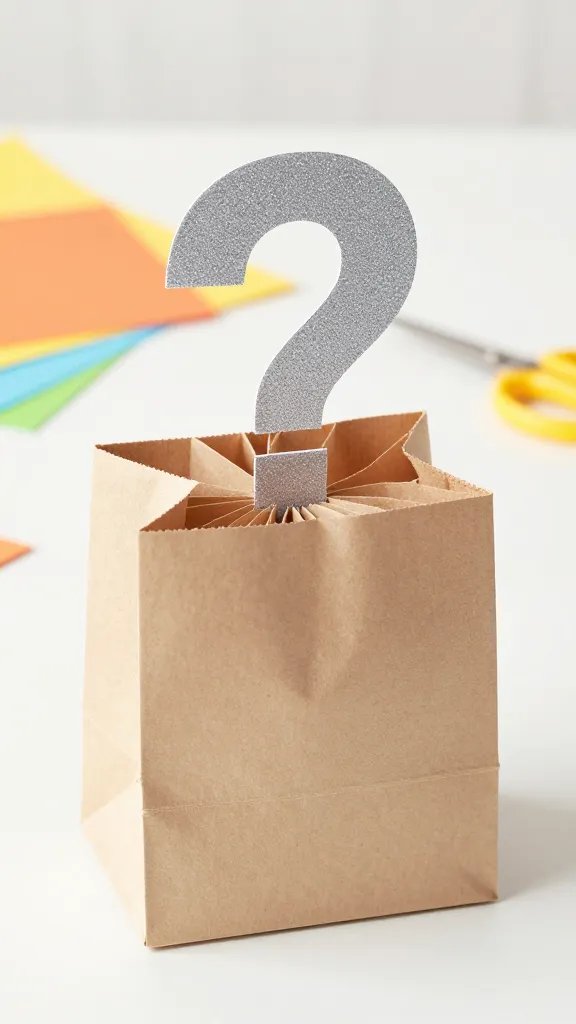
When you open these bags, a three-dimensional question mark springs up from inside like a jack-in-the-box. It’s part blind bag, part pop-up card, and totally delightful.
Create a basic paper bag with a reinforced bottom, then craft a simple accordion-folded question mark that’s attached to the base.
When the bag is closed, the spring compresses flat. When opened, it pops right up before revealing the actual contents hidden underneath or around it.
Styling Ideas
- Use glittery cardstock for the question mark to catch the light
- Add googly eyes to the question mark for silly character vibes
- Write riddles on the bag exterior that hint at what’s inside
These take a bit more construction time but create an unforgettable wow moment. They’re especially great for mystery-themed birthday parties or detective game nights.
Envelope-Style Wax Seal Packets
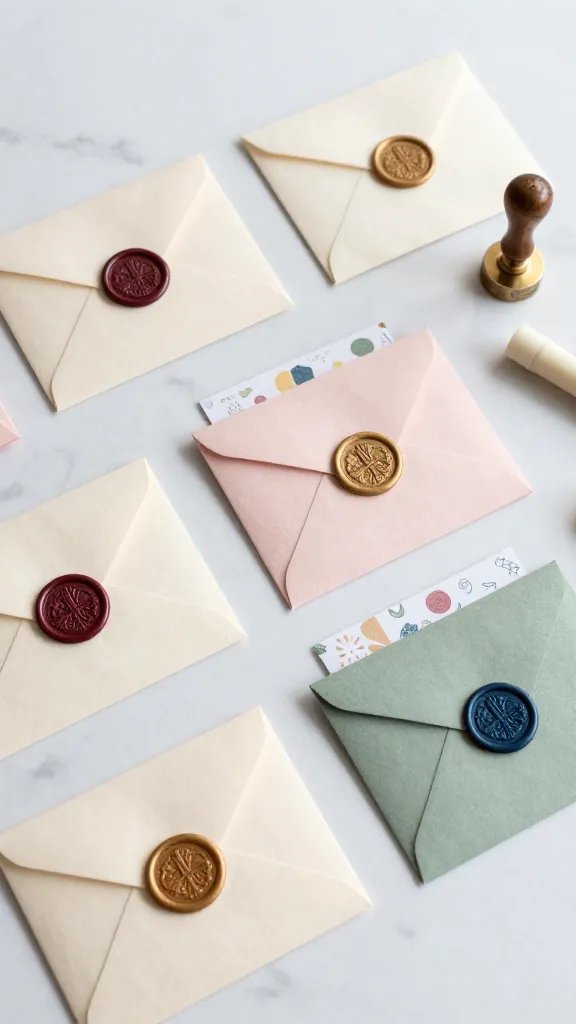
Channel your inner Hogwarts letter aesthetic with these elegant flat packets sealed with actual wax.
They lay completely flat, making them perfect for slipping cards, stickers, temporary tattoos, or other thin surprises inside.
Fold decorative paper into envelope or pocket-style holders, tuck your items inside, and seal the flap with colored wax and a stamp.
The wax seal means recipients can’t peek without breaking it, adding genuine mystery to the experience.
You can use traditional sealing wax or try the modern glue-gun method with metallic glue sticks.
These feel incredibly special and work wonderfully for tween and teen parties, book club exchanges, or Harry Potter-themed events. Trust me, the ceremonial breaking of the wax seal never gets old.
Puzzle Piece Interconnected Bags
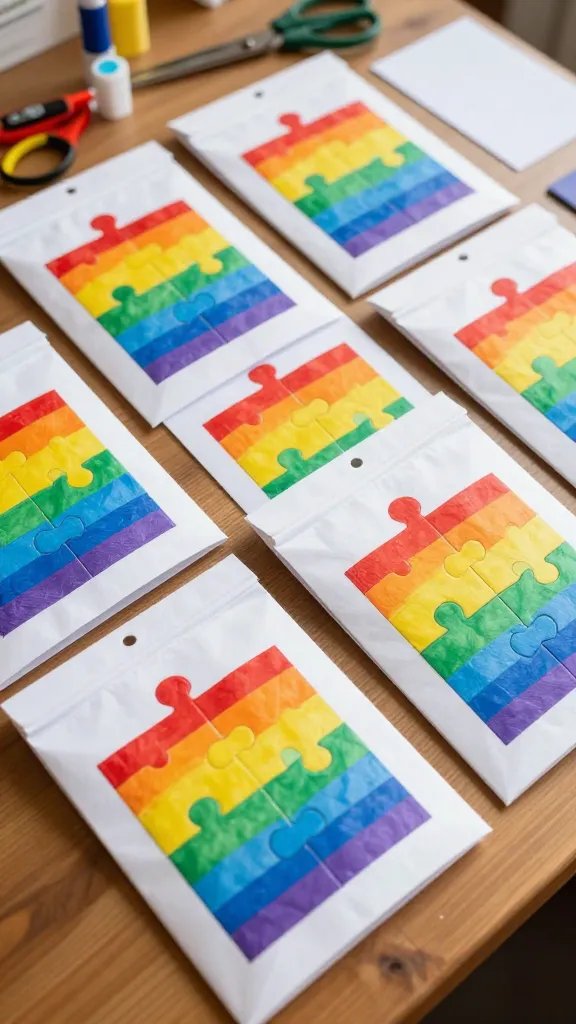
Here’s a genius twist—create bags where the exteriors feature puzzle pieces that only make sense when you collect them all.
Each person gets one bag, but the full picture or message only appears when everyone puts their bags together.
Design or print a large image or phrase, then cut it into sections equal to the number of bags you’re making.
Attach each section to individual bag fronts before filling and sealing them. When recipients compare bags, they’ll realize they need to collaborate to see the complete design.
This concept works amazingly for team-building events, family reunions, or friend groups where you want to encourage interaction. The collective mystery becomes a conversation starter that brings people together.
Nested Russian Doll Style Bags
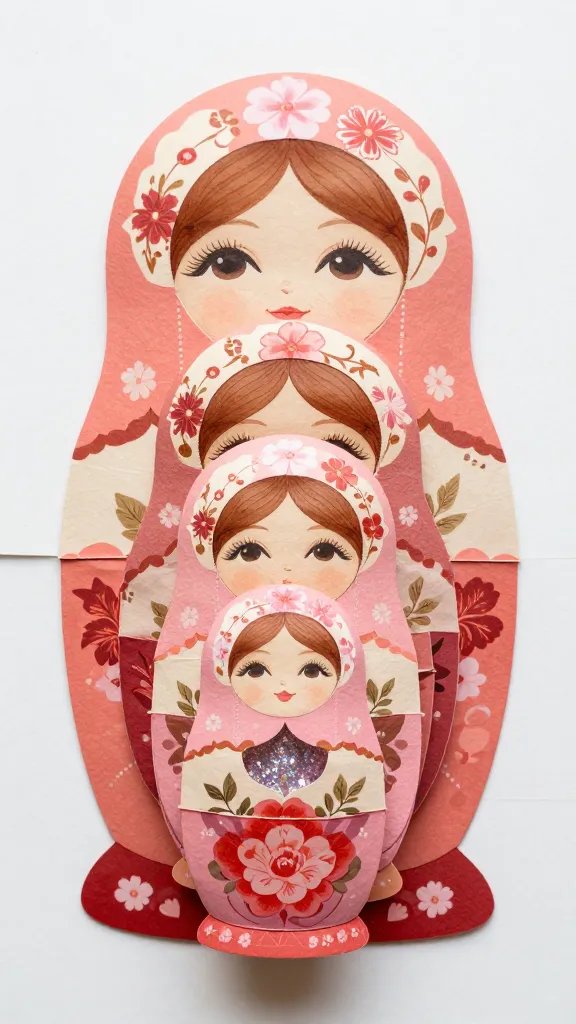
Why settle for one layer of surprise when you can have four or five? These bags nest inside each other like matryoshka dolls, with each layer revealing a smaller bag inside until you reach the final tiny treasure at the center.
Start with your largest bag size and work down to the smallest, decorating each in coordinating patterns or a gradient of the same color.
Place the smallest bag inside the next size up, and continue until they’re all nested together. Each unwrapping reveals another layer, extending the anticipation deliciously.
Seriously, the looks on people’s faces when they realize there’s another bag inside are priceless. These work for any age group and make even small gifts feel incredibly special and thoughtful.
Time to Create
The beauty of DIY paper blind bags is that they transform ordinary items into exciting mysteries while letting your creativity shine through.
Whether you go with watercolor gradients, scratch-off panels, or nested surprises, you’re creating experiences that people remember long after the contents are revealed.
Pick your favorite idea and start folding—you’ll be amazed how something as simple as paper can generate so much joy and anticipation!






