
5 Easy DIY Paper Orchid Ideas for Beginners

Looking for a beautiful DIY flower project that adds a touch of elegance to your home? These DIY Paper Orchid ideas will inspire you to create stunning handmade blooms that look delicate, realistic, and perfect for any decor style.
When I first started making paper flowers, I thought creating realistic blooms like orchids would require advanced crafting skills and expensive supplies. The delicate petals and graceful shape seemed too difficult to recreate with paper.
But after a few attempts, I discovered that the secret was in the small details—choosing the right paper, shaping each petal carefully, and adding a little patience. A simple sheet of paper could transform into something surprisingly beautiful.
Creating a DIY Paper Orchid became one of my favorite craft projects because these handmade blooms can brighten your home, decorate special occasions, or become thoughtful gifts that last for years.
Whether you’re a beginner or an experienced crafter, these DIY Paper Orchid ideas will help you create elegant flowers with simple materials and creative techniques.
Cascading Crepe Paper Phalaenopsis for Statement Decor
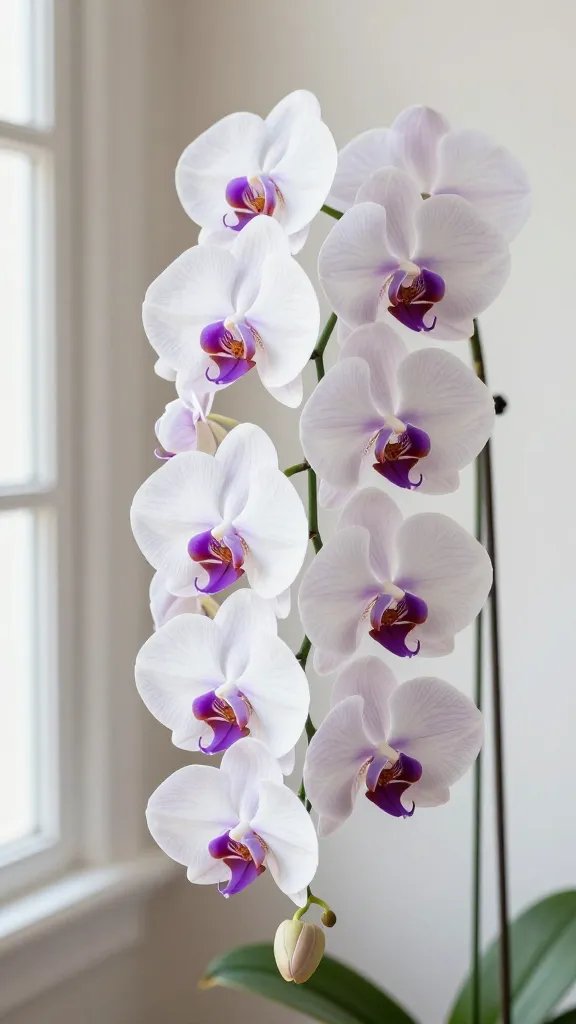
Picture this: a stunning white and purple orchid spray that looks like it just came from an upscale botanical garden, except it’s made entirely from crepe paper and will literally last forever.
The phalaenopsis orchid (you know, the classic moth orchid) is perfect for beginners because the petals are fairly simple shapes, but the finished result looks absolutely luxurious.
Materials Needed
- 180-gram crepe paper in white and deep purple
- Floral wire (22-gauge works perfectly)
- Floral tape in green
- Yellow craft foam for the center
- Hot glue gun
- Acrylic paint for shading (optional but makes it pop)
How to Make It
Start by cutting petal shapes from your crepe paper—you’ll need five petals per flower in varying sizes.
Gently stretch the center of each petal to create that characteristic cup shape orchids have. The secret here is working with the grain of the crepe paper, which gives you that natural curve.
Create the center column using yellow foam, adding tiny dots with a marker to mimic those gorgeous speckles real orchids have.
Wire each petal individually, then arrange them around the center, securing everything with floral tape.
If you’re feeling fancy, add some watercolor shading where the petals meet—it takes these from pretty to absolutely stunning.
Styling Ideas
Arrange three to five blooms along a curved wire stem for that classic cascading look. These look incredible in a tall, minimalist vase on a dining table or as a dramatic focal point in an entryway.
You could even attach one to a gift box instead of a bow for the fanciest present wrapping ever.
Miniature Cardstock Orchids for Jewelry and Accessories
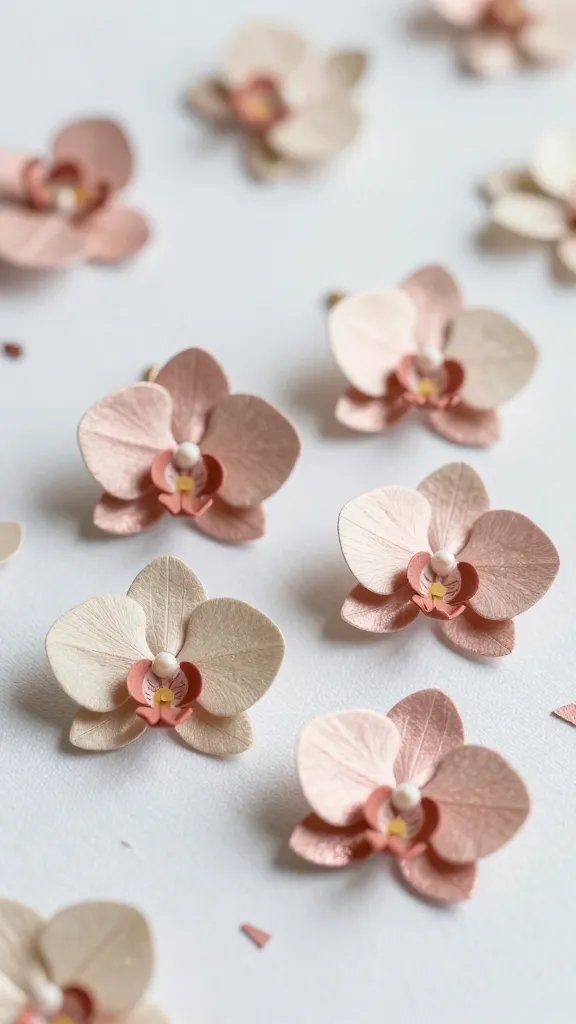
Who says orchids have to be life-sized? These tiny cardstock versions are about the size of a quarter and make the most adorable earrings, brooch pins, or hair accessories.
Seriously, I made a pair of orchid earrings with these and got more compliments than I knew what to do with.
The beauty of working at this scale is that you can use up all those cardstock scraps from other projects.
Metallics work especially well here—think rose gold, champagne, or even black with glitter accents for something edgy.
Materials Needed
- Heavyweight cardstock or shimmer paper
- Jewelry findings (earring hooks, pin backs, or hair clips)
- Micro scissors or a precision craft knife
- Strong adhesive (E6000 is your friend)
- Tiny beads or rhinestones for centers
Pro Tips
Download or draw a miniature orchid template—precision matters when you’re working small. Layer two slightly offset petals to create dimension, and don’t skip the center embellishment.
A single tiny pearl or crystal bead makes all the difference between “cute craft” and “I’d actually wear this.”
These make fantastic bridesmaid gifts, especially if you coordinate the paper colors to match wedding palettes.
They’re also perfect for anyone who wants to test the paper flower waters without committing to a huge project.
Watercolor Paper Cattleya Orchids With Painted Details
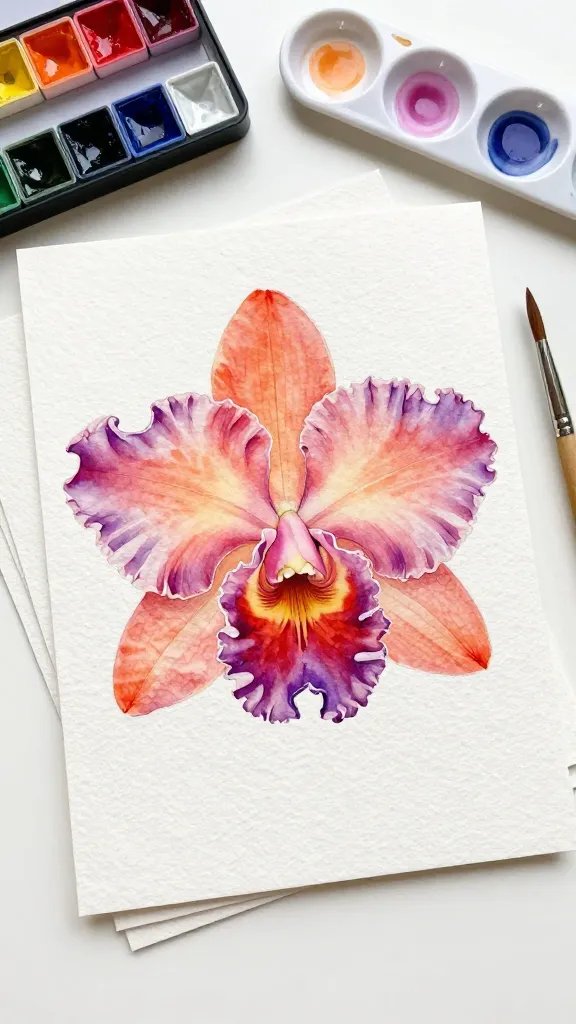
If you’ve got even basic watercolor skills (or just like to play with paint), this project is pure magic.
Cattleya orchids are the big, ruffly show-offs of the orchid world, with those gorgeous frilly lips and dramatic color gradients that practically beg to be painted.
Using watercolor paper as your base means you can create custom color combinations that don’t exist in nature.
I’m talking sunset ombres, galaxy patterns, or even subtle pastels that shift from peach to lavender. The possibilities are genuinely endless.
Materials Needed
- 140lb watercolor paper
- Watercolor paints in your chosen palette
- Floral wire and tape
- Sharp scissors or craft knife
- Mod Podge or clear sealer
How to Make It
Paint your watercolor paper first, creating gradients and color blends across the sheet before cutting anything out.
Let it dry completely, then seal it so the colors don’t run when you shape the petals. Cut your petal shapes and gently curl them using the back of a spoon or a dowel rod.
The ruffled lip is what makes cattleyas special, so don’t be shy about crimping and folding that central petal. Layer everything together, and you’ve got a one-of-a-kind bloom that’s basically a tiny piece of art.
These are stunning in shadow boxes or floating frames, especially if you create a whole collection in coordinating colors.
They also make incredibly thoughtful handmade gifts for anyone who appreciates botanical art.
Tissue Paper Dendrobium Orchid Garland for Parties
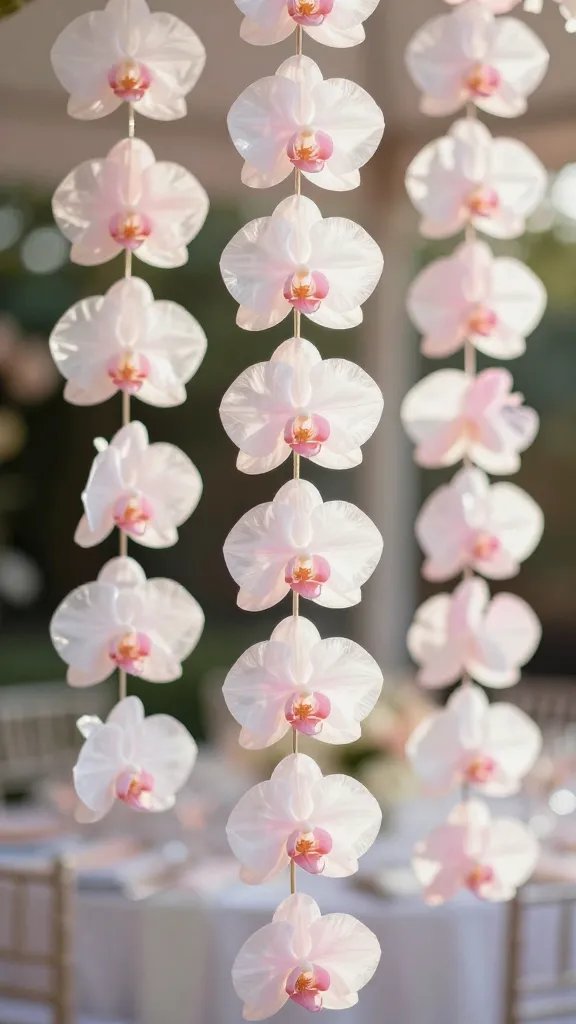
Need to decorate for a bridal shower, baby celebration, or garden party without breaking the bank? This tissue paper orchid garland is your answer.
Dendrobium orchids grow in long stems covered with blooms, which translates perfectly into garland form.
The tissue paper gives these an ethereal, almost translucent quality that’s absolutely dreamy when light shines through them.
Plus, you can bang out a six-foot garland in an afternoon while watching Netflix—it’s that straightforward.
Materials Needed
- Tissue paper in complementary colors (white and pink is classic)
- Thin floral wire or sturdy thread
- Scissors
- Hot glue gun
- Green tissue paper or ribbon for leaves
Styling Ideas
Drape these garlands across doorways, wind them around porch railings, or use them as table runners for an outdoor event.
The tissue paper might not survive a rainstorm, but for indoor celebrations or covered outdoor spaces, they’re perfect. FYI, these photograph beautifully—your party pics are going to look amazing.
Layer multiple garlands in varying lengths for a cascading wall backdrop that’ll have everyone asking where you rented it from. The secret’s safe with us that it cost about $12 in materials.
Layered Vellum Oncidium Orchids in Shadow Boxes
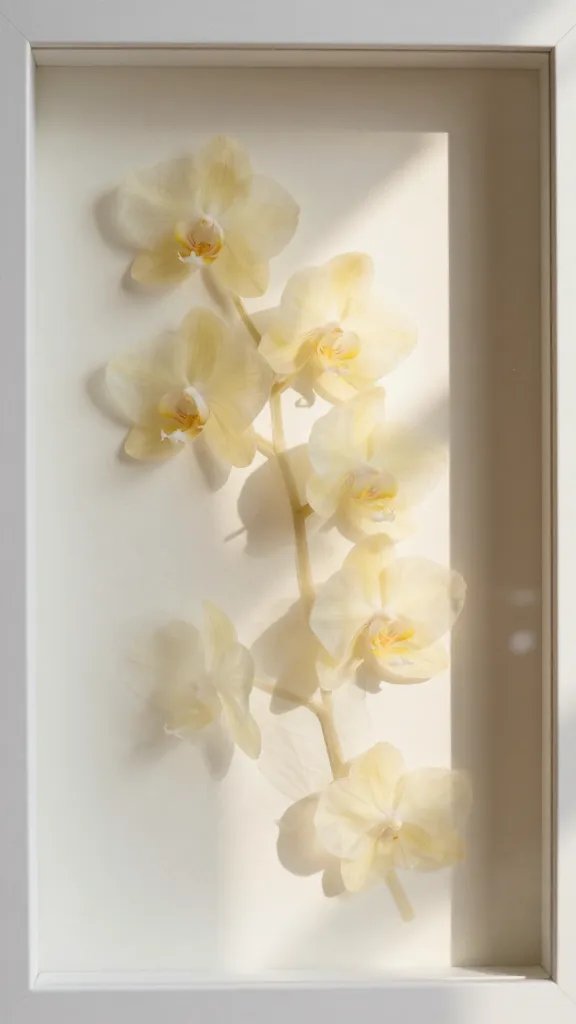
Oncidium orchids (sometimes called “dancing lady” orchids) have these quirky, almost whimsical shapes with tiny blooms that look like little dresses.
Creating them with vellum paper and mounting them in shadow boxes results in something that’s part craft, part fine art.
The vellum’s translucency creates this incredible dimensional effect, especially when you layer multiple petals.
When you light these from the side or hang them near a window, they cast the prettiest shadows.
Materials Needed
- Vellum paper in yellow, burgundy, and white
- Shadow box frame (8×10 works great)
- Fine-tip wire for stems
- Foam board for mounting
- White glue or vellum adhesive
- Fine-point markers for details
How to Make It
Cut out the small, irregular petal shapes characteristic of oncidiums—they should look almost like little abstract butterflies.
Layer three to four pieces of vellum per bloom to create depth, offsetting each layer slightly. Add delicate vein details with markers if you’re feeling ambitious.
Arrange your finished blooms on the foam board backing, creating a natural spray pattern before gluing them down.
The shadow box frame protects your work while creating that gallery-worthy presentation.
Trust me, these look so professional that people will assume you bought them from an art fair. They make stunning gifts for housewarmings or as custom decor that perfectly matches someone’s color scheme.
Ready to Create Your Own Paper Orchid Garden?
The best part about all these projects is that there’s no right or wrong way to do them—paper flowers are forgiving, and honestly, those little “imperfections” just make them look more realistic.
Pick the one that speaks to you, grab your supplies, and spend an afternoon making something beautiful that’ll outlast any bouquet.
You’ve got this, and I can’t wait to see which orchid becomes your new favorite weekend project!






