20 DIY Pumpkin Painting Ideas That Skip The Basic Jack-O-Lantern

Pumpkin painting has come a long way from a single orange face. These twenty pumpkin painting ideas prove there’s no one right way to do it, from abstract color-block designs and dried floral textures to full painted landscapes and cartoon character lineups.
Some lean moody and antique, others go bright and playful enough for kids to join in.
Whether you want something quick for a weeknight or a detailed weekend project, there’s a version here that fits your table, porch, or mantel this fall.
1. A Color Block Pumpkin That Turns Citrus Slices Into Art
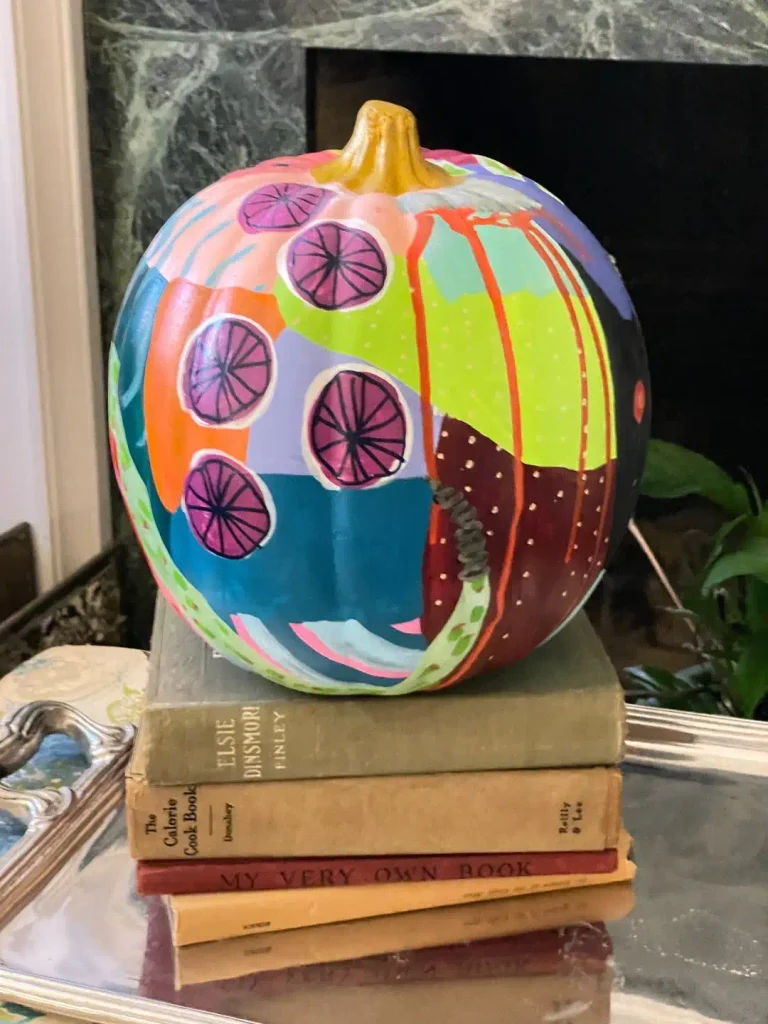
Forget realistic pumpkin faces. This one gets carved up into wide painted sections instead, like a patchwork quilt in orange, teal, lime, and deep maroon.
Five citrus slice medallions with fine black line detail float across the color blocks, breaking up the geometry with something organic.
A trail of orange drip marks and polka dots runs down one side, and the natural mustard-yellow stem stays unpainted, which grounds the whole wild palette.
Sitting on a stack of vintage books, it reads more like a modern art piece than a fall decoration. This one rewards patience and a steady hand more than fancy supplies.
2. Build A Blush And Terracotta Pumpkin Display Nobody Can Walk Past
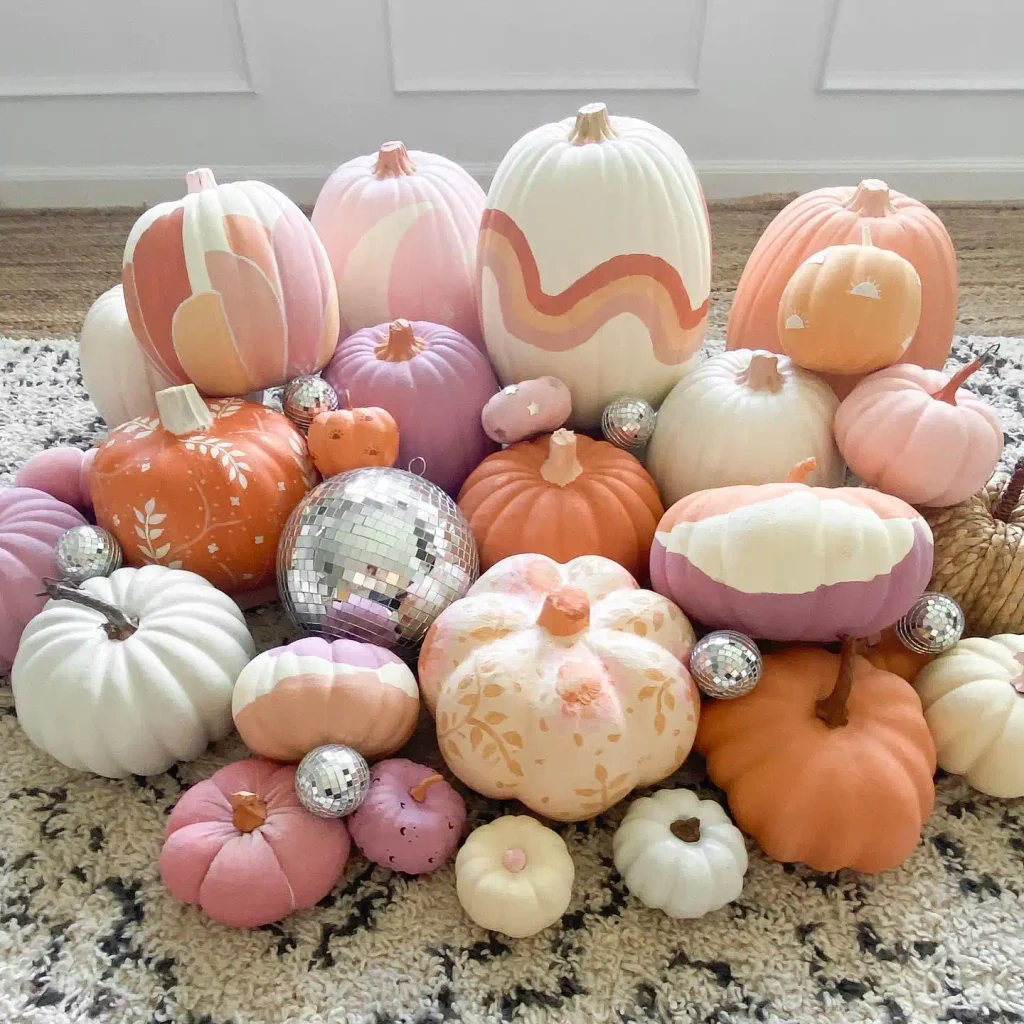
The trick here isn’t any single pumpkin, it’s the pile. Dozens of small and medium pumpkins in blush, mauve, cream, and burnt orange are grouped together, each with its own simple pattern: a rainbow arc, a leafy vine, a sunrise stencil, a soft ombre fade.
A few mirrored disco balls tucked between them catch the light and keep the whole cluster from feeling too matched.
No single pumpkin needs to be complicated when there are twenty of them working as a team.
💡 Quick Tip
Buy pumpkins in three or four sizes and repeat only two or three simple patterns across the group. Variety comes from the pile, not from each pumpkin being different.
3. Turn A Pumpkin Into A Handmade Family Nameplate
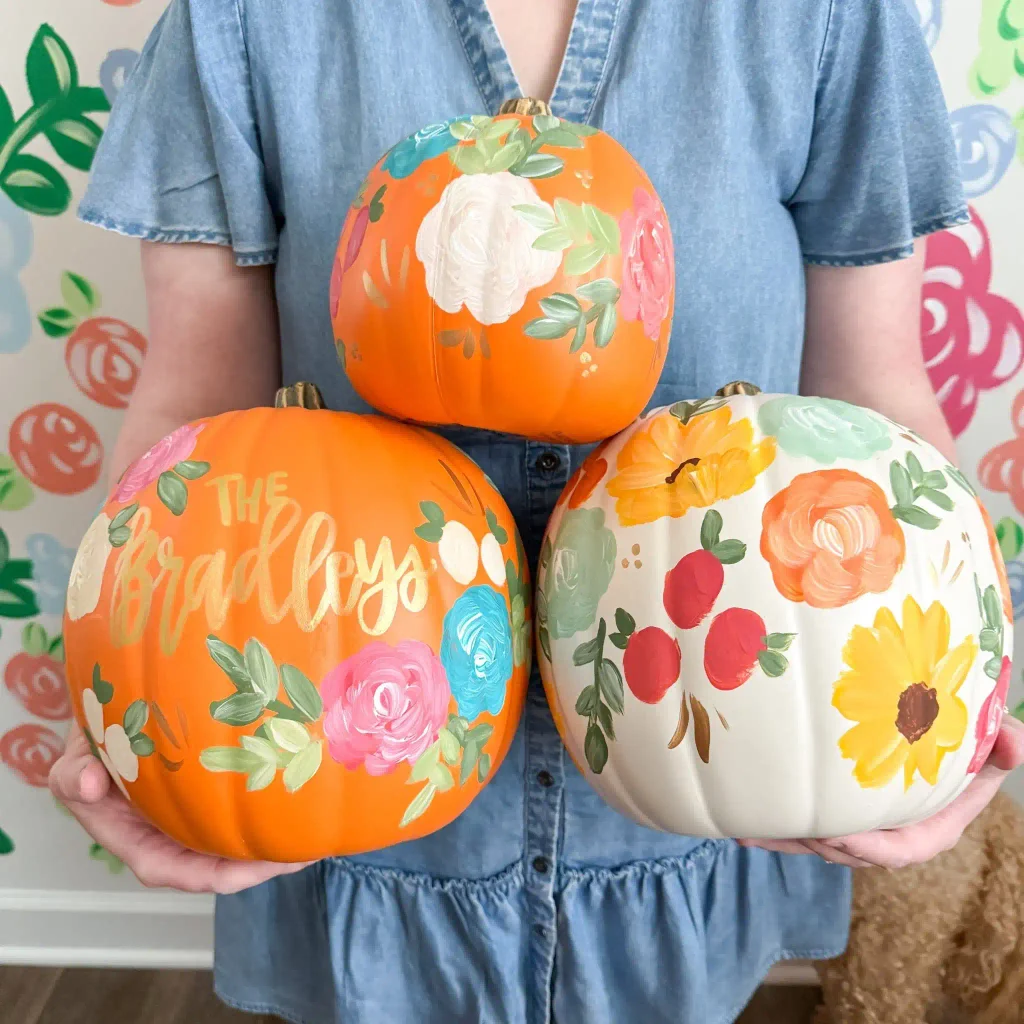
A pumpkin with your last name painted across it in gold script feels like a keepsake, not a decoration.
This set pairs a personalized pumpkin, surrounded by pink and blue roses, with two more painted purely in florals: peonies and greenery on one, sunflowers and berries on the other.
The lettering pumpkin becomes the centerpiece while the floral ones fill in around it, so a porch display gets both a personal touch and a full, layered look.
Recreate this look
4. Stencil Leaves Onto A Pumpkin For An Instant Botanical Look
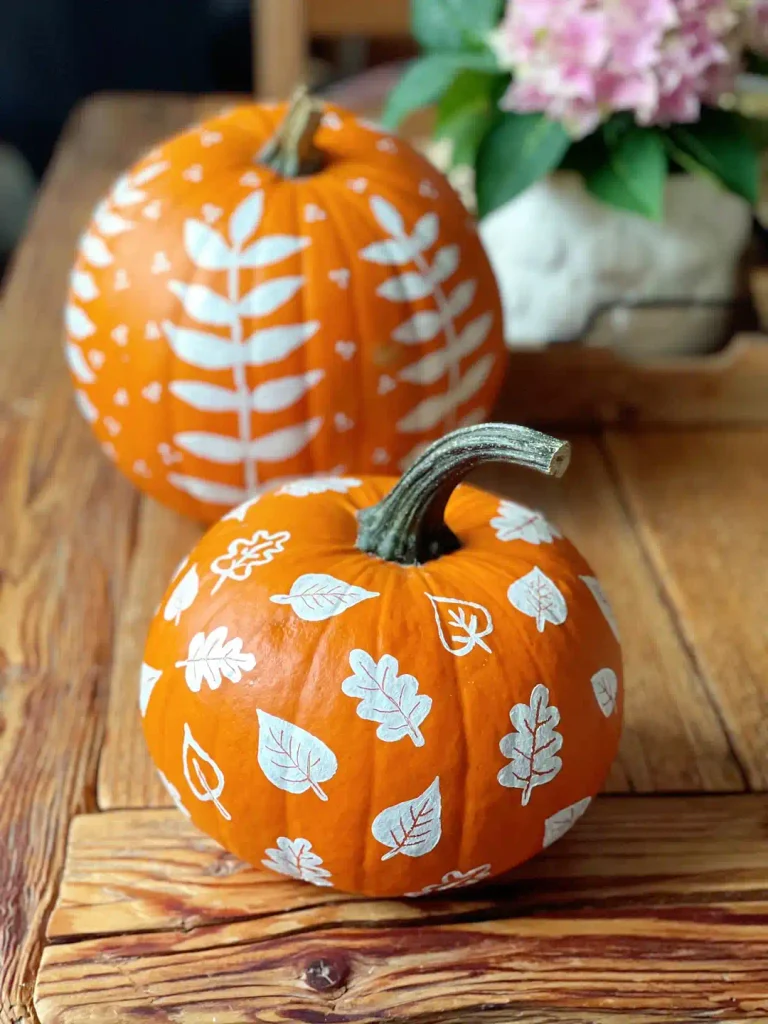
Two orange pumpkins, one pattern idea: crisp white leaf silhouettes scattered across the surface, some with fine painted veins, some left plain.
The larger pumpkin uses a single fern-like branch pattern with tiny dot accents, while the smaller one mixes several leaf shapes at random angles.
It looks intricate but it’s really about repetition. Once you’ve got one leaf shape you’re happy with, tracing or stenciling it over and over does most of the visual work.
Do this ✅ Use a paper stencil or a printed leaf shape traced in pencil first, and vary the size and rotation of each leaf so the pattern doesn’t feel gridded.
Skip this 🚫 Don’t freehand every single leaf from scratch. Consistency in shape matters more than perfect detail here.
5. A Glossy Ceramic Pumpkin That Looks Like A Row Of Jam Jars
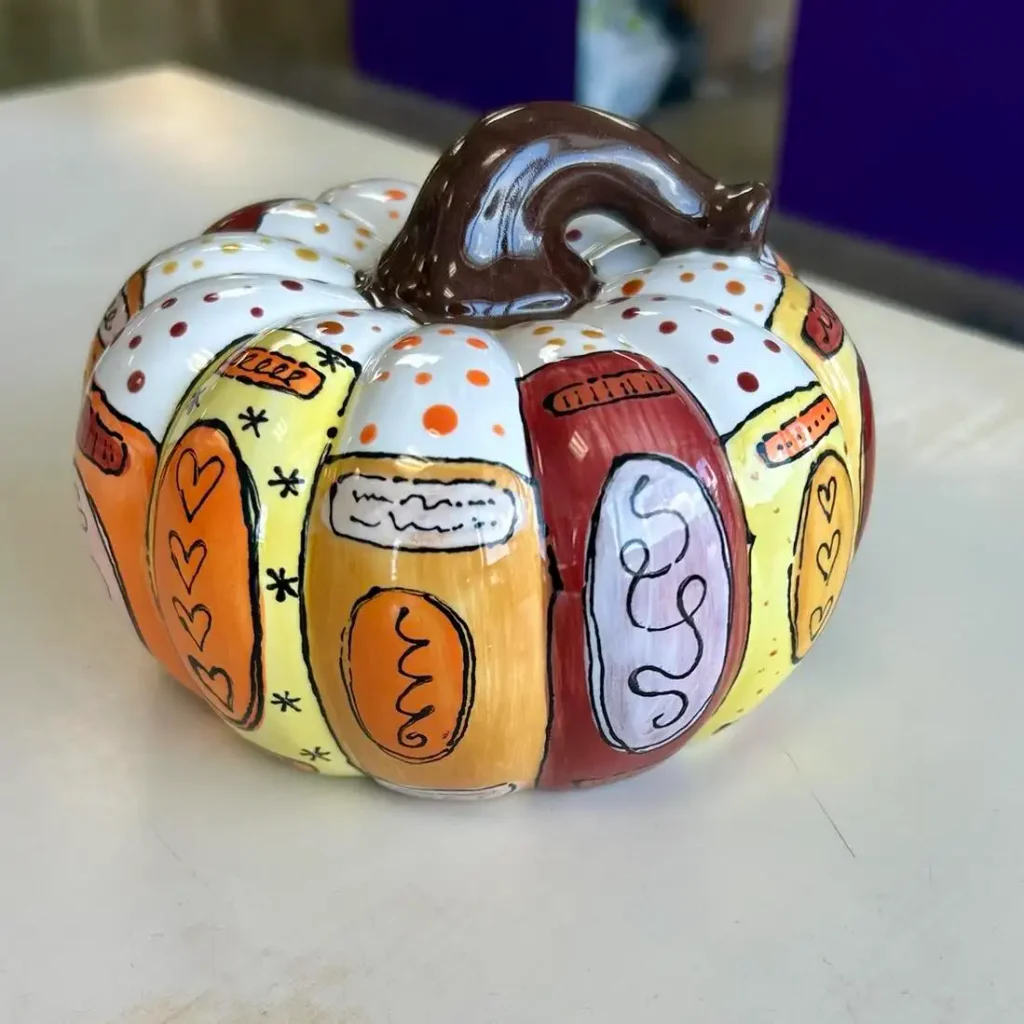
This one is painted on a ceramic pumpkin, not a real one, and the glaze gives every color a candy-shop shine.
Each ridge of the pumpkin becomes its own labeled jar, filled with hearts, swirls, or squiggles in orange, mustard, burgundy, and lavender.
Polka dots dance across the cream-colored top, and the curling brown stem doubles as the jar lid.
It’s a playful reminder that “pumpkin painting” doesn’t have to mean a real pumpkin at all.
Treating each pumpkin ridge as its own little canvas turns one shape into a whole set of tiny paintings.
6. Skip The Paintbrush And Decorate With Dried Flowers Instead
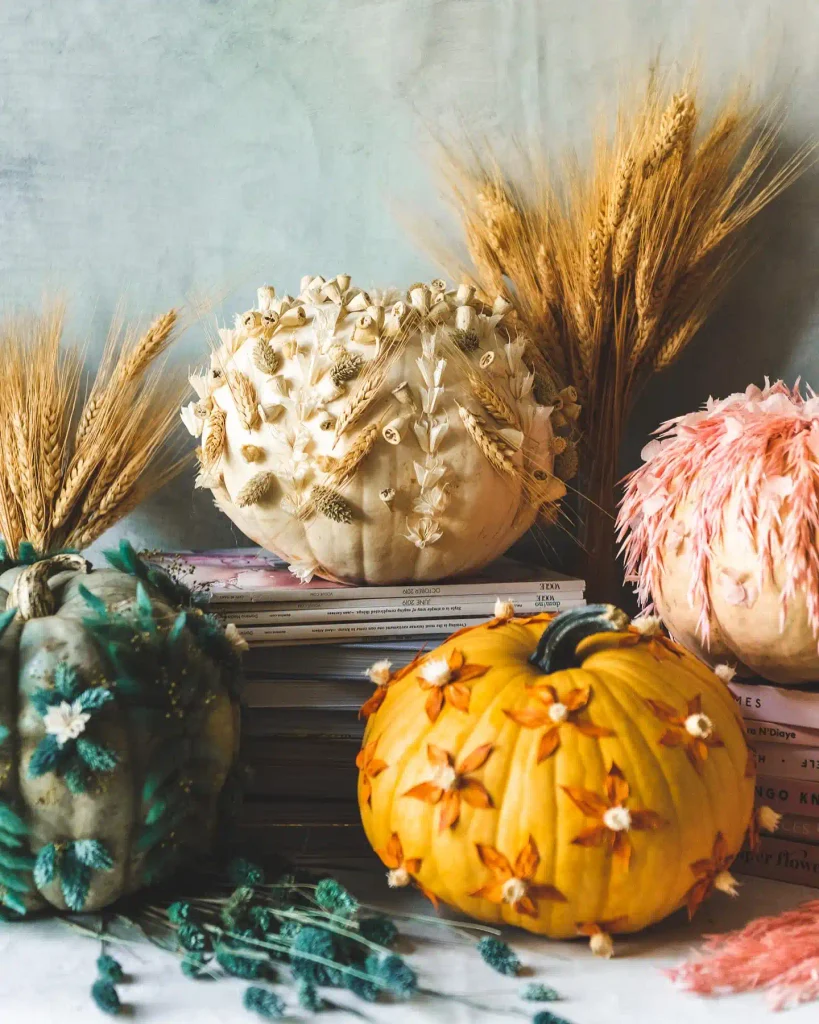
Not every pumpkin on this list needs paint. Here, dried wheat stalks, tiny florets, and pressed petals are pressed directly into a cluster of white, sage, and orange pumpkins, creating texture instead of color.
One pumpkin is covered edge to edge in cream-colored dried blooms like a pincushion, another gets a scattering of orange star-shaped petals, and a third has soft pink dried grasses standing up like hair. It’s a slower, more textural take on the idea.
| Painted Pumpkins | Dried Flower Pumpkins |
|---|---|
| Needs drying time between coats | Ready as soon as flowers are pinned in |
| Color is flat and smooth | Adds real texture and dimension |
7. Five Mini Pumpkins, Five Different Retro Halloween Looks
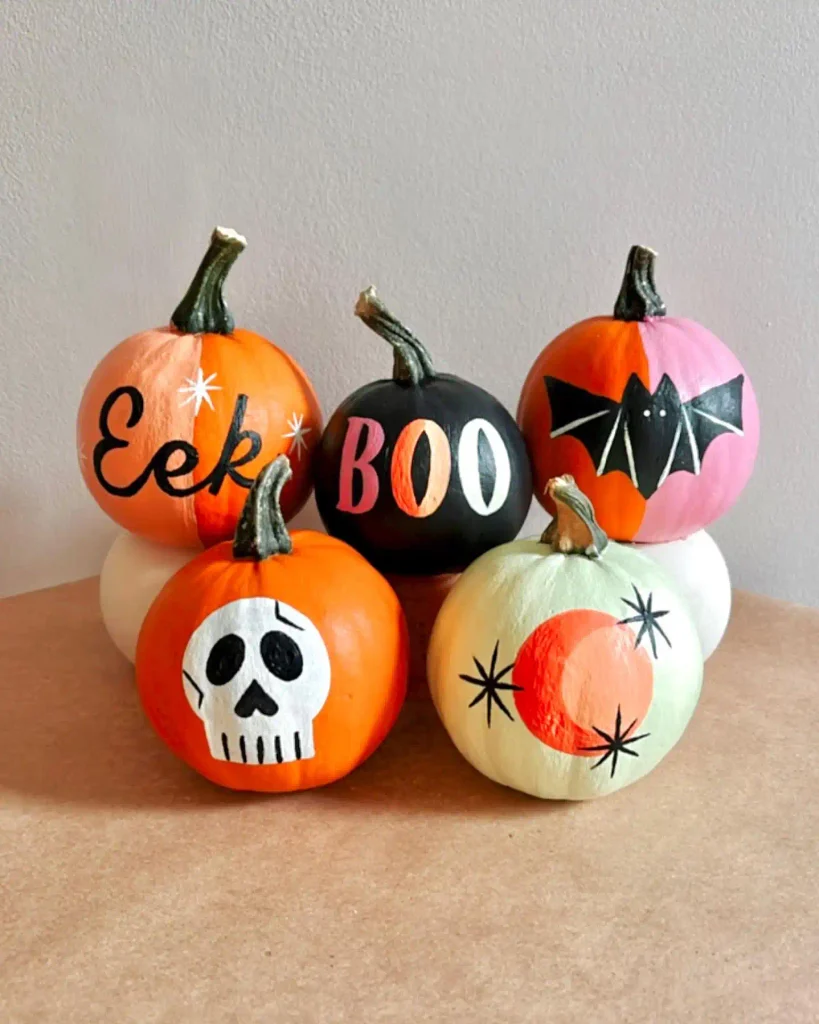
Small pumpkins, big personality. This grouping mixes a hand-lettered “Eek” in sparkly script, a bold “Boo” in a retro font, a silhouette bat on a pink and orange split background, a simple white skull face, and a mid-century starburst pattern in sage and coral.
None of them take more than a color block base and one graphic on top, which makes this an easy way to fill out a mantel or table without committing to one big design.
8. Layer A Pumpkin In Full, Lush Florals Like A Bouquet
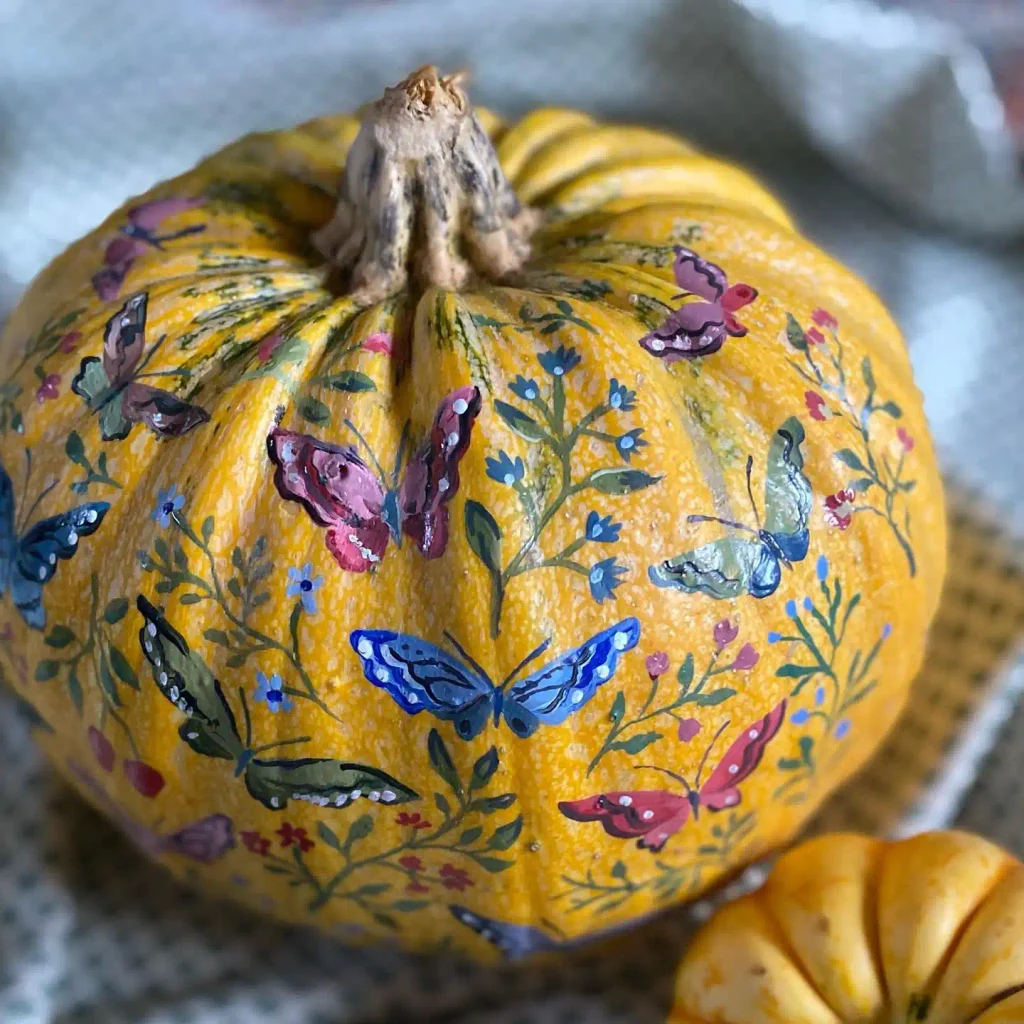
These pumpkins skip small accents and go all in on flowers, covering almost the entire surface in painted peonies, magnolias, and wildflowers.
The largest cream pumpkin carries deep red blooms alongside blush pink ones, a smaller matching pumpkin repeats the same palette at a tighter scale, and a slate-blue pumpkin swaps in purple and pink for contrast.
Grouped together on a wooden shelf, they look like a still-life painting more than a craft project.
- ▸Start with a light neutral base coat so the florals pop.
- ▸Paint the largest blooms first, then fill gaps with leaves.
- ▸Keep two or three flower colors so it stays cohesive.
9. Give Pumpkins Ears And A Face For An Instant Character Look
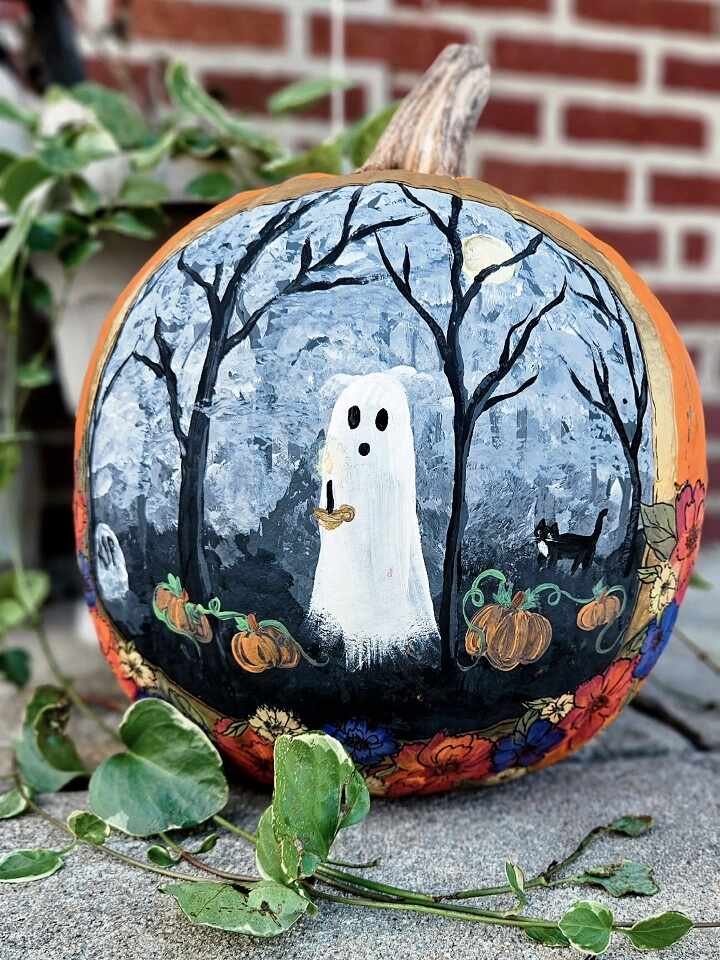
Image Reference: darienneempire_1761505311_.jpg
A pair of pumpkins gets transformed into big-eyed cartoon animal faces, complete with painted triangle ears propped on top of the stem and oversized round eyes that take up most of the front.
One is blue with a rounded orange nose, the other is orange and red with a softer, friendlier expression.
Kids tend to love this style because the faces are simple, exaggerated, and easy to recognize from across a room.
A plain round pumpkin with a bare stem.
Big painted eyes and triangle ears turn the stem into a whole character.
10. Mix Jewel Tones For A Pumpkin Collection That Glows By Candlelight
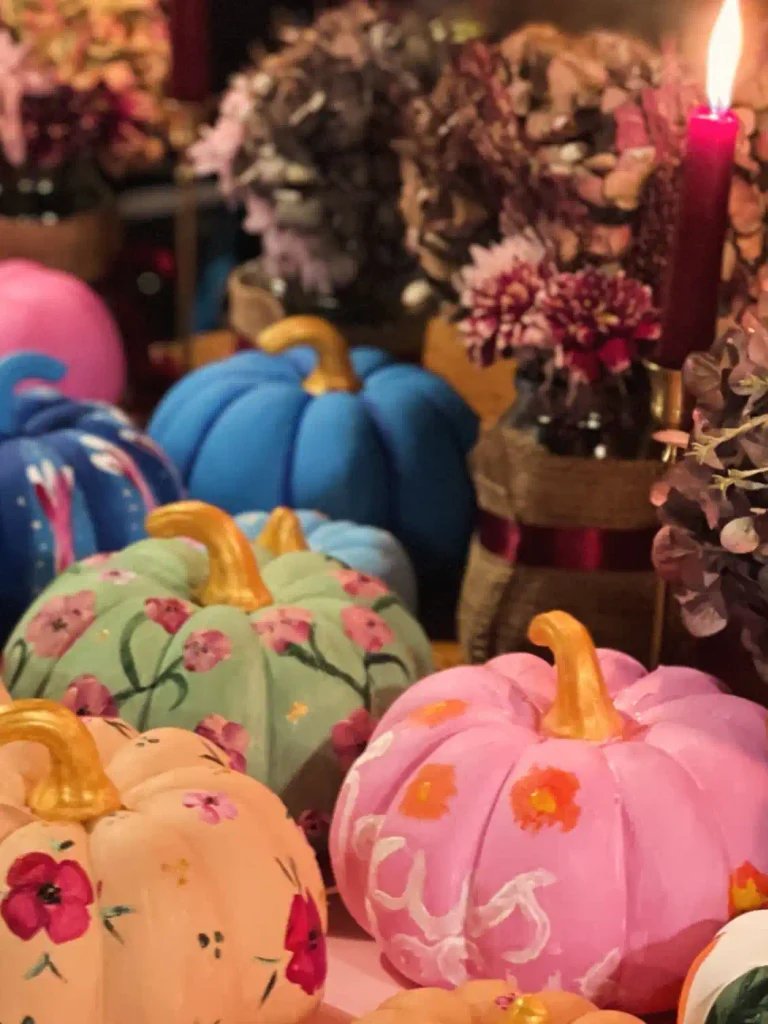
Deep blue, sage green, and hot pink pumpkins are grouped here with a lit candle nearby, and the warm light changes everything.
The blue pumpkin has a starry night sky painted across it, the green one carries loose pink florals climbing up one side, and the pink pumpkin gets simple orange dot flowers with white swirls.
Saturated colors like these actually read better in low light than pale pastels do, which makes this display a strong choice for evening entertaining.
Pick two or three deep, saturated base colors instead of pastels.
Add one detailed pumpkin, like the starry sky, as the focal point.
Group near candlelight so the jewel tones catch the flicker.
11. Two Big-Eyed Pup Faces Painted Side By Side
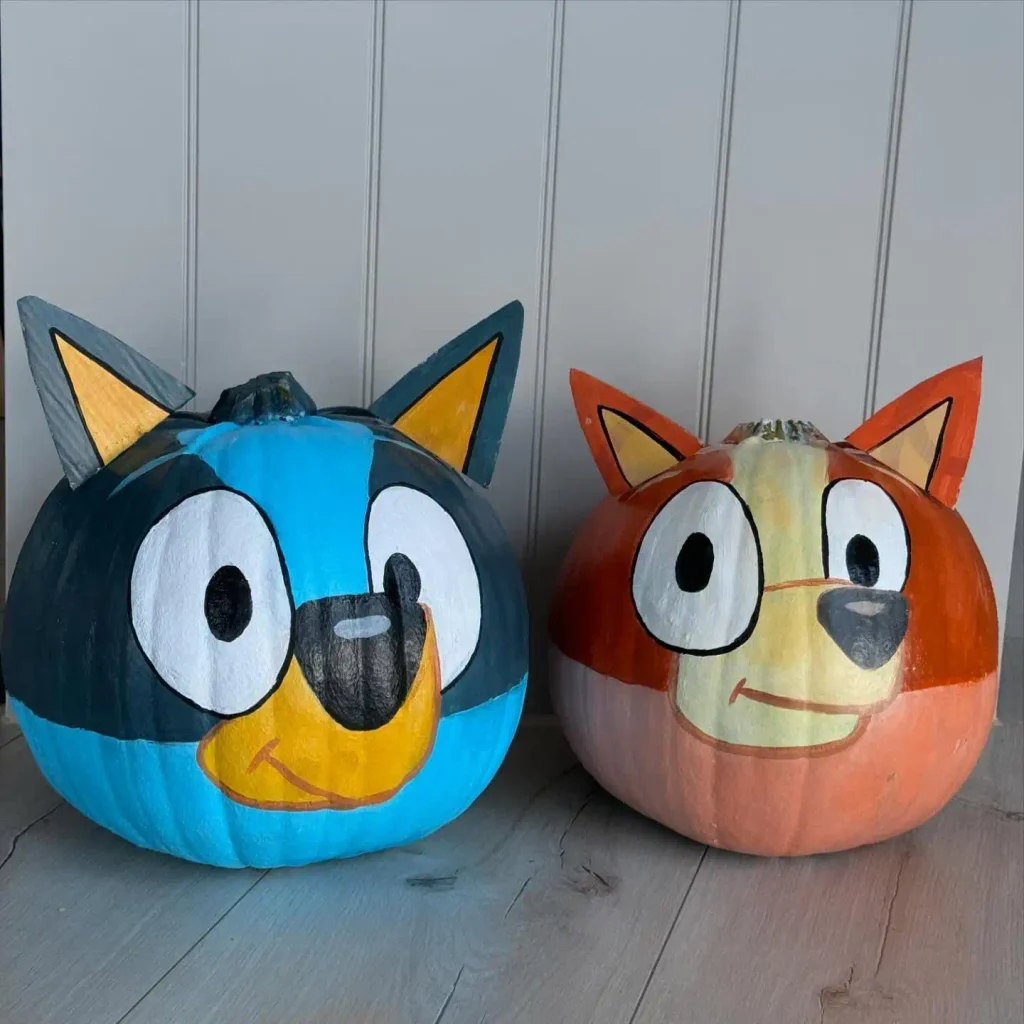
Cartoon dog faces turn a plain pumpkin into an instant conversation piece, and this duo nails it with just a few painted shapes. The trick is in the eyes.
Oversized white ovals with small dark pupils give the faces that wide, curious expression kids love.
The stem doubles as a little tuft of fur on top, and the pointed ears are cut from cardstock or painted flat, then outlined in black so they pop against the pumpkin’s curve.
What makes this one work:
- Two pumpkins, two colors, one matching color story so they read as a pair
- Black outlines around every shape keep the design crisp from a few feet away
- Simple muzzle and nose shapes do a lot of the expression work
Skip the carving knife entirely here. This is a full acrylic paint job, so the pumpkin stays intact and can sit on a porch for weeks without going soft.
12. A Whole Cartoon Crew Lined Up On The Porch
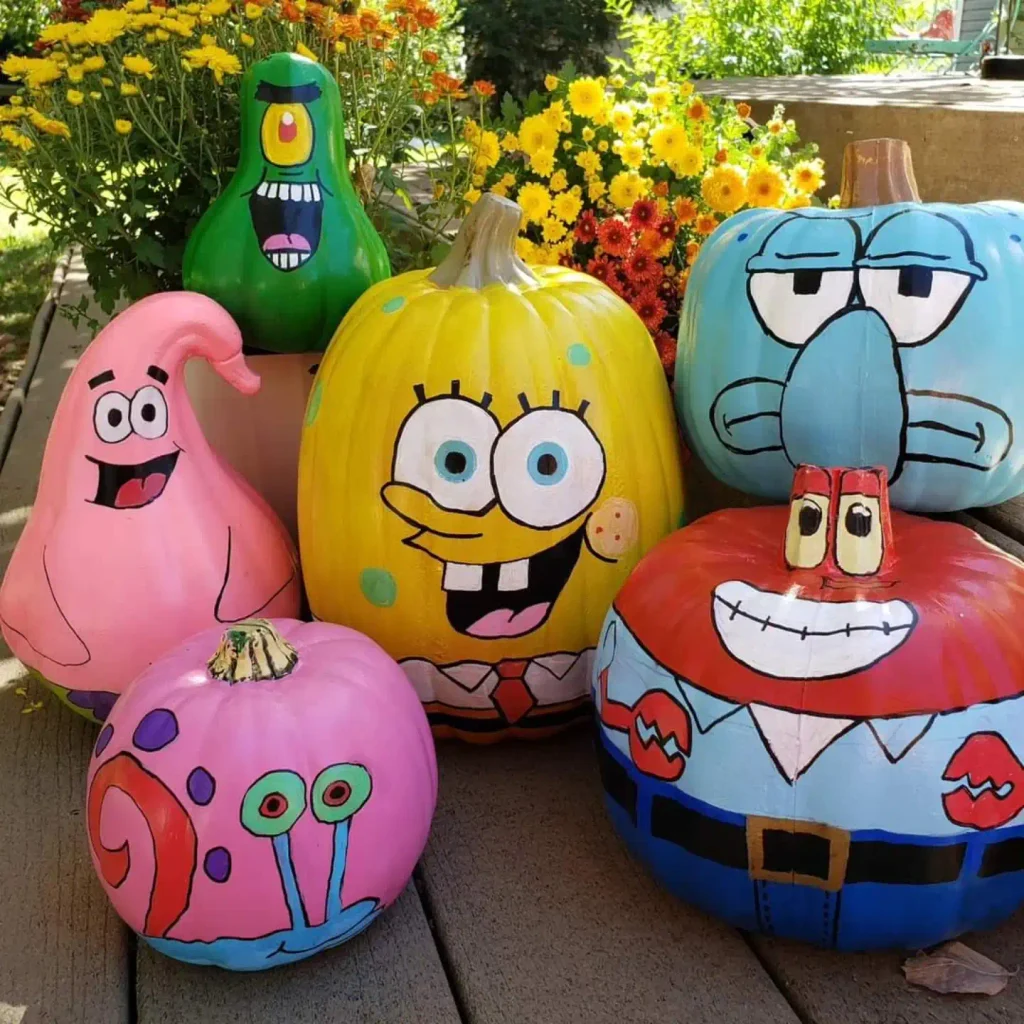
Sometimes one painted pumpkin isn’t enough, and this porch display proves it. Six pumpkins and gourds, each a different cartoon face, grouped together like a little welcoming committee among the mums.
A tall skinny gourd works as a screaming green monster face. A teardrop shaped gourd becomes a pink smiling character just by adding two round eyes and a big grin.
Here’s how to build a set like this:
- Pick shapes first, not colors. Odd gourds and lumpy pumpkins often make funnier faces than perfectly round ones.
- Base coat each one solid before adding any detail, and let it dry fully.
- Paint the face last so the black outlines stay crisp and don’t smear into wet base coat.
Group them close together on a step or porch ledge so the whole set reads as one display instead of six scattered pumpkins.
13. Little Ghost Framed In A Starry Night Sky Patch
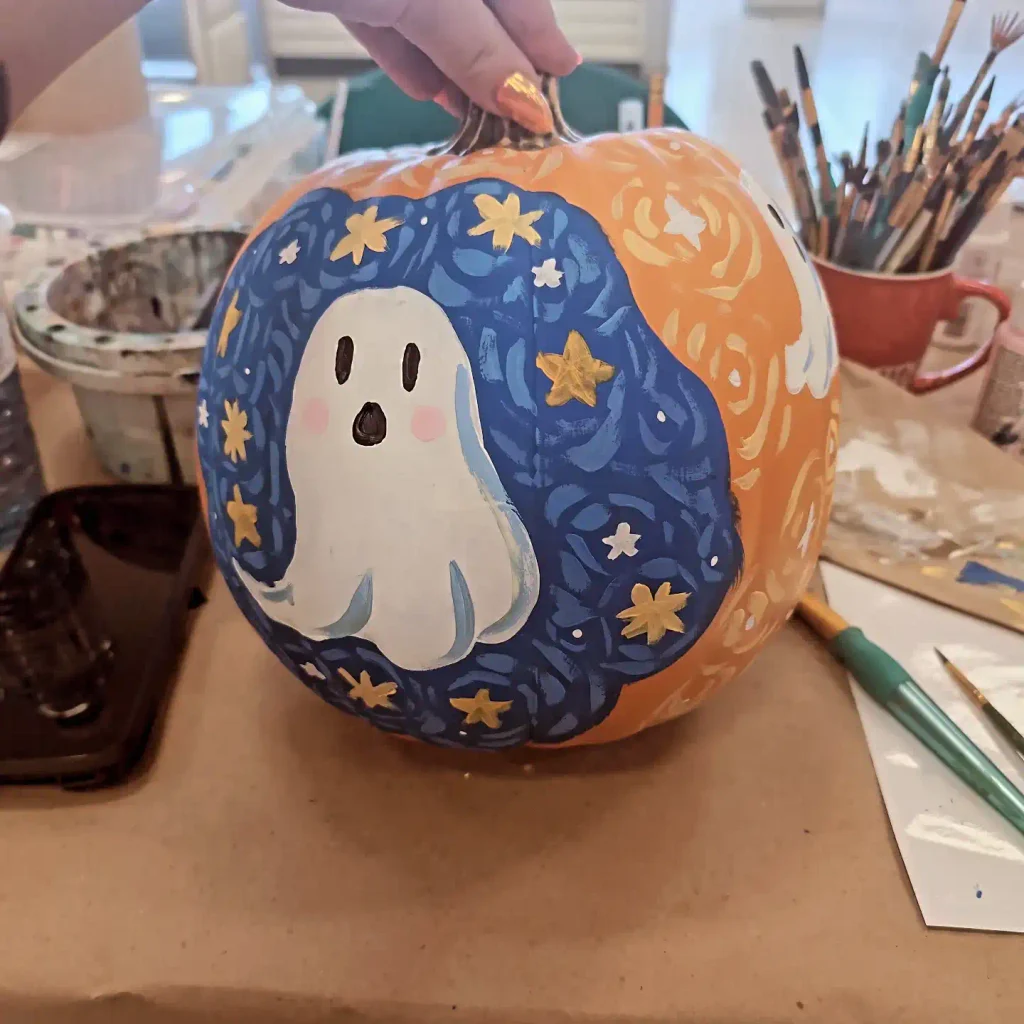
This one is a slow painter’s project, and the process shot says it all. A round patch of deep navy is brushed on first with swirling, textured strokes, almost like a night sky come alive, then a small round ghost with blush cheeks sits right in the middle of it.
Gold and white stars scatter across the swirls, and the surrounding pumpkin stays its natural orange.
The blush cheeks are what sell the whole thing. Without them, this is just a ghost shape. With two small pink dots, it turns into a character with personality, the kind of detail that photographs well up close.
📌 Good To Know
Painting the swirled background first, then adding the ghost on top once it’s dry, keeps the ghost’s edges from picking up navy paint and going muddy.
14. Turn A Pumpkin Patch Into A Cartoon Character Lineup
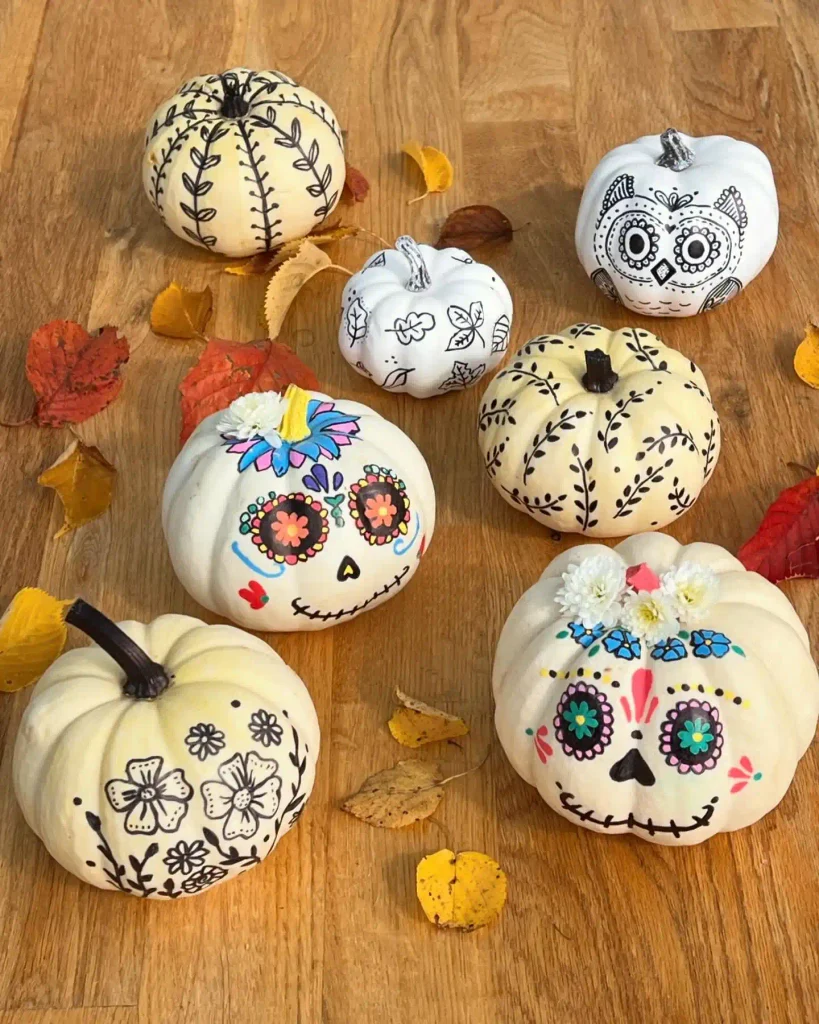
This grouping takes a set of pumpkins and gourds and gives each one the face of a well-loved cartoon character, from a round yellow sponge-shaped pumpkin to a pink starfish-shaped gourd and a grumpy blue-faced neighbor.
Every piece leans on the natural shape of the gourd to help sell the character, using bumps and curves as built-in features instead of fighting against them.
It’s a fun option if you already have kids requesting a specific show, since picking shapes that match the characters does half the work before paint even goes on.
| Round Pumpkins | Odd-Shaped Gourds |
|---|---|
| Best for symmetrical, wide faces | Great for characters with odd features like a starfish arm |
| Easier to plan proportions | More character, less predictable |
15. Frame A Cute Ghost Inside A Painted Circle Of Stars
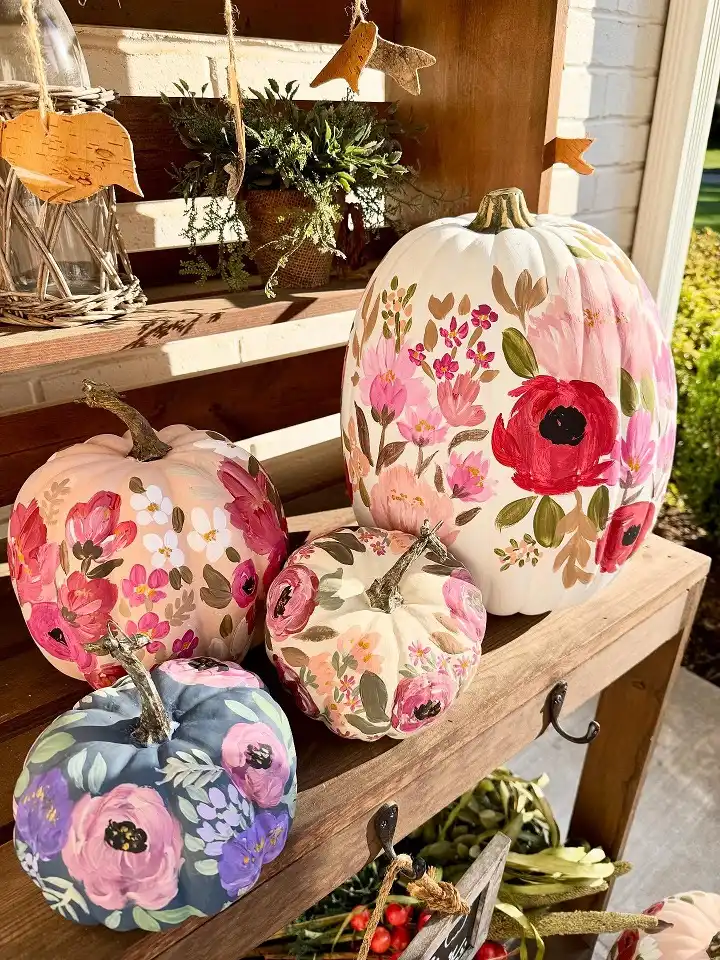
Rather than covering the whole pumpkin, this design boxes off one section in deep navy and fills it with a round-eyed, rosy-cheeked ghost surrounded by gold and white stars.
The rest of the pumpkin stays a warm orange, textured with loose swirling brushstrokes that echo the circle’s pattern without competing with it.
Framing the main character this way, instead of letting it spread across the whole surface, makes the ghost the clear focal point and gives the design a tidy, finished edge.
- ▸Sketch the circle first with a pencil before adding any color.
- ▸Fill the circle background before painting the ghost on top.
- ▸Add stars last, scattered unevenly for a more natural sky.
16. Melting Ice Cream Pumpkin With A Painted Waffle Cone Stem
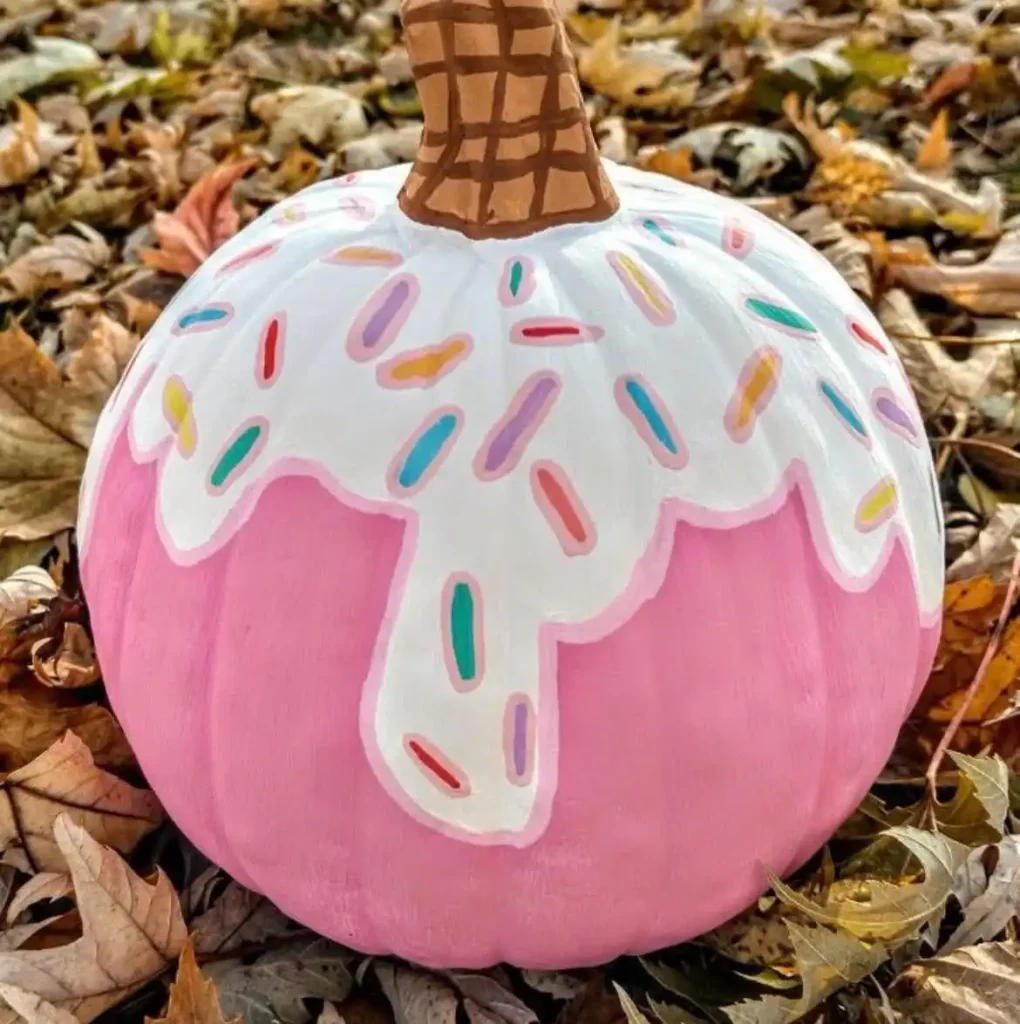
Pink base, white drip, rainbow sprinkles. This idea turns the whole pumpkin into a dessert by treating the natural stem as the cone and the round body as a scoop that’s just starting to melt.
The drip line is painted in an irregular, dripping shape rather than a straight edge, which is what makes it read as melting instead of just striped.
What works here versus what doesn’t:
| Melting drip | Straight stripe |
|---|---|
| Wavy, uneven bottom edge on the white | Flat, ruler-straight line |
| Feels like real melting ice cream | Reads as two solid color blocks |
Small sprinkle shapes in five or six different colors finish it off, painted as short angled ovals rather than dots so they actually look like sprinkles instead of confetti.
17. Set A Simple Ghost Into A Field Of Wildflowers
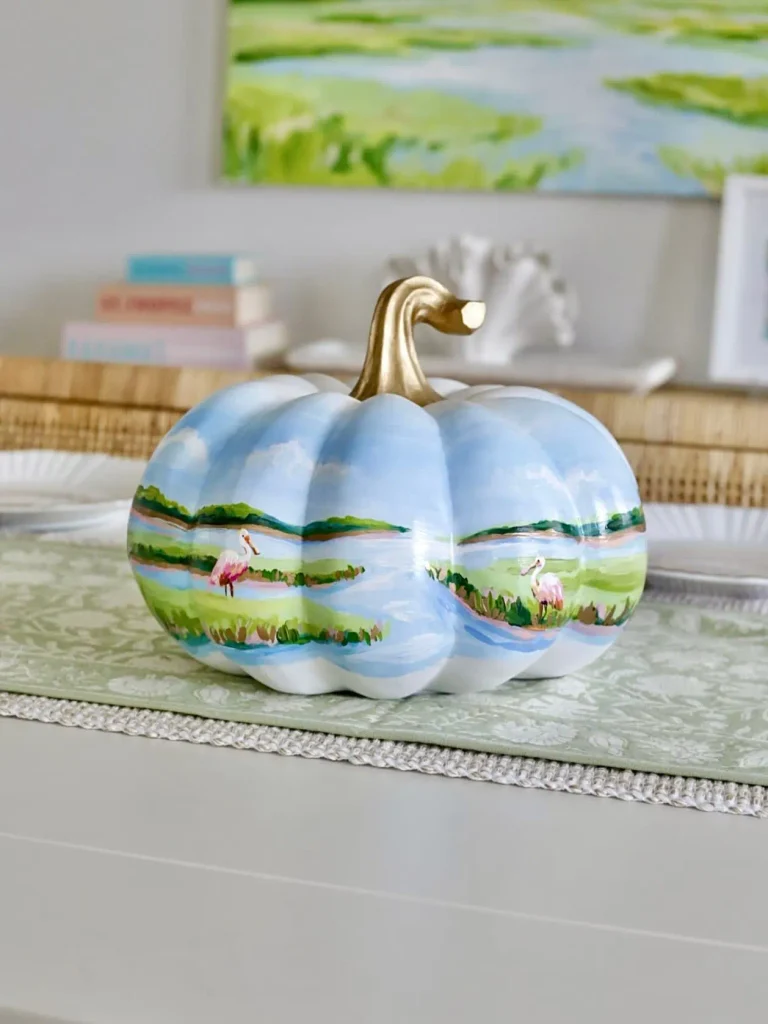
A deep navy background makes the whole pumpkin feel like nighttime, and a plain white ghost with two dot eyes stands in the middle of it like a silhouette.
Wildflowers in yellow, red, and orange climb up from the base and scatter across the dark background in loose clusters, softening what could otherwise read as a stark Halloween design.
Keeping the ghost this simple, just a shape and two dots, means all the visual interest can go into the florals instead.
Do this ✅ Paint the dark background and let it dry completely before adding the white ghost shape, so the edges stay crisp.
Skip this 🚫 Don’t overwork the ghost’s face. Two dots and a plain white body is the whole appeal here.
18. Ghost Standing In A Field Of Hand Painted Wildflowers
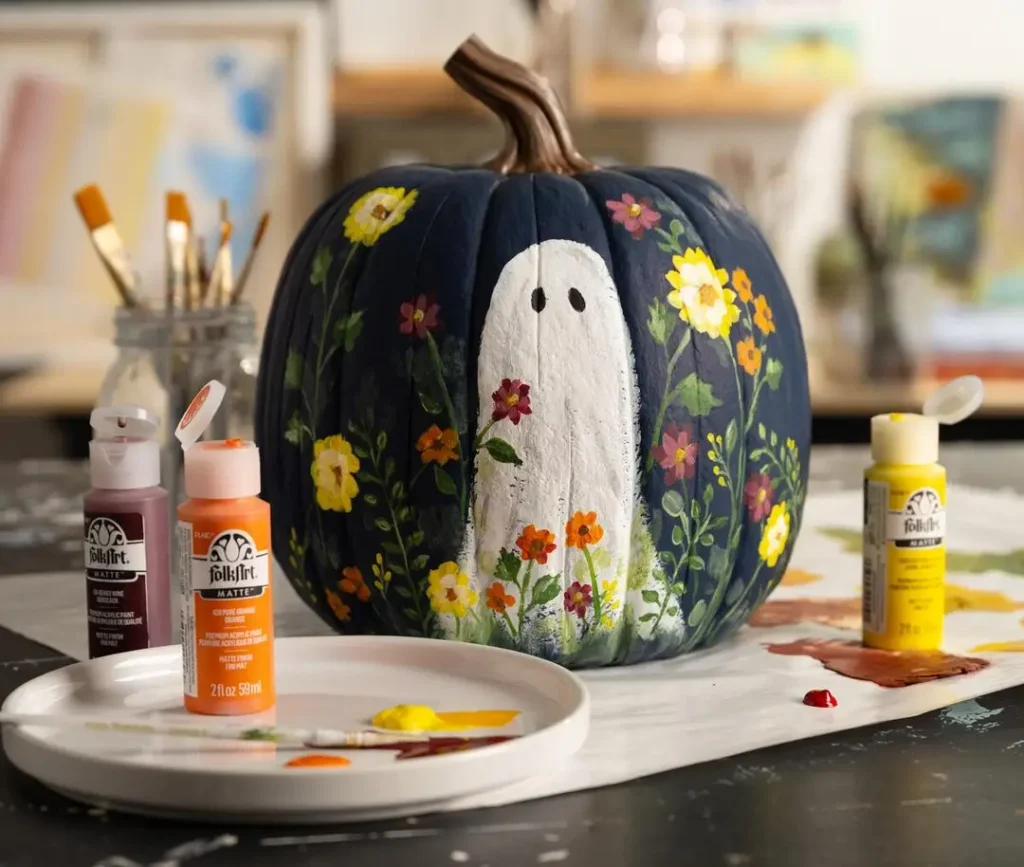
A navy pumpkin painted almost entirely black at first glance, until you notice the wildflowers climbing up from the base and the simple white ghost standing quietly in the middle of them.
This one leans painterly rather than cartoonish. The ghost has no mouth and just two dot eyes, which keeps it soft and a little wistful instead of spooky.
Recreate this look:
- Two or three small bottles of acrylic in yellow, orange, and deep red or maroon, since that’s really all this palette needs
- A round or angled brush for the individual flower petals
- A thin liner brush for the vine stems connecting everything
The florals do not need to be botanically accurate. Loose, slightly imperfect petals actually look more charming here than tightly controlled ones.
19. White Pumpkin Turned Into A Folk Art Fabric Print
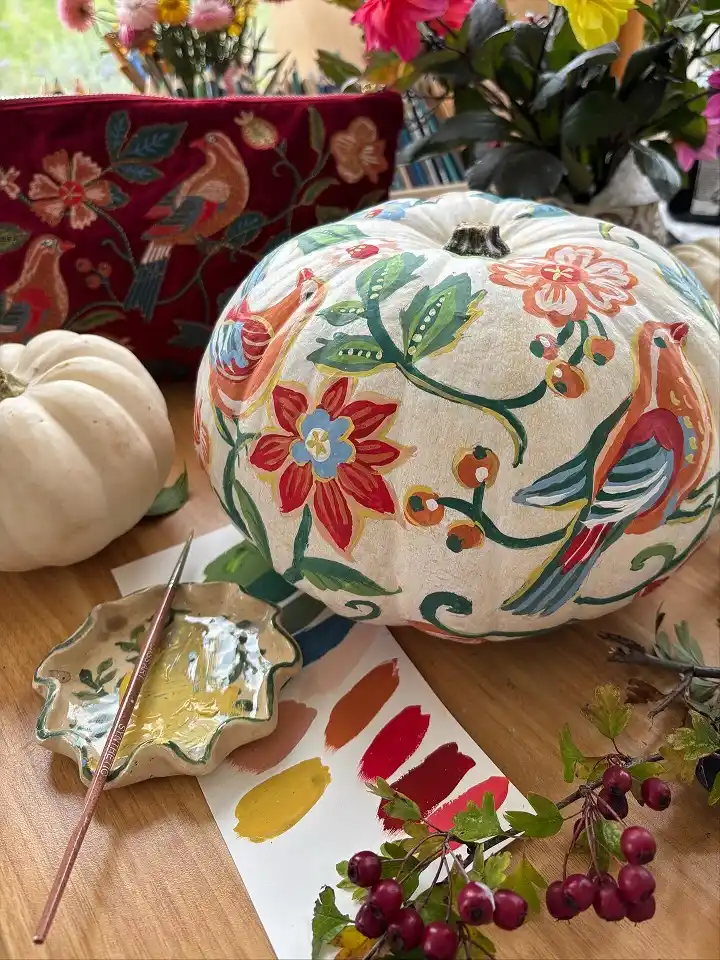
Forget spooky altogether. This white pumpkin gets treated like a piece of embroidered textile, covered edge to edge in birds, blossoms, berries, and curling vines painted in warm reds, blues, and golden yellows.
It even sits next to a matching embroidered pouch in the photo, which is clearly where the color and pattern inspiration came from.
Working from a real fabric or wallpaper swatch like this is one of the smartest shortcuts in pumpkin painting.
You’re not inventing a pattern from scratch, you’re translating one you already love onto a new surface, and the birds’ curved bodies and layered wings give the design a sense of movement that a flat floral alone wouldn’t have.
💡 Why this works: A pumpkin, painted well, can hold as much detail and color as a piece of fabric, and this one proves that pumpkin painting ideas don’t have to stop at faces or spooky themes.
20. Try A Muted Sage And Burgundy Floral For A Softer Fall Palette
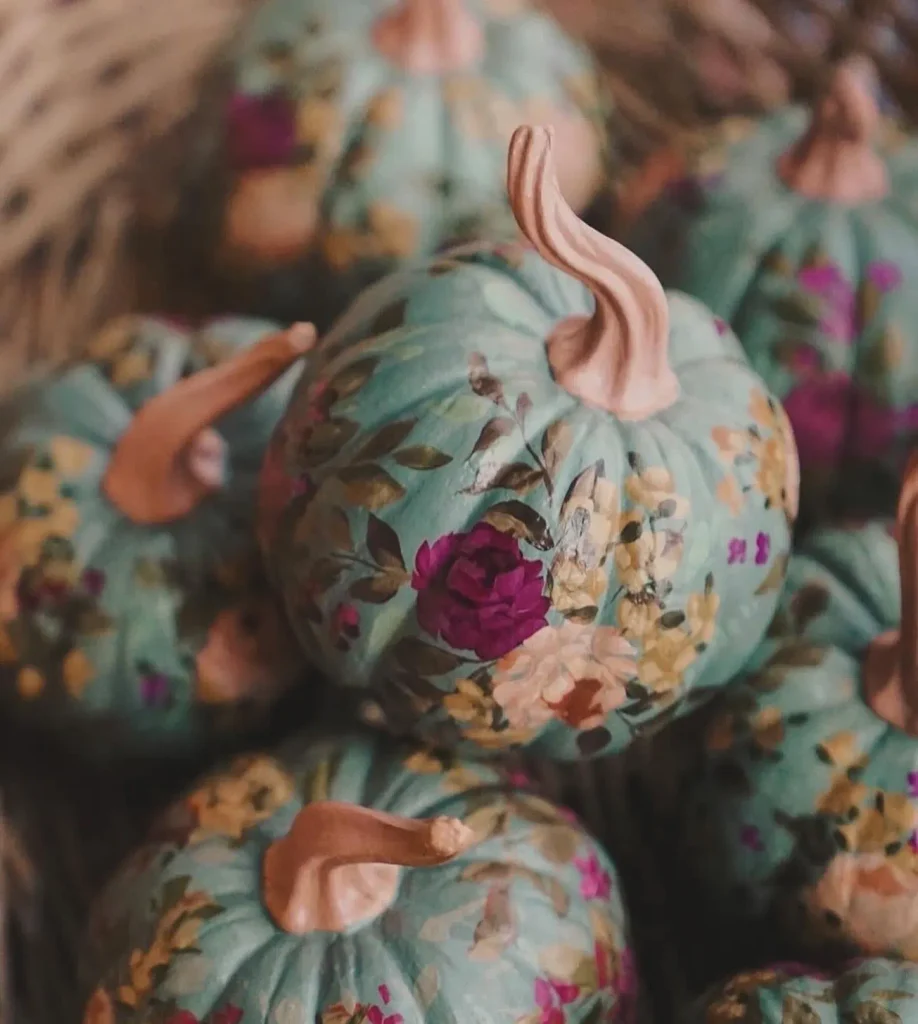
Sage green pumpkins with rosy pink stems get covered in a loose, painterly floral pattern using deep burgundy roses, dusty gold blooms, and soft olive leaves.
The colors sit close together in tone, which gives the whole thing a faded, almost antique feel rather than the bright, saturated look most fall florals go for.
Grouped in a cluster, this palette works especially well for anyone who wants pumpkins that blend into a moodier, more romantic fall setup instead of standing out.